
Corvette V8-6.2L (2008)
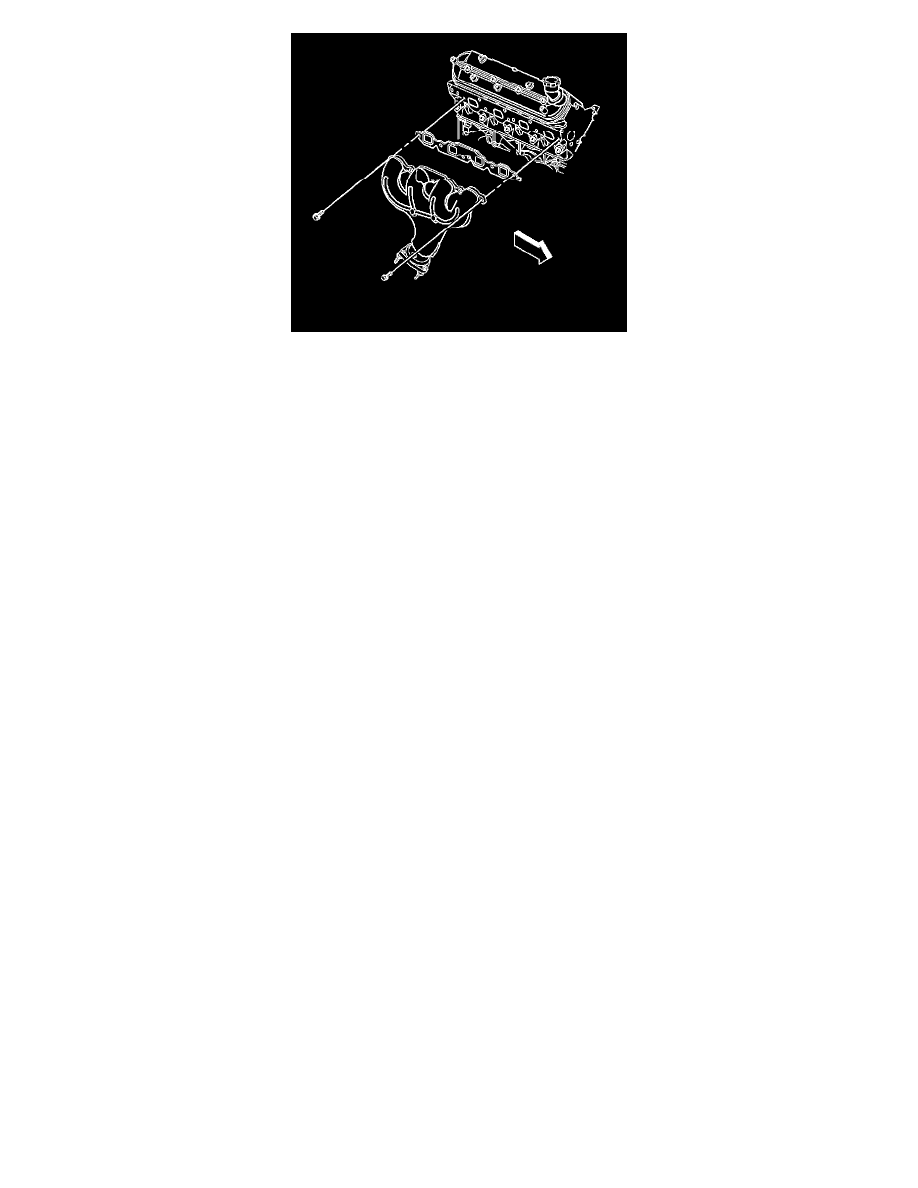
3. Position the exhaust manifold and a NEW gasket into place.
Notice: Refer to Fastener Notice (See: Service Precautions/Vehicle Damage Warnings/Fastener Notice) .
4. Install the exhaust manifold bolts.
1. Tighten the exhaust manifold bolts a first pass to 15 N.m (11 lb ft). Tighten the exhaust manifold bolts beginning with the center 2 bolts.
Alternate from side-to-side, working toward the outside bolts.
2. Tighten the exhaust manifold bolts a final pass to 25 N.m (18 lb ft). Tighten the exhaust manifold bolts beginning with the center 2 bolts.
Alternate from side-to-side, working toward the outside bolts.
5. Install the bank 1, sensor 1 oxygen sensor in the exhaust manifold oxygen sensor. Refer to Heated Oxygen Sensor Replacement - Bank 1 Sensor 1
(See: Powertrain Management/Computers and Control Systems/Oxygen Sensor/Service and Repair) .
6. Install the spark plugs. Refer to Spark Plug Replacement (See: Engine/Tune-up and Engine Performance Checks/Spark Plug/Service and Repair) .
7. Install the generator. Refer to Generator Replacement (See: Starting and Charging/Charging System/Alternator/Service and Repair/Generator
Replacement) .
8. Install the engine sight cover. Refer to Upper Intake Manifold Sight Shield Replacement (See: Engine/Intake Manifold/Service and Repair) .
9. Install the catalytic convertor. Refer to Catalytic Converter Replacement - Left Side (6.0L) (See: Catalytic Converter/Service and Repair/Catalytic
Converter Replacement - Left Side (6.2L))Catalytic Converter Replacement - Left Side (7.0L).