
Corvette V8-6.2L (2008)
Important: Use one or two bolts to hold the manifold and gasket in place.
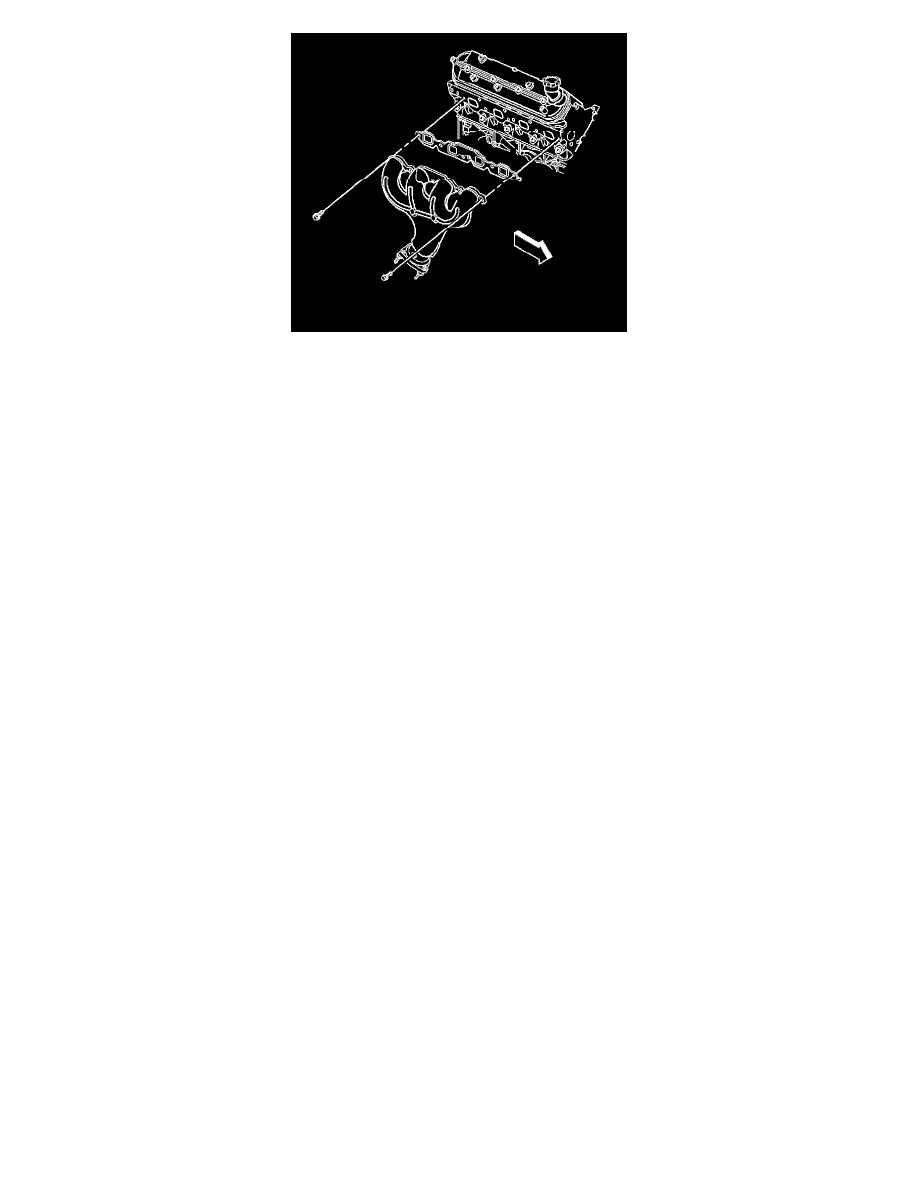
3. Install the exhaust manifold and gasket.
4. Apply a 5 mm (0.2 in) wide band of threadlock GM P/N 12345493 (Canadian P/N 10953488) or equivalent to the threads of the exhaust manifold
bolts.
5. Install the exhaust manifold bolts.
1. Tighten the exhaust manifold bolts at first pass to 15 N.m (11 lb ft). Tighten the exhaust manifold bolts beginning with the center 2 bolts.
Alternate from side to side, working toward the outside bolts.
2. Tighten the exhaust manifold bolts a final pass to 25 N.m (18 lb ft). Tighten the exhaust manifold bolts beginning with the center 2 bolts.
Alternate from side to side, working toward the outside bolts.
6. Install the spark plugs. Refer to Spark Plug Replacement (See: Engine/Tune-up and Engine Performance Checks/Spark Plug/Service and Repair) .
7. Install the engine sight cover Refer to Upper Intake Manifold Sight Shield Replacement (See: Engine/Intake Manifold/Service and Repair) .
8. Install the bank 2, sensor 1 oxygen sensor. Refer to Heated Oxygen Sensor Replacement - Bank 2 Sensor 1 (See: Powertrain
Management/Computers and Control Systems/Oxygen Sensor/Service and Repair) .
9. Install the catalytic convertor to the exhaust manifold nuts. Refer to Catalytic Converter Replacement - Right Side (6.0L) (See: Catalytic
Converter/Service and Repair/Catalytic Converter Replacement - Right Side (6.2L))Catalytic Converter Replacement - Right Side (7.0L).