
Corvette V8-6.2L (2008)
12. For the 7.0L only, remove the compressor mounting bolts and nuts and lower the compressor. Refer to Compressor Replacement (See: Heating
and Air Conditioning/Compressor HVAC/Service and Repair) .
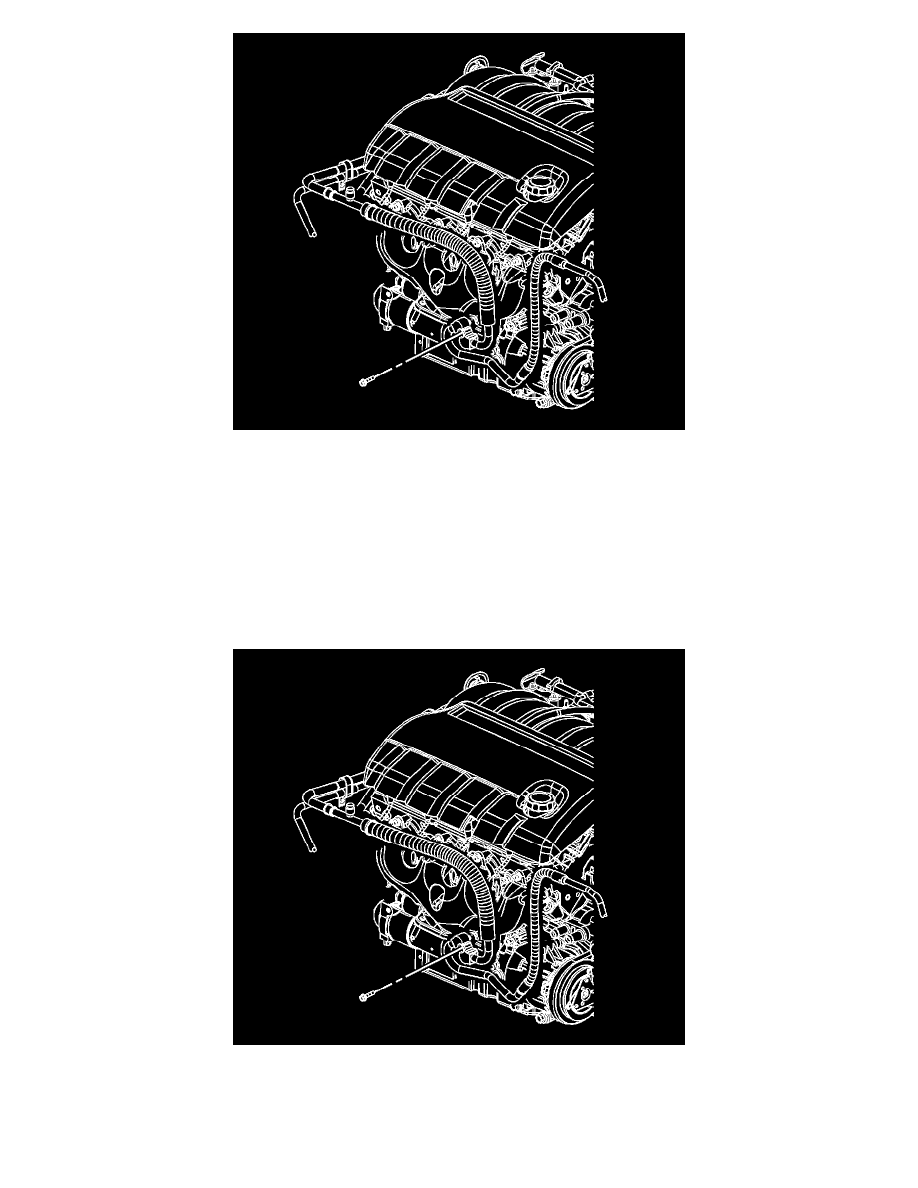
13. Remove the A/C compressor hose assembly to A/C compressor retaining bolt.
14. Disconnect the A/C compressor hose assembly from the A/C compressor.
15. Remove and discard the sealing washers.
16. Cap or tape off the A/C compressor.
17. Remove the A/C compressor hose assembly from the vehicle.
Installation Procedure
1. Install the A/C compressor hose assembly to the vehicle.
2. Remove cap or tape from the A/C compressor.
3. Install new sealing washers onto the compressor hose assembly. Refer to Sealing Washer Replacement (See: Heating and Air
Conditioning/Coupler HVAC/A/C Coupler O-ring/Service and Repair/Sealing Washer Replacement) .
4. Connect the A/C compressor hose assembly to the A/C compressor.