
Corvette V8-6.2L (2008)
2. Install the floor panel tunnel reinforcement. Refer to Floor Panel Tunnel Panel Reinforcement Replacement (See: Body and Frame/Exterior
Moulding / Trim/Underbody Cover/Service and Repair) .
3. Install the exhaust intermediate pipe.
4. Lower the vehicle.
5. Remove the cap from the engine compartment fuel feed pipe.
Notice: Refer to Fastener Notice (See: Service Precautions/Vehicle Damage Warnings/Fastener Notice) .
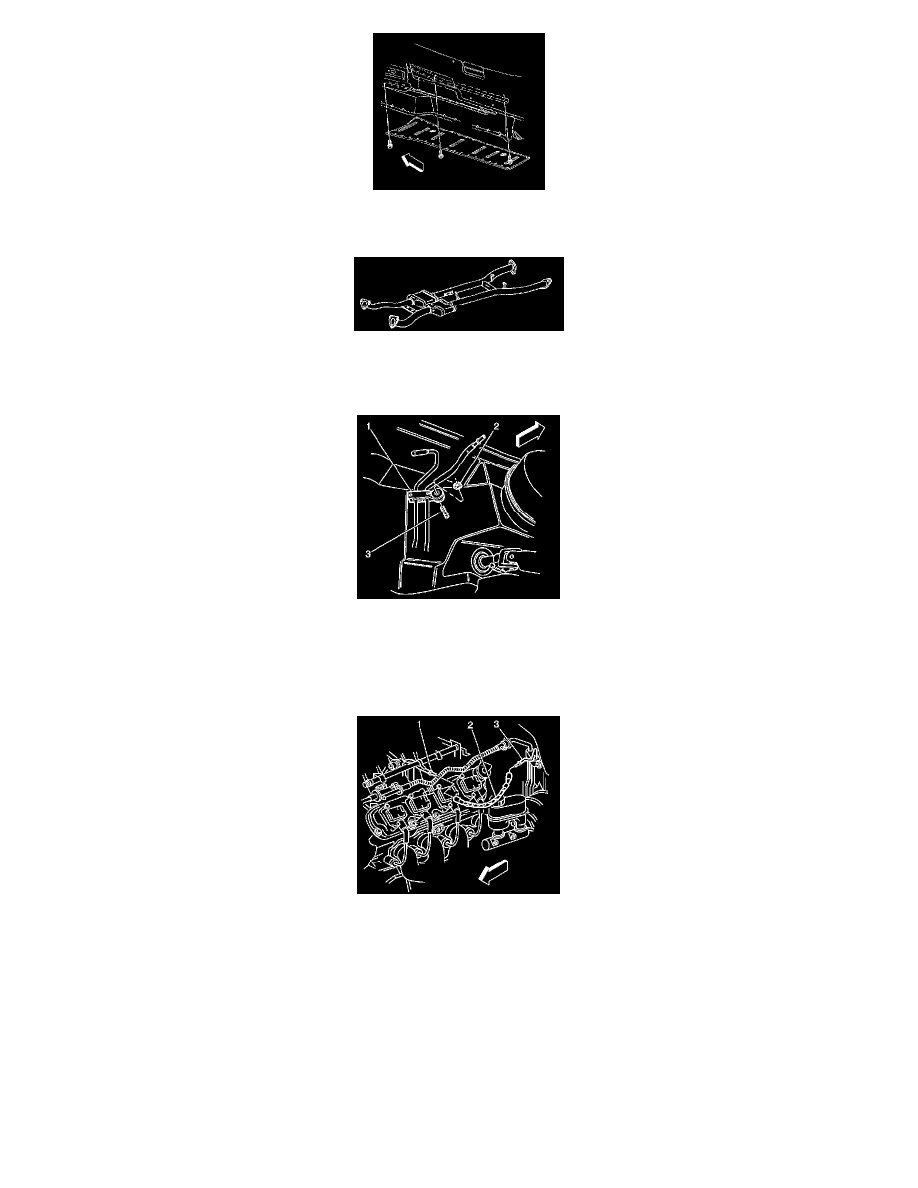
6. Connect the chassis fuel and EVAP pipe retainer (1) at the upper front of dash mounting stud (3).
Tighten the fuel and EVAP pipe retainer nut to 6 N.m (53 lb in).
7. Connect the fuel feed hose (2) to the chassis fuel feed pipe (3). Refer to Metal Collar Quick Connect Fitting Service (See: Fuel Line
Coupler/Service and Repair/Metal Collar Quick Connect Fitting Service) .
8. Tighten the fuel filler cap.
9. Connect the negative battery cable. Refer to Battery Negative Cable Disconnection and Connection (6.0L) (See: Starting and
Charging/Battery/Battery Cable/Service and Repair)Battery Negative Cable Disconnection and Connection (7.0L) (See: Starting and
Charging/Battery/Battery Cable/Service and Repair) .
10. Perform the following procedure in order to inspect for leaks:
1. Turn the ignition switch ON for 2 seconds.
2. Turn the ignition switch OFF for 10 seconds.
3. Turn the ignition switch ON.
4. Inspect for fuel leaks.
11. Install the left fuel rail cover.