
Corvette V8-6.2L (2008)
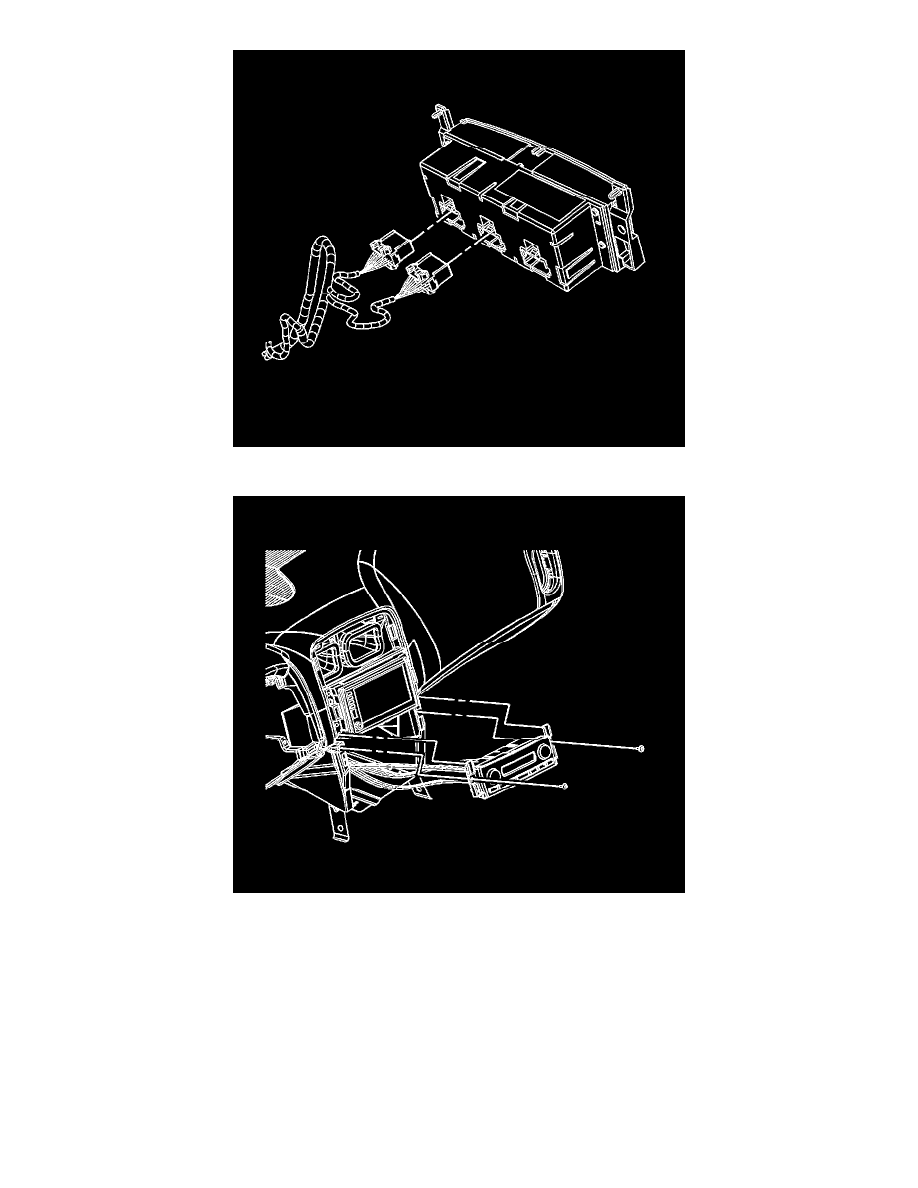
1. Connect the HVAC control module electrical connections.
2. Install the HVAC control module to the I/P trim plate.
Notice: Refer to Fastener Notice (See: Service Precautions/Vehicle Damage Warnings/Fastener Notice) .
3. Install the HVAC control module retaining screws.
Tighten the screws to 1.9 N.m (17 lb in).
4. Connect the electrical connectors to the HVAC control module.
5. Install the I/P accessory trim plate. Refer to Instrument Panel Accessory Trim Plate Replacement (See: Body and Frame/Interior Moulding /
Trim/Dashboard / Instrument Panel/Service and Repair) .
Important: Do not adjust any controls on the HVAC control module while the HVAC control module is self-calibrating. If interrupted,
improper HVAC performance will result.