
Corvette V8-7.0L (2007)
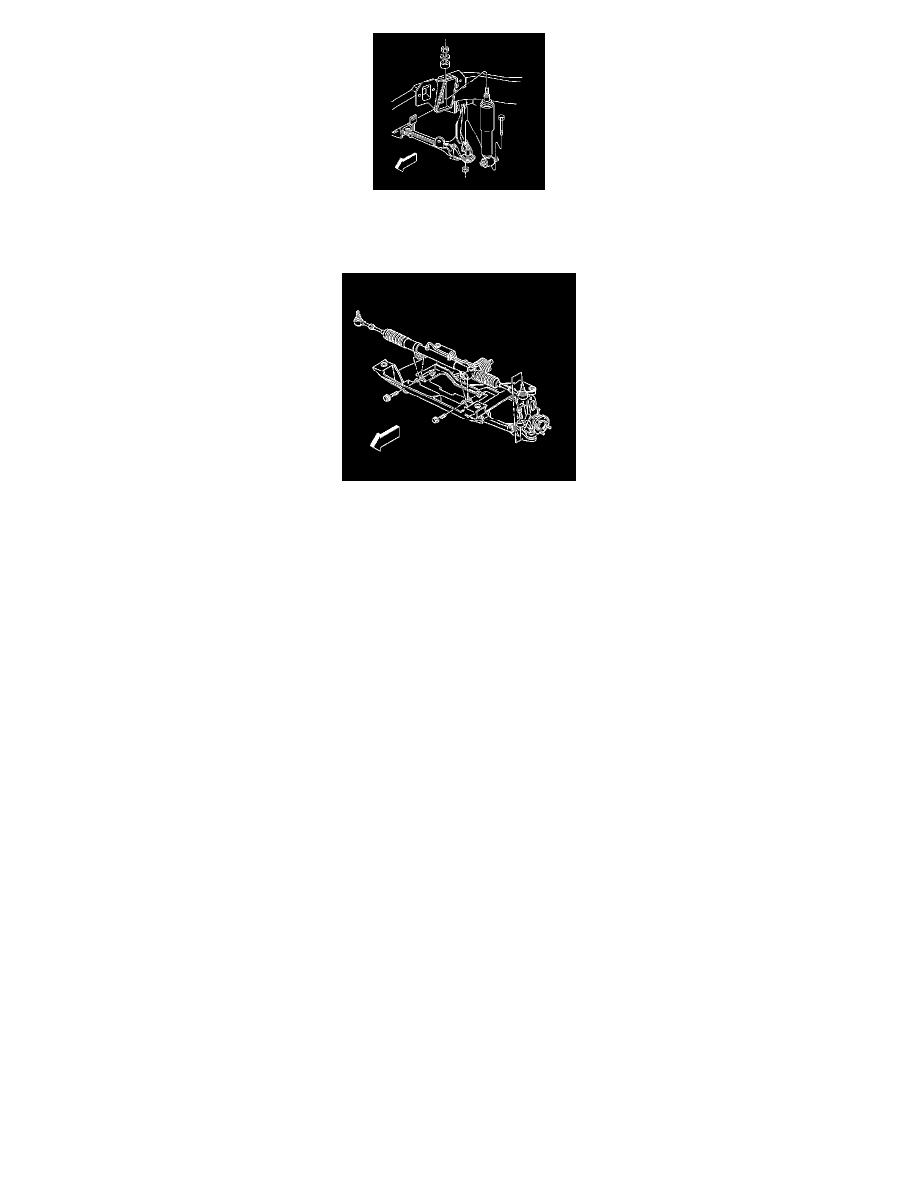
12. Install the shock absorbers to the lower control arms.
Tighten the shock absorber lower mounting nuts to 28 N.m (21 lb ft).
Notice: The power steering gear utilizes aluminum spacers to isolate the gear from the magnesium crossmember. To avoid severe corrosion
damage, new spacers are to be installed each time the gear is removed from the crossmember.
13. Install the power steering gear to the crossmember.
Tighten the power steering gear mounting bolts to 100 N.m (74 lb ft).
14. Install the bolts to the BPMV. Refer to Brake Pressure Modulator Valve Bracket Replacement .
15. Connect the intermediate shaft to the steering gear. Refer to Intermediate Steering Shaft Replacement .
16. Install the steering linkage outer tie rod ends to the steering knuckles. Refer to Rack and Pinion Outer Tie Rod End Replacement .
17. Install the stabilizer shaft to the vehicle. Refer to Stabilizer Shaft Replacement .
18. Install the tire and wheel assemblies. Refer to Tire and Wheel Removal and Installation .
19. Lower the vehicle.
20. Remove J 41803 and J 28467-B from the engine.
21. Install the generator. Refer to Generator Replacement (6.0L) Generator Replacement (7.0L) .
22. Connect the negative battery cable. Refer to Battery Negative Cable Disconnection and Connection (6.0L) Battery Negative Cable Disconnection
and Connection (7.0L) .
23. Perform a vehicle front end alignment. Refer to Measuring Wheel Alignment .