
Corvette V8-7.0L (2007)
7. Rotate the engine flywheel.
8. Repeat steps 5 and 6 until all the bolts are installed finger-tight.
9. Using the J 38836, align the clutch driven plate to the pilot bearing.
Notice: Refer to Fastener Notice.
10. Install J 42386-A and bolts. Use one M10 1.5 X 120 mm and one M10 1.5 X 45 mm bolt for proper tool operation.
Tighten the J 42386-A bolts to 50 N.m (37 lb ft).
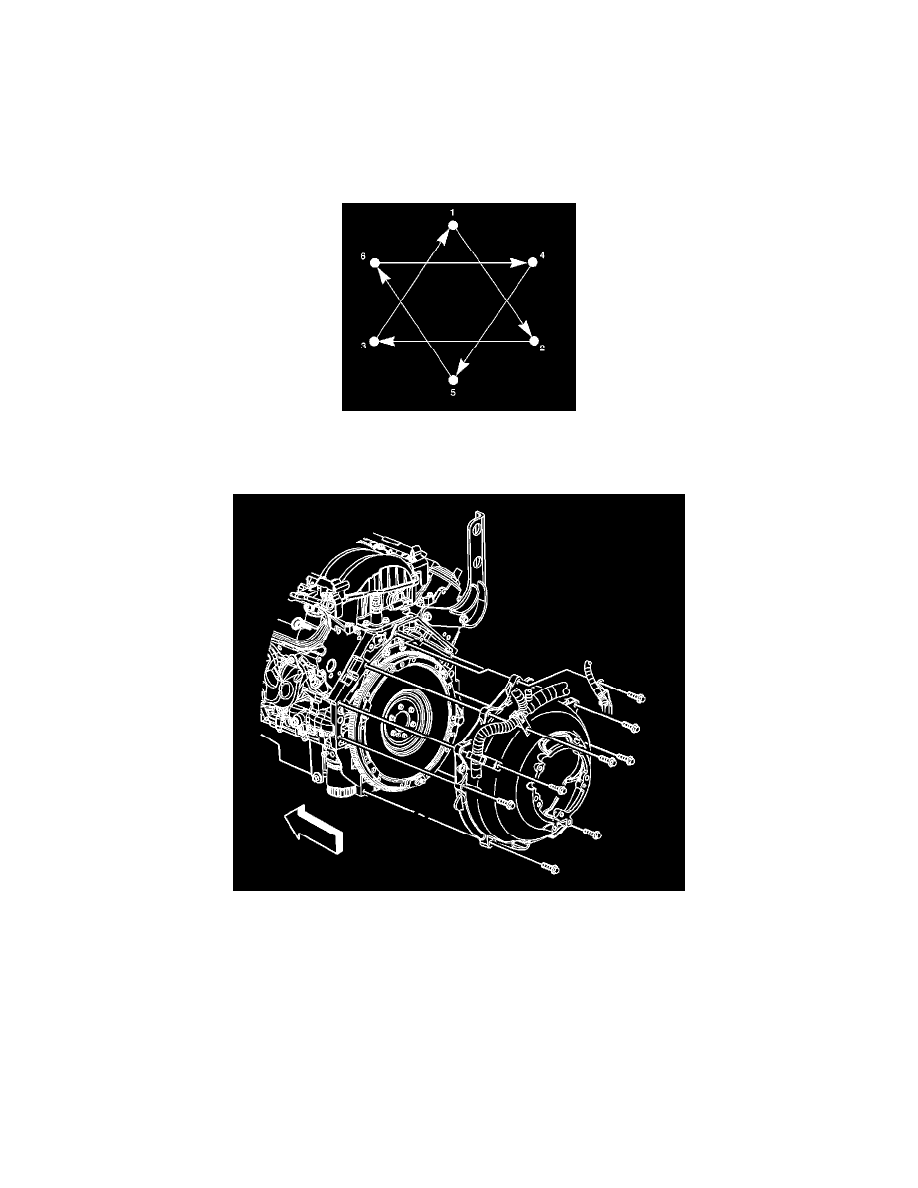
11. Tighten the clutch pressure plate bolts in the sequence shown, starting with the number one and following in numerical order.
Tighten the clutch pressure plate bolts in sequence and evenly over 3 increments with the fourth increment to 70 N.m (52 lb ft).
12. Install the bell housing bolts.
Tighten the bolts to 50 N.m (37 lb ft).
13. Install the driveline support assembly and the transaxle.
14. Connect the negative battery cable.
Tighten the negative battery cable bolt to 15 N.m (11 lb ft).
15. Program the transmitters. Refer to Transmitter Programming (Domestic and Japan) Transmitter Programming (Export - Including Canada).
16. Lower the vehicle.