Corvette V8-7.0L (2007)

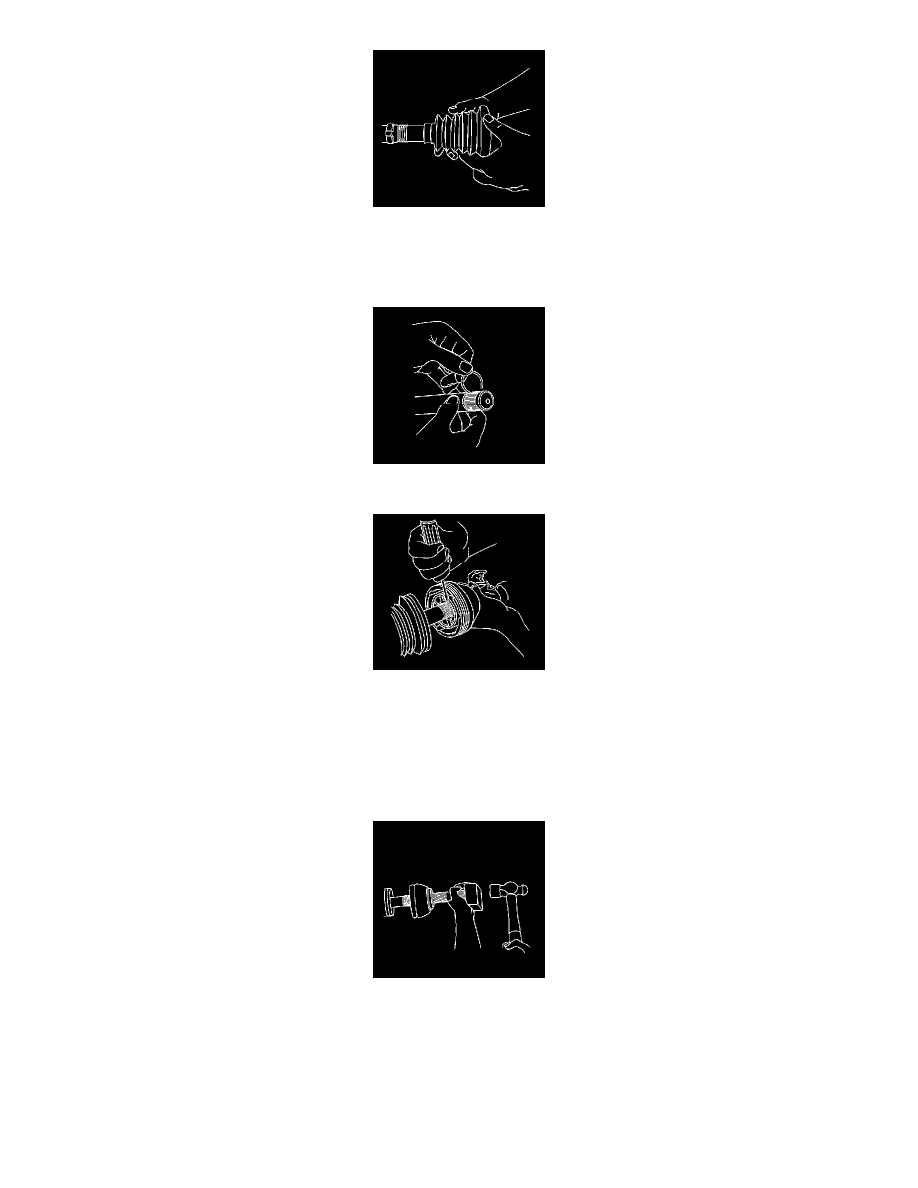
23. Wrap a shop towel around the axle shaft.
24. Place the wheel drive shaft horizontally in a bench vise.
25. Install a new small seal retaining clamp onto the axle shaft.
26. Install the seal onto the axle shaft.
27. Install the axle shaft retaining ring to the axle shaft.
28. Position the outer joint horizontally.
29. Engage the inner race splines onto the axle shaft splines.
30. Compress the axle shaft retaining ring.
1. Press one end of the retaining ring, using a flat bladed screwdriver or equivalent tool, into the axle shaft groove while firmly pressing the outer
joint onto the axle shaft.
2. Continue to work around the retaining ring until it is compressed.
Important: The axle shaft and inner race must be fully seated to each other.
31. Install the outer joint to the axle shaft.
1. Position a wood block squarely over the end of the outer joint threaded shaft.
2. Use a hammer to drive the outer joint onto the shaft.
3. Continue to drive the outer joint until you feel the outer joint seat fully onto the axle shaft.
4. Inspect to be sure that the axle shaft and the inner race stepped surfaces are fully seated to each other.
