
Cruze L4-1.4L Turbo (2011)
Connecting Rod Bearing: Service and Repair
Piston, Connecting Rod, and Bearing Replacement
Special Tools
EN-470-B - Angular Torque Wrench
For equivalent regional tools, refer to Special Tools (See: Tools and Equipment).
Removal Procedure
1. Open the hood.
2. Remove the cylinder head. Refer to Cylinder Head Replacement (1.4L LUH and LUJ) (See: Cylinder Head Assembly/Service and Repair).
3. Raise and support the vehicle. Refer to Lifting and Jacking the Vehicle (See: Maintenance/Vehicle Lifting/Service and Repair).
4. Remove the oil pan. Refer to Oil Pan Replacement (1.4L LUH and LUJ) (See: Engine Lubrication/Oil Pan/Service and Repair).
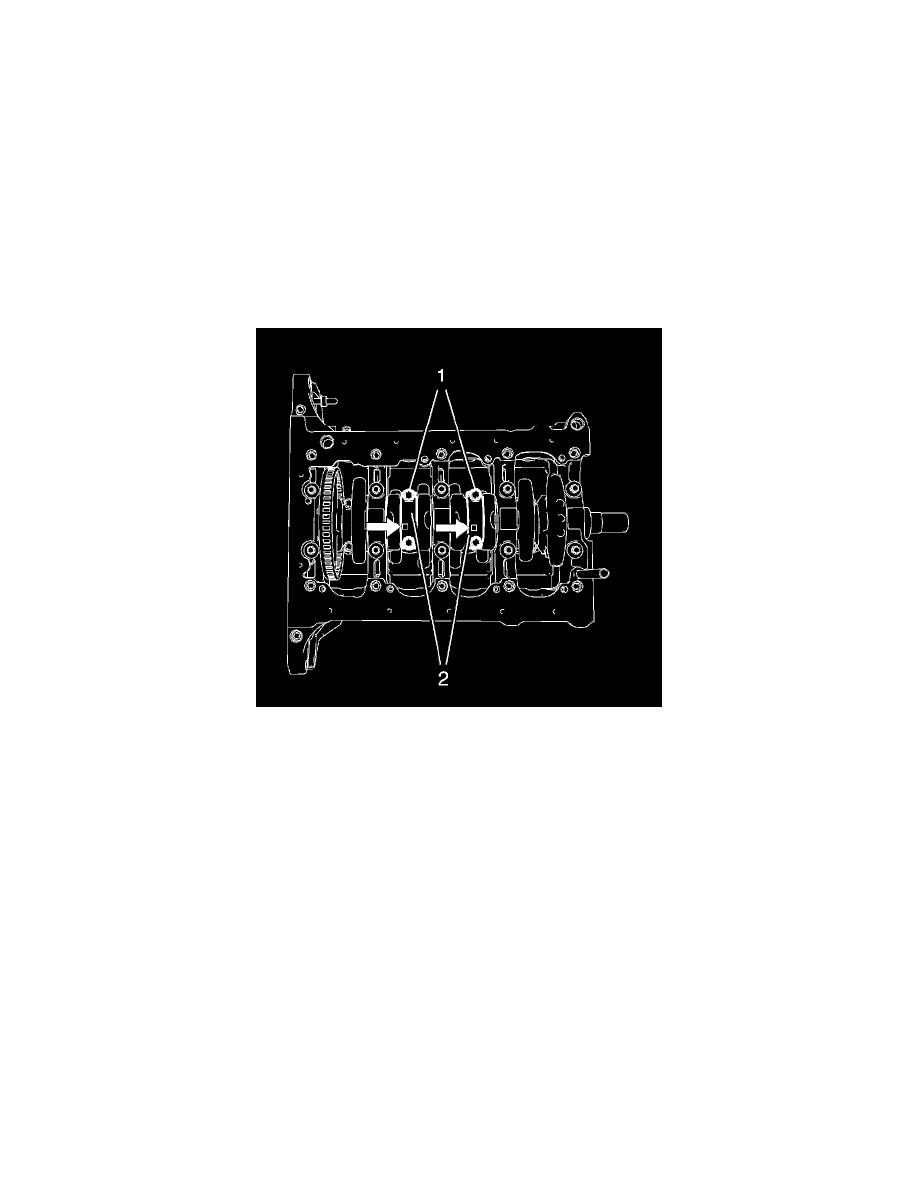
Note: Mark the installation position of the connecting rod bearing caps. The connecting rod bearings and bearing caps must not be interchanged
with other connecting rods.
5. Remove the 4 connecting rod bearing cap bolts (1) of cylinder 2 and 3.
6. Remove the 2 connecting rod bearing caps (2) and the 2 connecting rod bearings of cylinder 2 and 3.
7. Rotate the crankshaft 180°.