
Cruze L4-1.4L Turbo (2011)
Timing Cover: Service and Repair
Engine Front Cover with Oil Pump Replacement
Removal Procedure
1. Open the hood.
2. Disconnect the battery negative cable. Refer to Battery Negative Cable Disconnection and Connection (See: Starting and
Charging/Battery/Battery Cable/Negative/Service and Repair/Battery Negative Cable Disconnection and Connection).
3. Set the engine to TDC. Refer to Camshaft Timing Chain Inspection (See: Service and Repair/Overhaul/3. Camshaft Timing Chain Inspection).
4. Raise and support the vehicle. Refer to Lifting and Jacking the Vehicle (See: Maintenance/Vehicle Lifting/Service and Repair).
5. Remove the front compartment splash shield right side. Refer to Front Compartment Splash Shield Replacement (See: Body and Frame/Splash
Guard/Service and Repair/Front Compartment Splash Shield Replacement).
6. Disconnect all electrical connectors from the generator. Refer to Generator Replacement (1.4L LDD, LUH, and LUJ) (See: Starting and
Charging/Charging System/Alternator/Service and Repair)Generator Replacement (1.6L LDE, LXV, LLU, 1.8L 2H0, and LUW) (See: Starting
and Charging/Charging System/Alternator/Service and Repair).
7. Fix the drive belt tensioner and remove the drive belt from crankshaft balancer, drive belt tensioner and air conditioning compressor. Refer to
Drive Belt Replacement (See: Drive Belts, Mounts, Brackets and Accessories/Drive Belt/Service and Repair).
8. Remove the air conditioning compressor bracket. Refer to Air Conditioning Compressor Bracket Replacement (See: Drive Belts, Mounts,
Brackets and Accessories/Service and Repair).
9. Place a collecting basin underneath.
10. Remove the crankshaft balancer. Refer to Crankshaft Balancer Replacement (See: Cylinder Block Assembly/Harmonic Balancer - Crankshaft
Pulley/Service and Repair).
11. Remove the oil pan. Refer to Oil Pan Replacement (1.4L LUH and LUJ) (See: Engine Lubrication/Oil Pan/Service and Repair).
12. Lower vehicle.
13. Remove the engine mount bracket. Refer to Engine Mount Bracket Replacement - Right Side (See: Drive Belts, Mounts, Brackets and
Accessories/Engine Mount/Service and Repair/Removal and Replacement/Engine Mount Bracket Replacement - Right Side).
14. Remove the drive belt tensioner. Refer to Drive Belt Tensioner Replacement (See: Drive Belts, Mounts, Brackets and Accessories/Drive Belt
Tensioner/Service and Repair).
15. Remove the generator from above. Refer to Generator Replacement (1.4L LDD, LUH, and LUJ) (See: Starting and Charging/Charging
System/Alternator/Service and Repair)Generator Replacement (1.6L LDE, LXV, LLU, 1.8L 2H0, and LUW) (See: Starting and
Charging/Charging System/Alternator/Service and Repair).
16. Remove the water pump pulley and the water pump. Refer to Water Pump Replacement (LDD and LUJ) (See: Water Pump/Service and Repair
)Water Pump Replacement (LDE, LXV, 2H0, and LUW) (See: Water Pump/Service and Repair).
17. Remove the camshaft position actuator solenoid valves. Refer to Camshaft Position Actuator Solenoid Valve Removal (See: Service and
Repair/Overhaul/25. Camshaft Position Actuator Solenoid Valve Removal).
18. Loosen the camshaft sprocket bolts until the camshaft position exciter wheels are free rotatable. Refer to Camshaft Timing Chain Adjustment (
See: Service and Repair/Overhaul/4. Camshaft Timing Chain Adjustment).
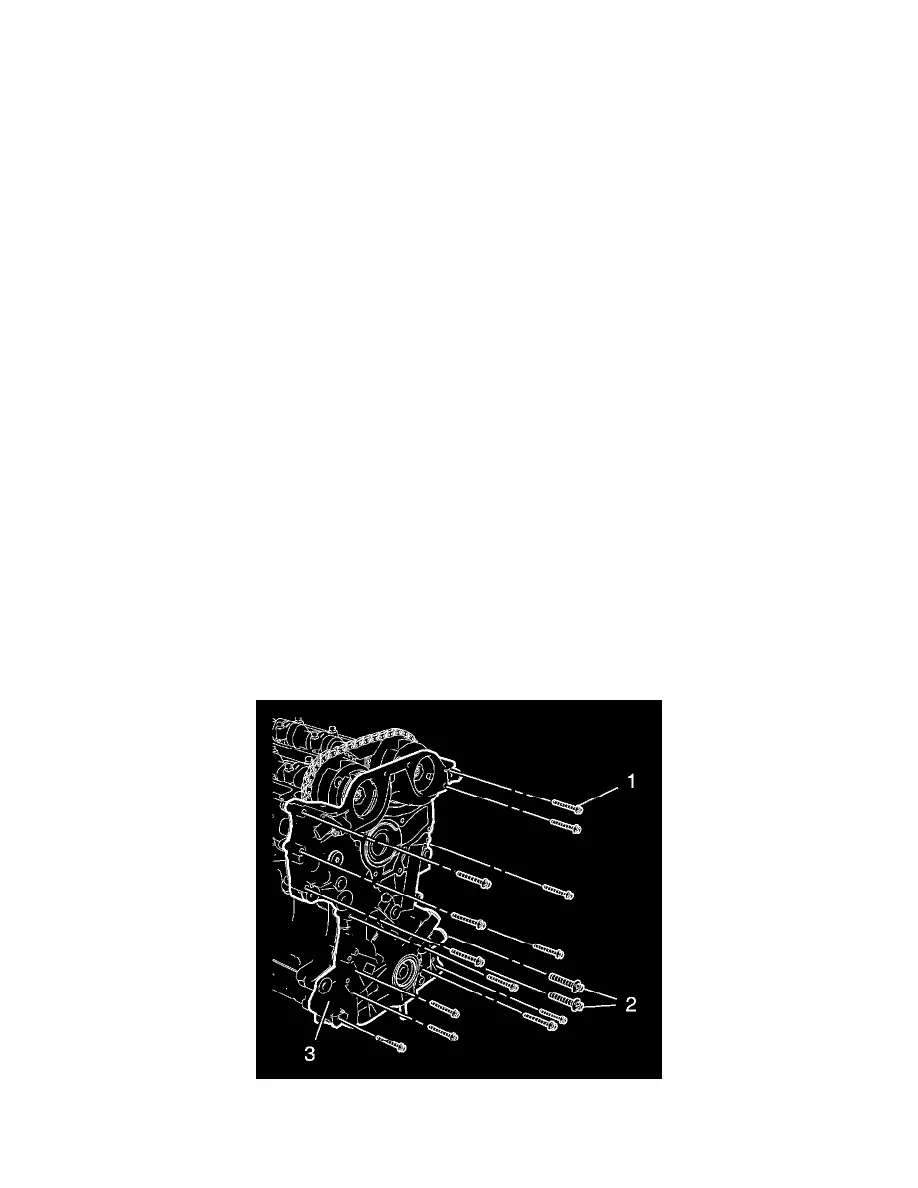
19. Remove the 13 engine front cover bolts M6 (1).
20. Remove the 2 engine front cover bolts M10 (2).
21. Remove the engine front cover (3).