
EL Camino V6-229 3.8L (1982)
4.
Position dust boot in caliper counterbore and install, Fig. 7. Check the boot installation to be sure the retaining ring molded into the boot is not
bent and that the boot is installed below the caliper face and evenly all around. If the boot is not fully installed, dirt and moisture may enter the
bore and cause corrosion.
5.
Install the brake hose in the caliper using a new copper gasket.
6.
Install shoes and caliper assembly.
Caliper Installation
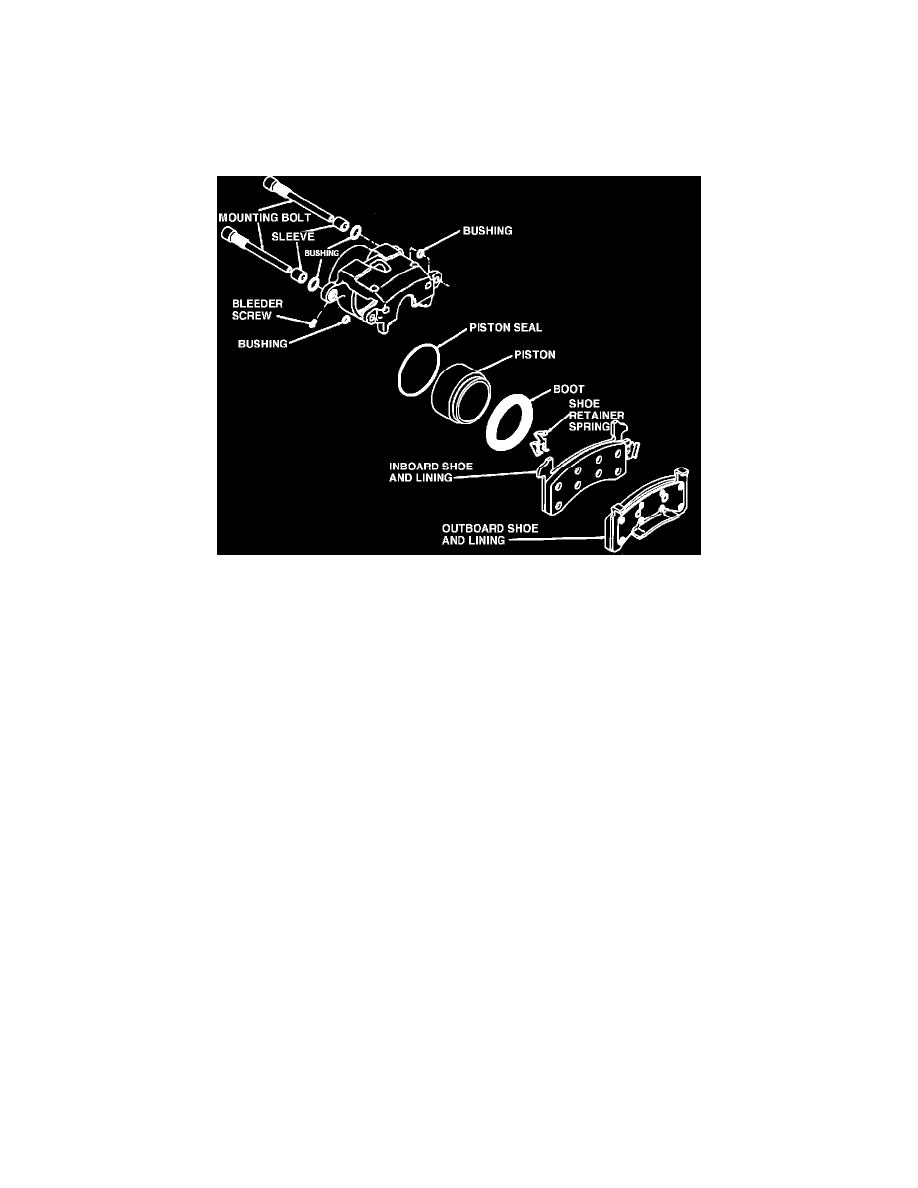
Fig. 1 Exploded View
1.
Position caliper over disc, lining up holes in caliper with holes in mounting bracket. If brake hose was not disconnected during removal, be sure
not to kink it during installation.
2.
Start mounting bolts through sleeves in inboard caliper ears and the mounting bracket, making sure ends of bolts pass under ears on inboard shoe.
Right and left calipers must not be interchanged.
3.
Push mounting bolts through to engage holes in the outboard ears. Then thread mounting bolts into bracket.
4.
Torque mounting bolts to 30---40 ft. lbs.
5.
If brake hose was removed, reconnect it and bleed the calipers.
6.
Replace front wheels, lower vehicle and add brake fluid to master cylinder to bring level to 1/4 inch from top. Before moving vehicle, pump
brake pedal several times to be sure it is firm. Do not move vehicle until a firm pedal is obtained.