Equinox AWD V6-3.4L (2008)

Important: Provided the rear main bearing cap and engine front cover have not been removed and provided the sealant on either side of
the rear main bearing cap and engine front cover has not been disturbed, it may not be necessary to apply additional sealant in these
locations.
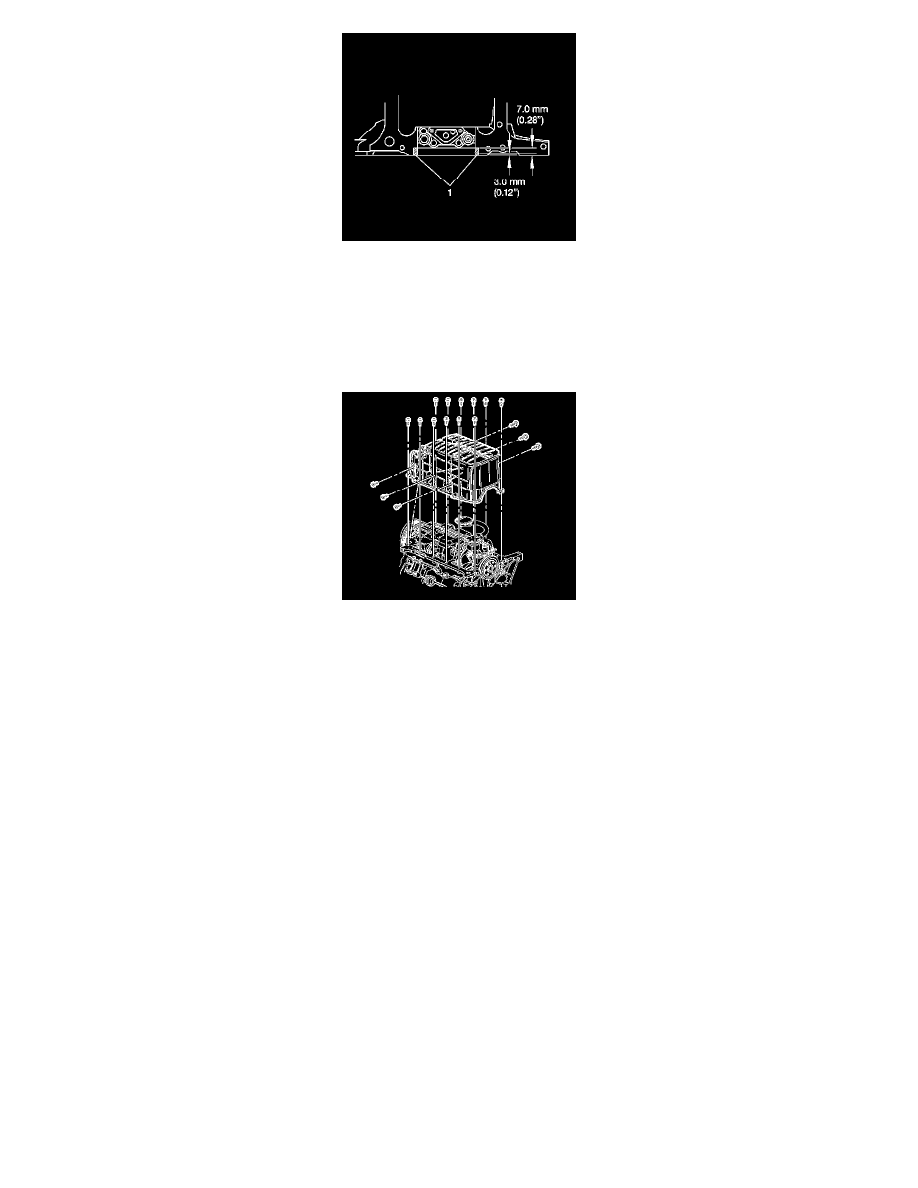
1. Apply sealer to both sides of the crankshaft rear main bearing cap (1) and where the engine front cover meets the engine block. Refer to Sealers,
Adhesives, and Lubricants (See: Specifications/Mechanical Specifications/Sealers, Adhesives, and Lubricants) for the correct part number. Press
the sealer into the gap using a putty knife.
2. Install the oil pan gasket.
3. Install the oil pan.
Notice: Refer to Fastener Notice .
4. Install the oil pan flange bolts.
Tighten the bolts to 25 N.m (18 lb ft).
5. Install the oil pan side bolts.
Using J 39505 torque the bolts to 50 N.m (37 lb ft).
6. Install a NEW oil filter. Refer to Engine Oil and Oil Filter Replacement (See: Engine Oil/Service and Repair) .
7. If equipped with FWD, install the intermediate shaft. Refer to Intermediate Shaft Replacement .
8. If equipped with AWD, install the transfer case . Refer to Transfer Case Replacement .
9. Install the starter. Refer to Starter Motor Replacement (LNJ) Starter Motor Replacement (LY7) .
