
Equinox AWD V6-3.4L (2008)
Important:
*
All gasket mating surfaces must remain free of oil and foreign material. Refer to Sealers, Adhesives, and Lubricants (See:
Specifications/Mechanical Specifications/Sealers, Adhesives, and Lubricants) for the correct part number to use to clean surfaces.
*
Do not apply room temperature vulcanizing (RTV) sealer to the engine block prior to the installation of the manifold gaskets. RTV
sealer is not to be placed under the lower intake manifold gaskets.
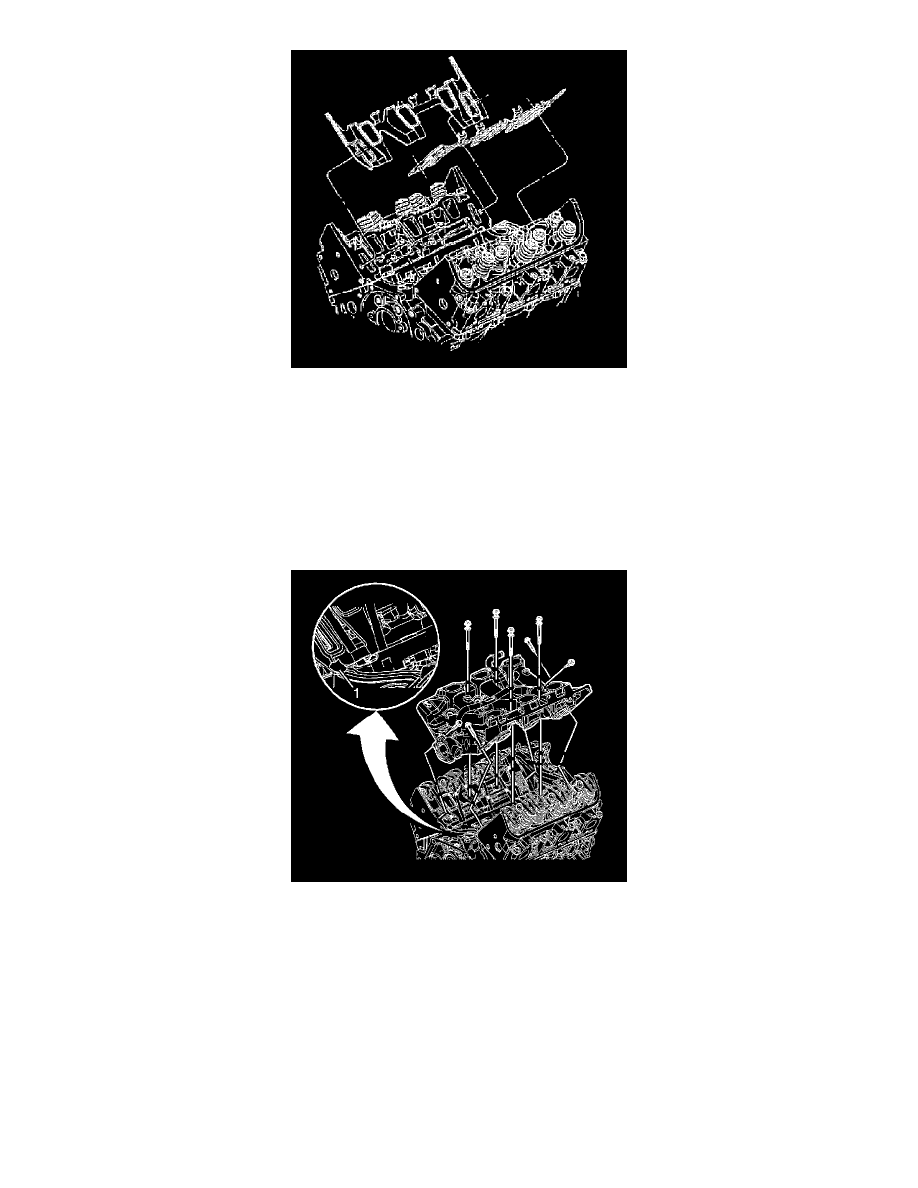
1. Install the lower intake manifold gaskets.
2. Install the rocker arms and push rods. Refer to Valve Rocker Arm and Push Rod Replacement (See: Camshaft, Lifters and Push Rods/Rocker Arm
Assembly/Service and Repair) .
3. Install the lower intake manifold seals.
4. With the seals in place, apply a small drop 8-10 mm (0.31-0.39 in) of RTV sealer (1). Refer to Sealers, Adhesives, and Lubricants (See:
Specifications/Mechanical Specifications/Sealers, Adhesives, and Lubricants) for the correct part number.
5. Install the lower intake manifold to the engine.