
Equinox AWD V6-3.4L (2008)
Important: Failure to perform the following service procedure prior to the installation of the new bushing, could cause premature failure
of the bushing.
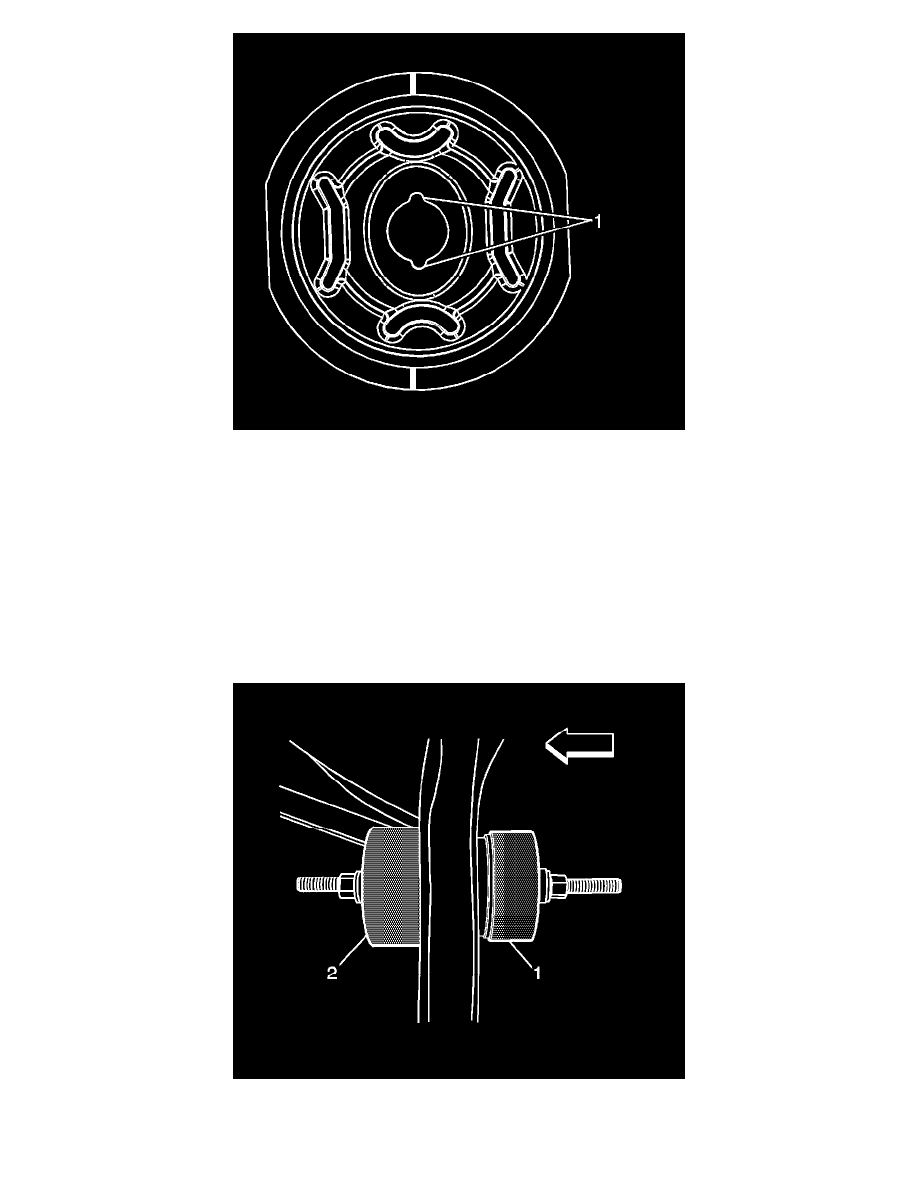
1. Before the installation of the new bushing, use a straight edge draw a line on the new bushing at the 12 and 6 o'clock positions. Ensure that the
grooves (1) are at the 12 and 6 o'clock positions.
2. Position the new bushing so that the reference marks on the frame and the bushing are in alignment. This will ensure that the new bushing will be
within the + or - 5° specification required for the proper alignment of the bushing.
Important: The following procedure is to temporarily hold the new bushing in place so that the special tools can be installed for the
proper installation. This is NOT to be used to install the bushing.
3. Using a block of wood and a hammer, slightly tap the bushing into the frame.
4. Assemble the threaded rod, bearings and washers as indicated in step 7 in the removal procedure.
5. Position the J-45725-4 (2) on the inside of the frame.
6. Position J-45725-1A (1) on the outside of the frame.
7. Adjust the nuts so that they are touching the J-45725-2 (1) and the J-45725-2A (2).