
Equinox AWD V6-3.4L VIN F (2006)
Liftgate Window Glass: Service and Repair
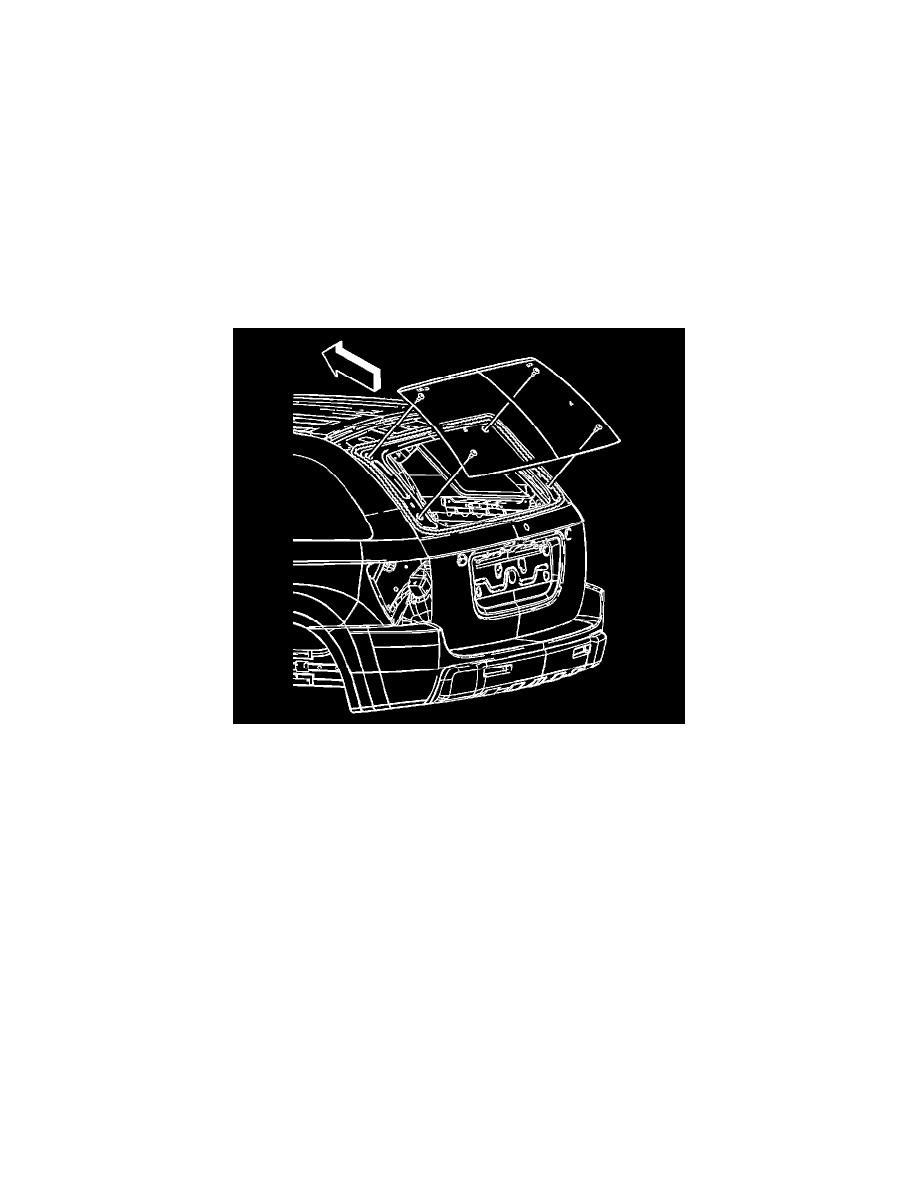
Window Replacement - Liftgate
Tools Required
*
J 24402-A Glass Sealant (Cold Knife) Remover
*
J 39032 Stationary Glass Removal Tool
*
Urethane Adhesive Kit GM P/N 12346392 or Equivalent
*
Isopropyl Alcohol or equivalent
*
Cartridge-Type Caulking Gun
*
Commercial-Type Utility Knife
*
Razor Blade Scraper
*
Suction Cups
*
Plastic Paddle
Removal Procedure
Caution: Refer to Cracked Window Caution in Cautions and Notices.
Important: Before cutting out a stationary window, apply a double layer of masking tape around the perimeter of the painted surfaces
and the interior trim.
1. Open the liftgate.
2. Remove the liftgate trim. Refer to Trim Panel Replacement - Liftgate (See: Trunk / Liftgate Interior Trim Panel/Service and Repair) in Body Rear
End.
3. Disconnect the electrical connectors from the liftgate window defogger bus bar.
Caution: Refer to Defroster Outlet Caution in Cautions and Notices.
4. Cover the following parts to protect from broken glass:
*
Upper dash pad
*
Defroster outlets and A/C outlets
*
Seats and carpeting
Caution: Refer to Glass and Sheet Metal Handling Caution in Cautions and Notices.
Important: Keep the cutting edge of the tool against the window.