
Equinox AWD V6-3.4L VIN F (2006)
5. Disconnect the optional sunroof switch.
6. Remove the windshield upper garnish molding. Refer to Windshield Upper Garnish Molding Replacement (See: Trim Panel/Service and
Repair/Removal and Replacement) .
7. Remove the upper center pillar molding. Refer to Garnish Molding Replacement - Center Pillar Lower (See: Trim Panel/Service and
Repair/Removal and Replacement) .
8. Remove the dome lamp. Refer to Dome Lamp Replacement in Lighting Systems.
9. Remove the lock pillar garnish molding. Refer to Garnish Molding Replacement - Lock Pillar Upper (See: Trim Panel/Service and
Repair/Removal and Replacement) .
10. Remove the rear corner garnish molding. Refer to Garnish Molding Replacement - Rear Corner (See: Trim Panel/Service and Repair/Removal
and Replacement) .
11. Remove the coat hooks. Refer to Coat Hook Replacement (See: Service and Repair) .
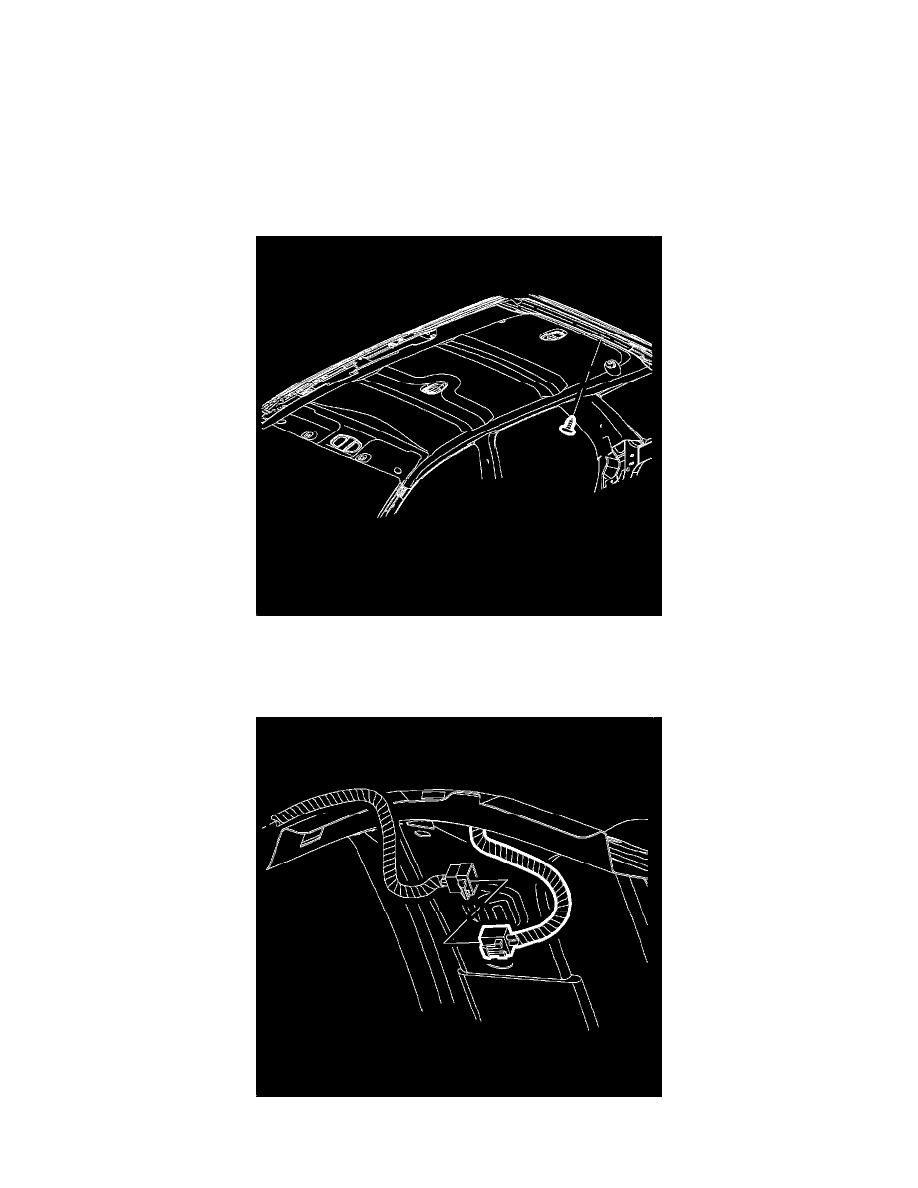
12. Remove the rear pushpin.
13. Pull back the quarter trim panel. Refer to Trim Panel Replacement - Rear Quarter Lower (See: Trim Panel/Service and Repair/Removal and
Replacement) .
14. Remove the door seal from the headliner edge.
15. Disconnect the headliner electrical connector behind the trim panel.
16. Fold the passenger seat flat and the driver seat forward.