
Equinox AWD V6-3.4L VIN F (2006)
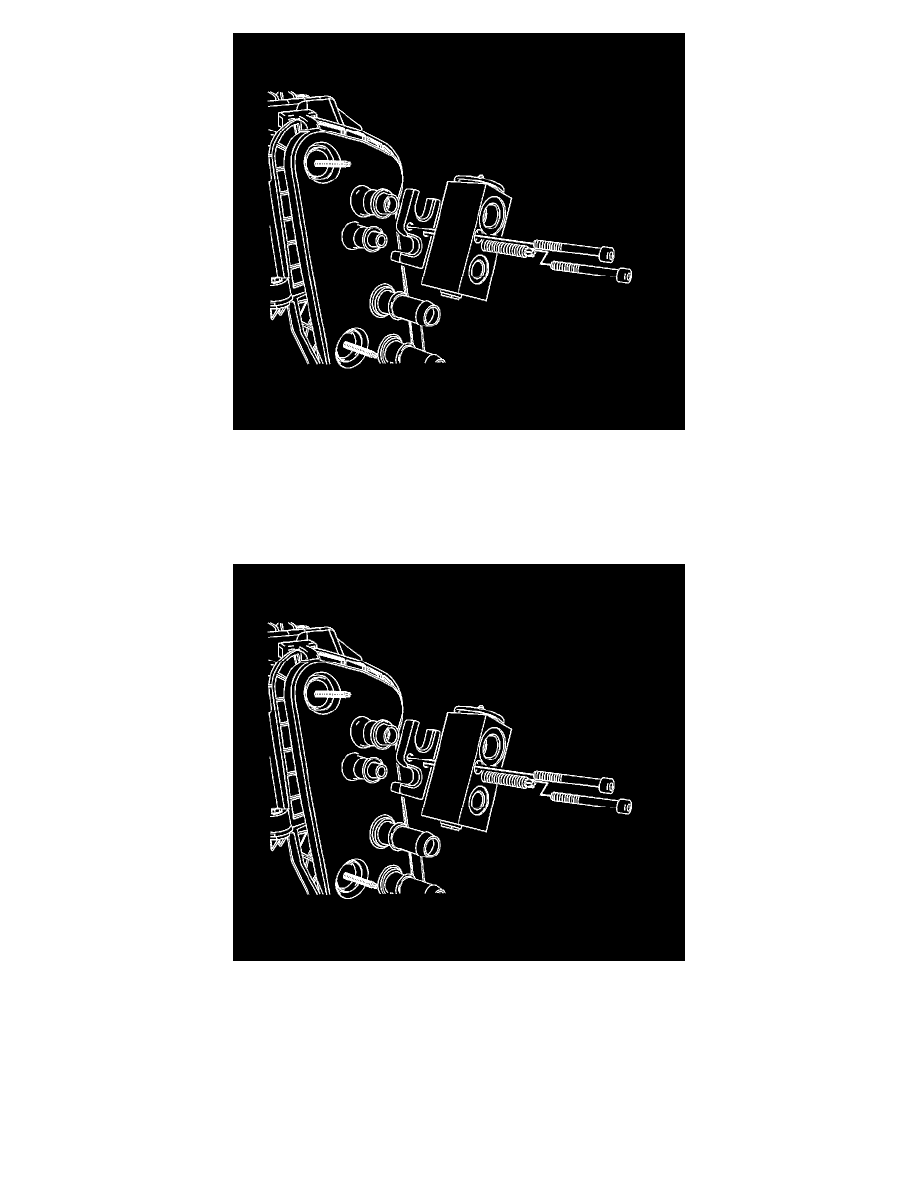
6. Remove the TXV bolts from the backing plate.
7. Remove the TXV and the backing plate from the vehicle.
8. Remove and discard the seal washers from the evaporator pipes.
9. Install a protective cap to the evaporator pipes to prevent contamination and desiccant saturation.
INSTALLATION PROCEDURE
1. Remove the protective caps from the evaporator pipes and ensure the seal areas are clean, dry and lint free.
IMPORTANT: Use only lint free cloths to wipe parts. Do not allow any solvent to enter evaporator or hoses.
2. Install new seal washers to the evaporator pipes.
3. Remove the protective caps from the TXV.
4. Install the TXV and the backing plate to the evaporator pipes.
5. Install the TXV bolts to the backing plate.
Tighten the bolts to 3.5 N.m (31 lb in).