
Equinox AWD V6-3.4L VIN F (2006)
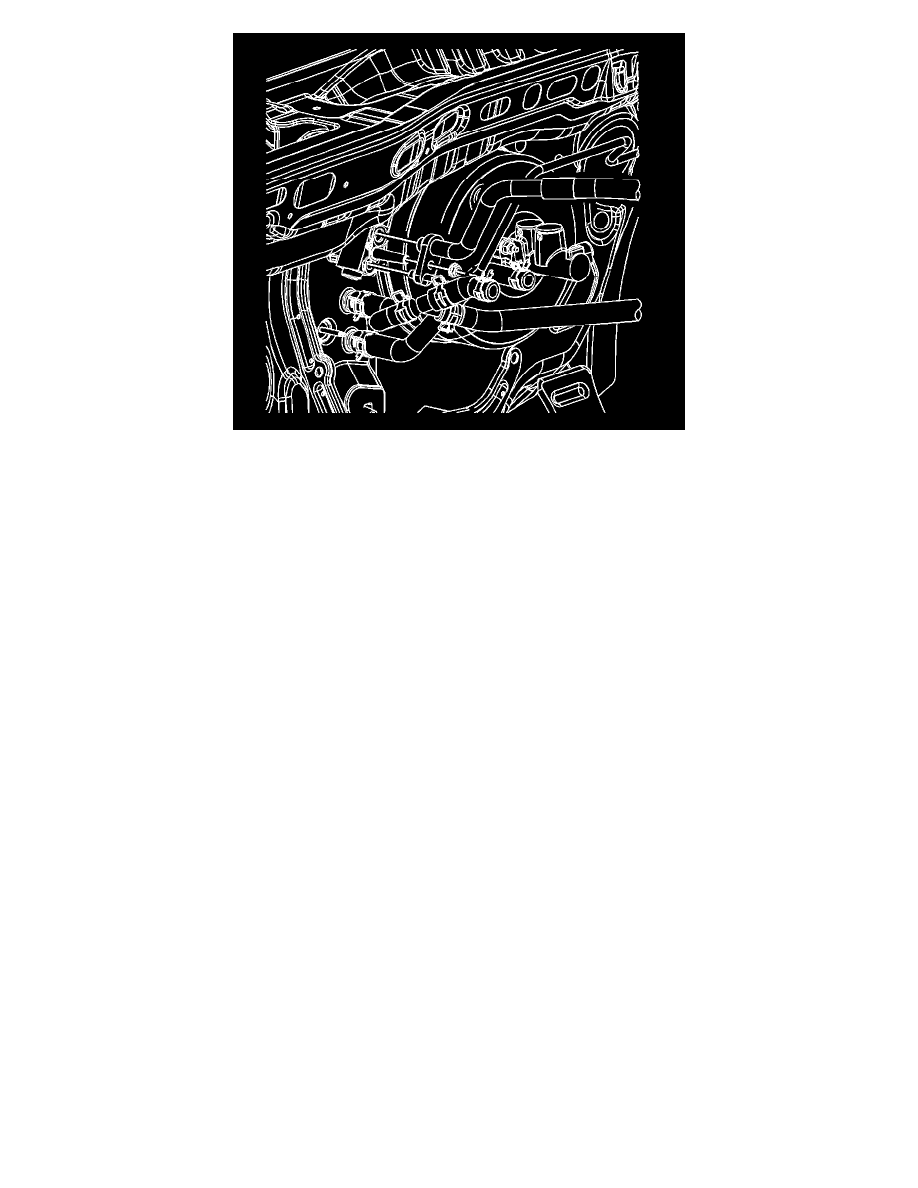
22. Ensure the mating surfaces are clean and free of debris, and install new seal washers to the evaporator outlet hose and the liquid line. Refer to
Sealing Washer Replacement.
23. Install the evaporator outlet hose and the liquid line to the TXV.
24. Install the evaporator outlet hose and liquid line nut to the TXV.
Tighten the nut to 20 N.m (15 lb ft).
25. Enable the frontal and curtain air bags. Refer to SIR Disabling and Enabling Zone 2 , SIR Disabling and Enabling Zone 3 , SIR Disabling and
Enabling Zone 5 , and SIR Disabling and Enabling Zone 6.
26. Fill the coolant. Refer to Draining and Filling Cooling System (Static Fill) Draining and Filling Cooling System (GE 47716 Fill).
27. Evacuate and charge the A/C system. Refer to Refrigerant Recovery and Recharging.
28. Test the affected A/C joints for leaks using J 39400-A.