Equinox AWD V6-3.4L VIN F (2006)

9.
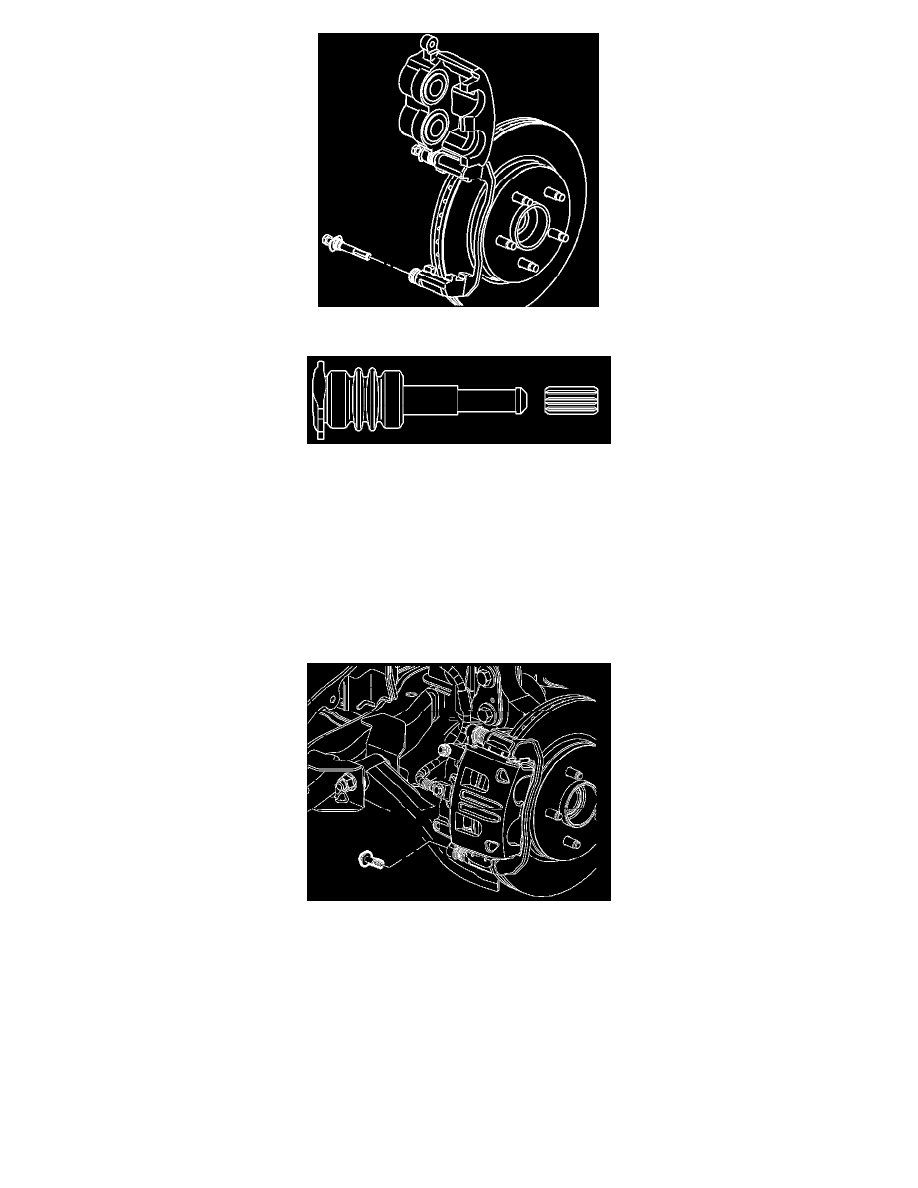
Remove the lower caliper pin taking care not to damage the pin boot.
10.
Remove the rubber bushing from the caliper pin.
11.
Clean the pin and install a new bushing.
12.
Lubricate the caliper pin and bushing assembly with a light coat of high temperature silicone brake lubricant and install in the caliper bracket.
13.
Remove the support and rotate the brake caliper into position over the disc brake pads and to the caliper mounting bracket.
14.
Repeat Steps 1-13 on opposite side brake assembly.
Installation Procedure
Note:
Use the correct fastener in the correct location. Replacement fasteners must be the correct part number for that application. Fasteners requiring
replacement or fasteners requiring the use of thread locking compound or sealant are identified in the service procedure. Do not use paints,
lubricants, or corrosion inhibitors on fasteners or fastener joint surfaces unless specified. These coatings affect fastener torque and joint
clamping force and may damage the fastener. Use the correct tightening sequence and specifications when installing fasteners in order to avoid
damage to parts and systems.
1.
Install the lower brake caliper guide pin bolt.
Tighten
Tighten the bolt to 44 N.m (32 lb ft).
