Equinox AWD V6-3.4L VIN F (2006)

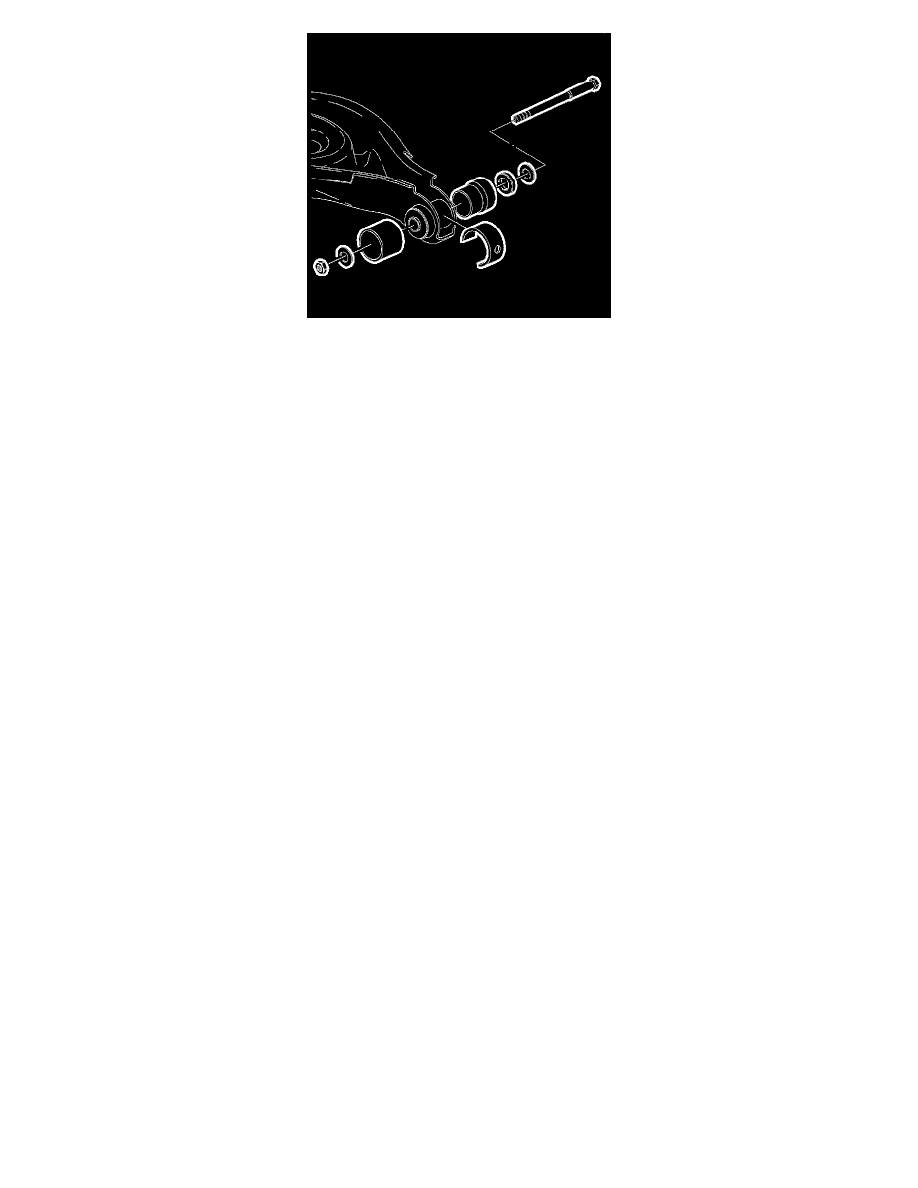
1. Important: Apply high pressure lube to the threads of the tool.
Install a new bushing from the opposite direction.
2. Using the J 45097, reverse the tool layout from the removal procedure.
3. Tighten the nut until the bushing is fully installed.
4. Install the lower control arm.
