
Equinox AWD V6-3.4L VIN F (2006)
Valve Body: Service and Repair
Control Valve Body Cover Replacement
Control Valve Body Cover Replacement
Removal Procedure
1. Raise the vehicle.
2. Remove the left front wheel and tire assembly.
3. Remove the left splash shield.
4. Remove the front engine mount.
5. Remove the transaxle oil cooler lines and seals from the transaxle.
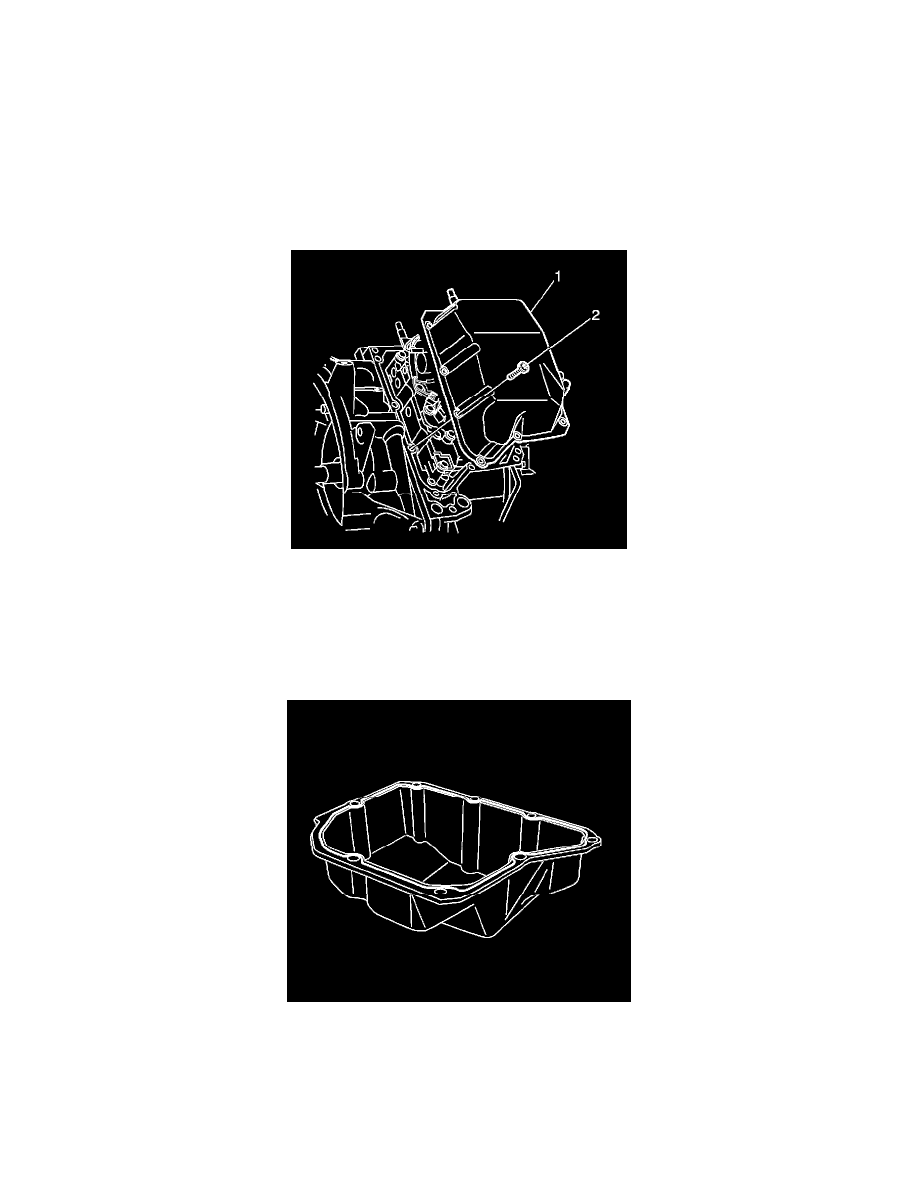
6. Remove the 9 TORX bolts (2) from the control valve body cover (1).
Important: Do not pry with a tool on the transaxle control valve body cover, case or sealing surfaces.
7. Remove control valve body cover.
Installation Procedure
1. Clean any gasket material from the control valve body cover and inspect the gasket mounting surface.
2. Install a 3 mm (0.125 inch) bead of RTV sealer GM P/N 89020326 (Canadian P/N 89021188) onto the control valve body cover.