
Equinox AWD V6-3.4L VIN F (2006)
5. Important: Do not apply excess sealer. Excess sealer could cause premature failure.
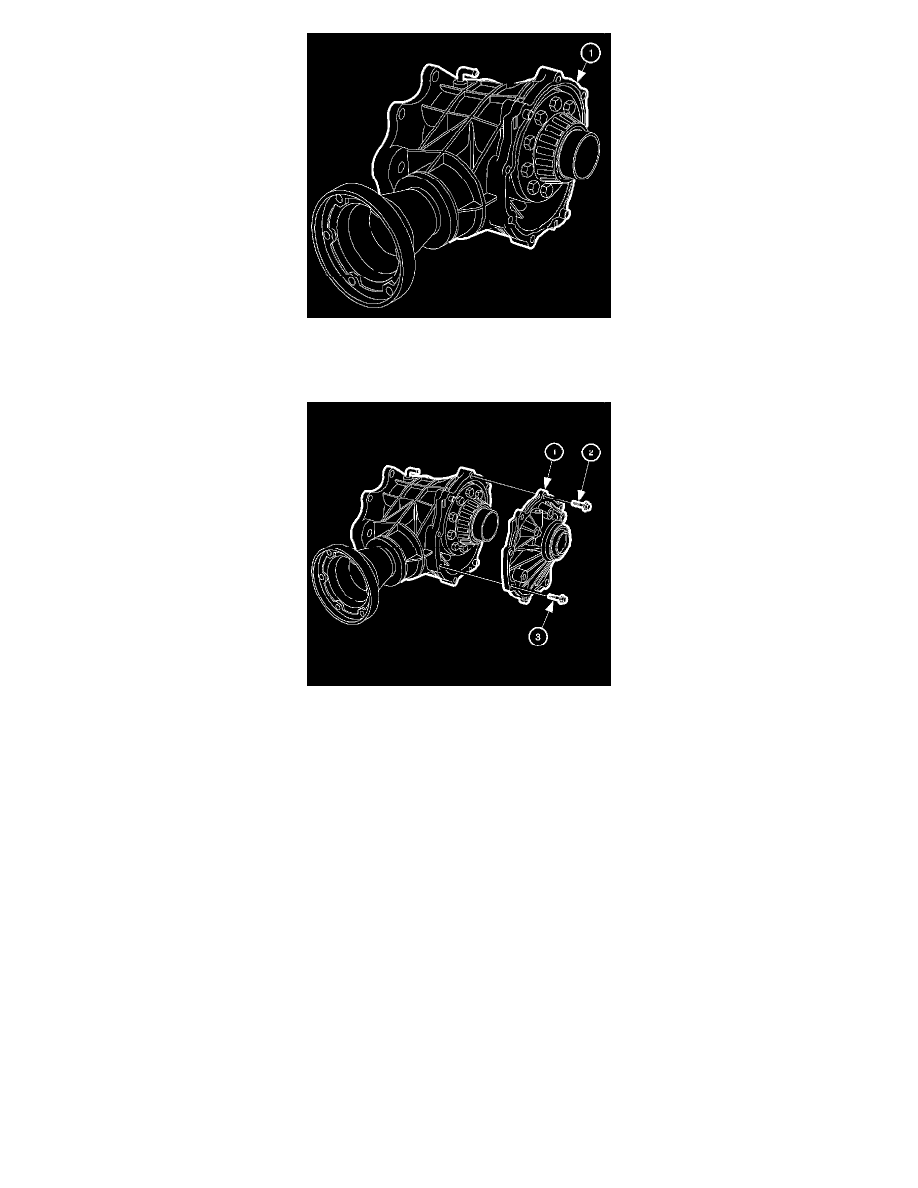
Apply a 2 - 3 mm (0.8 - 0.12 inch) amount of sealant GM P/N 1052943 (Canadian P/N 10953491), or equivalent, to the housing (1).
6. Notice: Refer to Fastener Notice in Service Precautions.
Important: Grease the seal lips in order to protect the seal and to ease in assembly. Coat the bolt threads with thread sealant GM P/N 12345382
(Canadian P/N 10953489).
Install the side cover bolts (1) and the bolts (2 and 3) to the housing. There is not a specific tightening sequence, but the bolts with the dowel pins
should be tightened first, and alternate the others from side to side.
^
Tighten the side cover bolts to 37 Nm (27 ft. lbs.).
7. Install the transfer case mounting bracket.
8. Using the J 44809 , install the NEW output shaft seal.