
Express 1/2 Ton Van V6-4.3L VIN X (2003)
Brake Rotor/Disc: Service and Repair
Brake Rotor - Replacement
Front
Brake Rotor Replacement - Front
Tools Required
-
J41013 Rotor Resurfacing Kit
-
J42450A Wheel Hub Resurfacing Kit
Caution:
Refer to Brake Dust Caution in Service Precautions.
See: Service Precautions/Technician Safety Information/Brake Dust Caution
Removal Procedure
Notice:
Any new rotor must have the protective coating removed from the friction surfaces before being placed in service. Use Goodwrench Brake
Parts Cleaner, GM P/N 123777981 (Canadian P/N 10953463), or the equivalent, and wipe the surface clean with clean cloths. Do not use
gasoline, kerosene, or other oil base solvents which may leave an oily residue. This residue is damaging to the brake lining and is
flammable.
1. Raise and support the vehicle. Refer to Vehicle Lifting.
2. Remove the tire and wheel assembly.
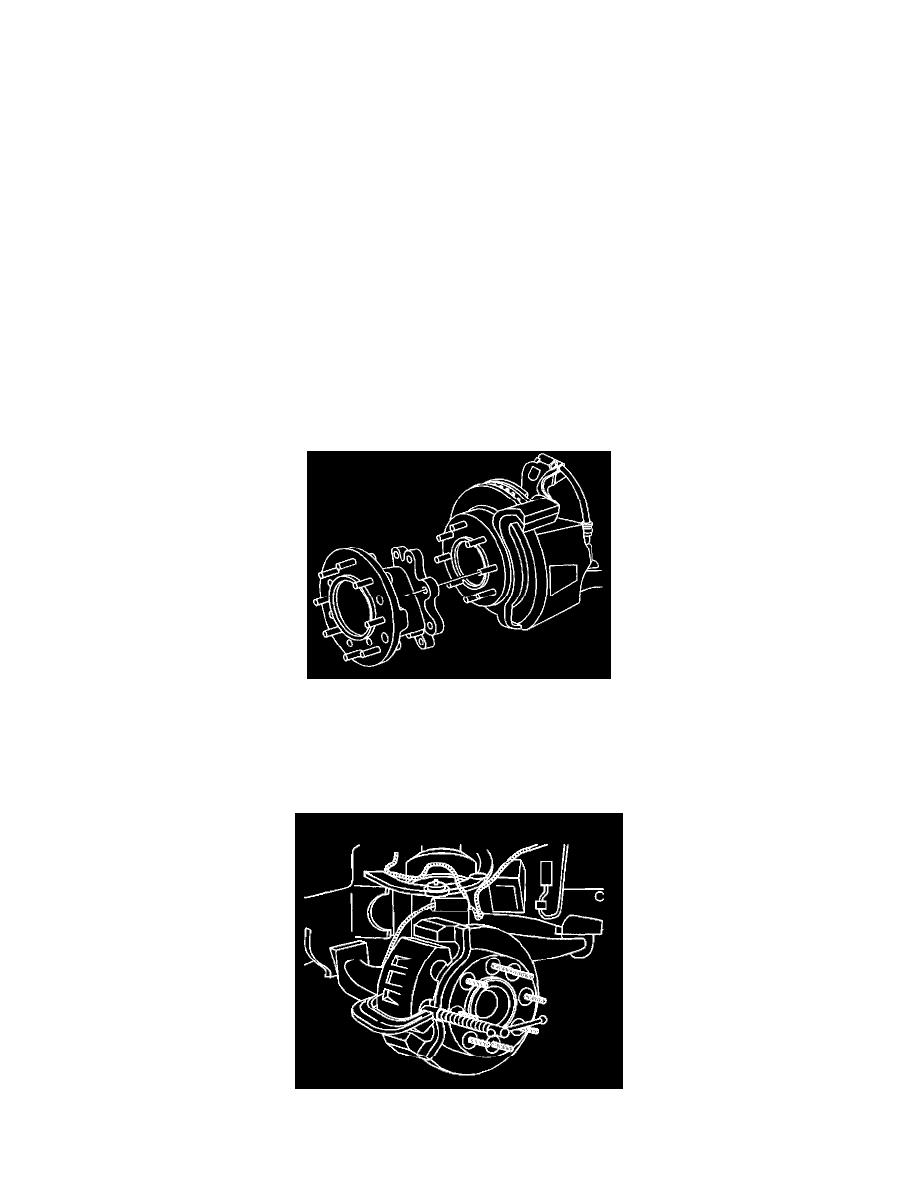
3. Remove the front wheel hub extension, dual wheel vehicles only.
3.1.
Insert a drift or large screwdriver through the brake caliper into one of the brake rotor vanes in order to prevent the rotor from turning.
3.2.
Mark the relationship of the front wheel hub extension to the hub.
3.3.
Remove the front wheel hub extension bolts.
3.4.
Remove the front wheel hub extension from the vehicle. It may be necessary to tap around the perimeter of the hub extension with a rubber
mallet to loosen it from the hub.
4. Mark the relationship of the rotor to the hub.
5. Install a C-clamp over the body of the brake caliper, with the C-clamp ends against the rear of the caliper body and the outboard disc brake pad.