Express 1/2 Ton Van V8-305 5.0L VIN M SFI (1998)

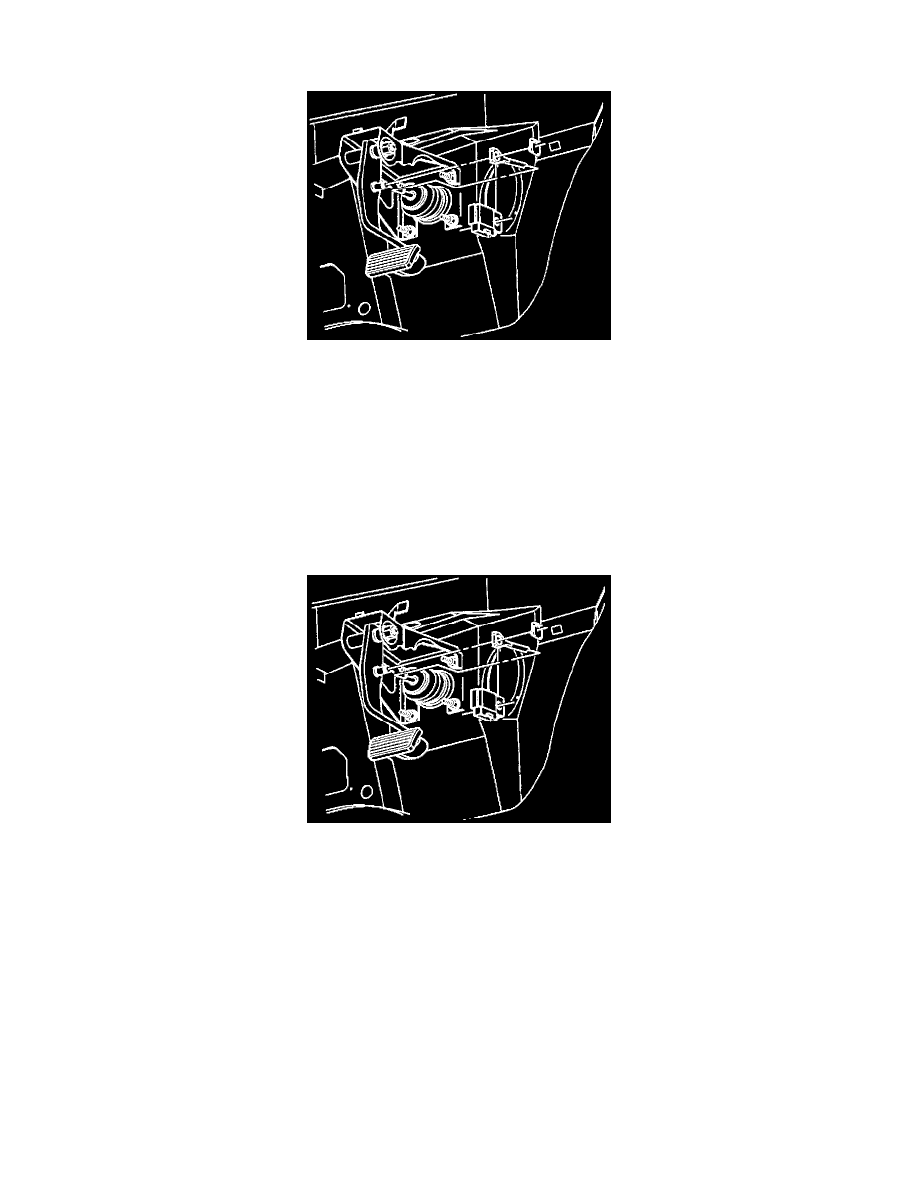
Brake Light Switch: Service and Repair
REMOVAL PROCEDURE
1. Disconnect the negative battery cable.
CAUTION: Before removing or installing any electrical unit or when a tool or equipment could easily come in contact with "live"
exposed electrical terminals, disconnect the negative battery cable to help prevent personal injury and/or damage to the vehicle or
components. Unless instructed otherwise, the ignition switch must be in the "OFF" or "LOCK" position.
2. Disconnect the electrical connector from the stoplamp switch.
3. Remove the retainer from the brake pedal pin.
4. Remove the stoplamp switch and the pushrod to the power brake booster from the brake pedal pin.
5. Unsnap the stoplamp switch from the power brake booster pushrod.
INSTALLATION PROCEDURE
1. Snap the stoplamp switch onto the pushrod to the power brake booster.
2. Install the stoplamp switch with the pushrod on the brake pedal pin.
3. Connect the electrical connector to the stoplamp switch.
4. Connect the negative battery cable.
CAUTION: Before removing or installing any electrical unit or when a tool or equipment could easily come in contact with "live"
exposed electrical terminals, disconnect the negative battery cable to help prevent personal injury and/or damage to the vehicle or
components. Unless instructed otherwise, the ignition switch must be in the "OFF" or "LOCK" position.
