
Express 1/2 Ton Van V8-5.7L VIN R (1999)
2. Start at the corners and align the rear door opening weatherstrip to the door opening pinch-weld flange.
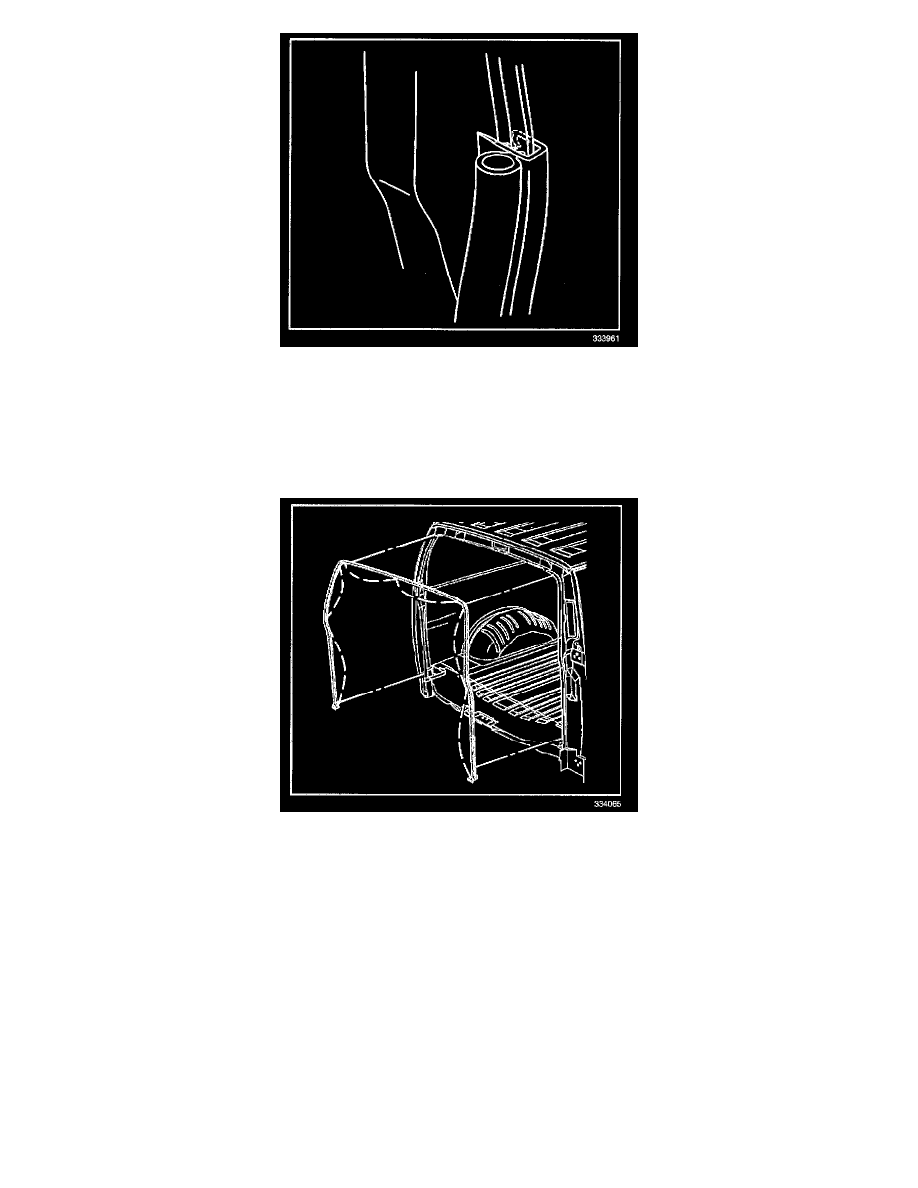
3. Align the channel on the rear door opening weatherstrip with the pinch-weld flange.
IMPORTANT: When installing the rear door opening weatherstrip, ensure that the corners have not pulled away from the body.
4. Press the weatherstrip into place. If you are reinstalling the original weatherstrip, use GM weatherstrip adhesive GM P/N 12345097 at the bottom
ends of the rear door opening weatherstrip in order to retain the weatherstrip to the body.
5. Install the retainers in the ends of the rear door opening weatherstrip into the holes in the floor panel.
6. Install the rear door opening frame garnish molding.
7. Install the rear floor trim plate.
8. Install the passenger side rear corner trim panel.
9. Install the driver side body side rear trim panel.
10. Install the rear corner garnish molding.