
Express 1/2 Ton Van V8-5.7L VIN R (1999)
Intake Manifold: Service and Repair
Intake Manifold Replacement - Lower
Removal Procedure
1. Disconnect the battery negative cable. Refer to Battery Cable Replacement (Battery Disconnect/Connect) in Starting and Charging.
2. Drain the engine coolant.
3. Remove the air cleaner intake duct.
4. Remove the engine cover.
5. Remove the coolant reservoir.
6. Remove the following coolant hoses:
7. Remove the following coolant hoses:
8. Upper radiator hose.
9. Inlet heater hose.
10. Outlet heater hose.
11. Coolant by-pass hose
12. Disconnect the following electrical connectors.
13. SCPI injector electrical connector.
14. Manifold absolute pressure (MAP) sensor
15. Canister purge solenoid
16. Idle air control (IAC) motor
17. Throttle position (TP) sensor
18. Exhaust gas recirculation (EGR) valve
19. Engine coolant temperature (ECT) sensor
20. Remove AIR Bypass hose assembly, if so equipped.
21. Use a twisting motion in order to remove the brake booster vacuum hose, if equipped.
22. Remove the distributor from the engine.
23. Remove the fuel pipes from the rear of the engine.
24. Remove the accelerator control cable and the cruise control cables, if equipped, from the throttle shaft.
25. Remove the accelerator control cable bracket from the throttle body.
26. Remove the ignition coil and ICM bracket.
27. Remove the EGR inlet pipe from the intake manifold.
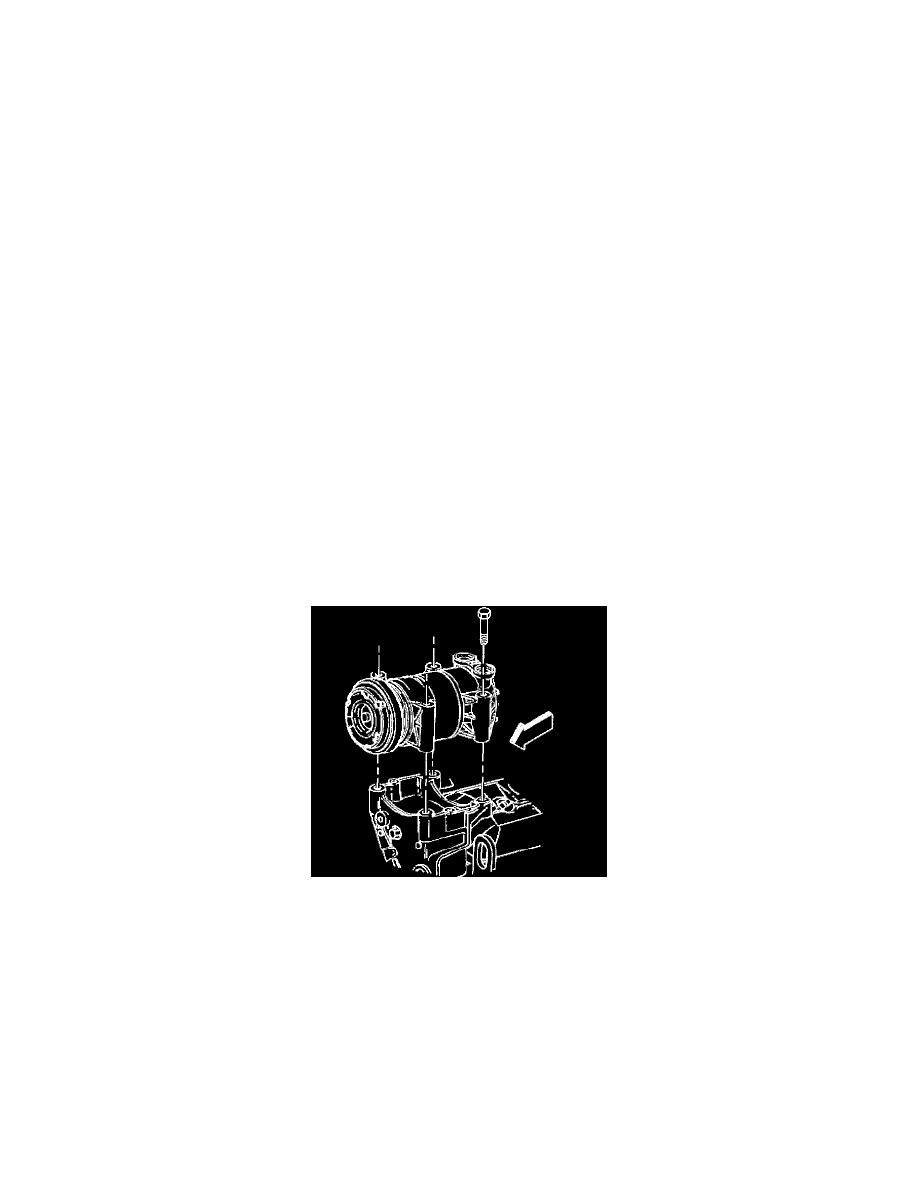
Important: It is not necessary to discharge the A/C refrigerant.
28. Remove the Air Conditioning (A/C) compressor, it equipped, and set it aside.
29. Remove the power steering pulley from the power steering pump.
30. Remove the power steering pump mounting bracket.
31. Remove the left side valve rocker arm cover.
32. Remove the right side valve rocker arm cover.