
Express 1/2 Ton Van V8-5.7L VIN R (1999)
Expansion Block/Orifice Tube: Service and Repair
REMOVAL PROCEDURE
TOOLS REQUIRED
J 26549-E Orifice Tube Remover and Installer
1. Recover the refrigerant from the system. Refer to Refrigerant Recovery and Recharging. See: Refrigerant/Service and Repair
2. Remove the retainer from the evaporator case to the evaporator tube.
3. Remove the evaporator tube from the evaporator.
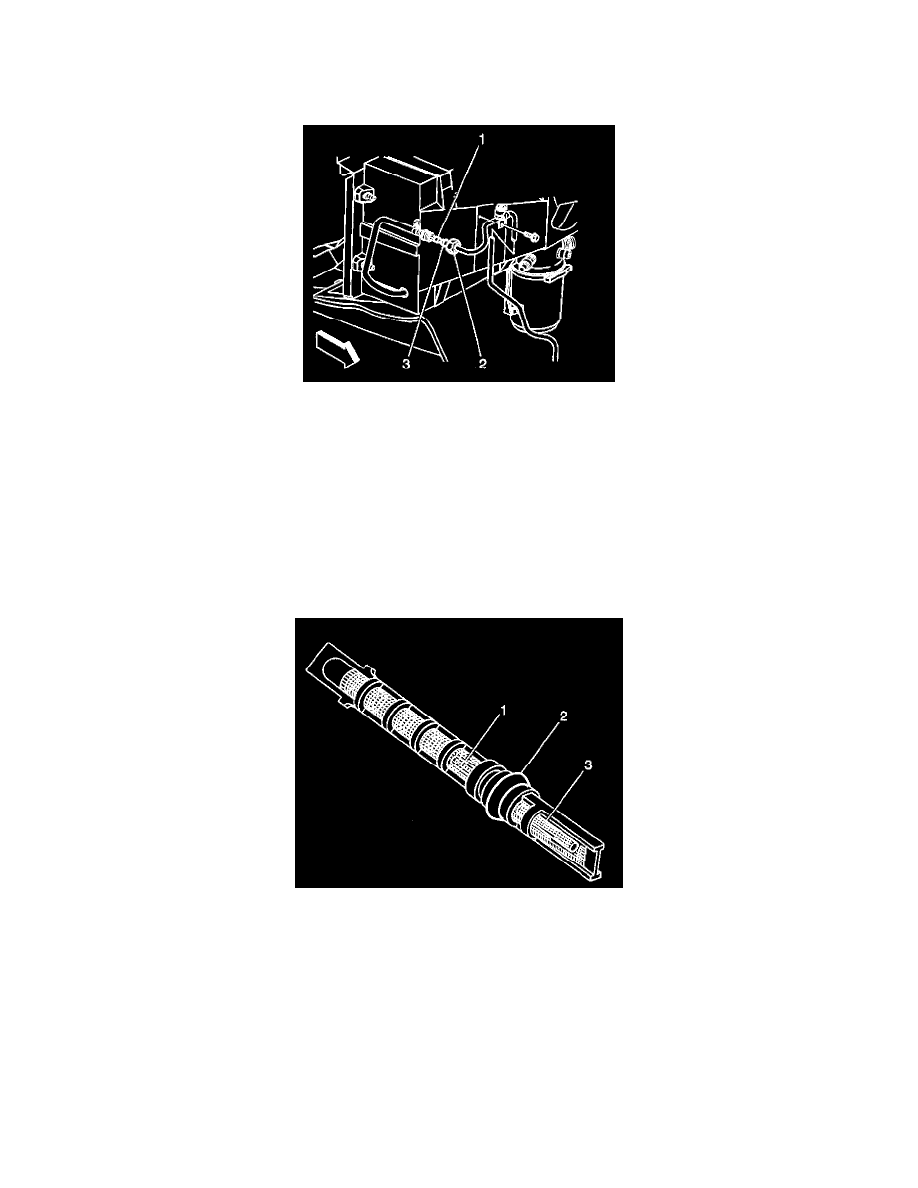
4. Use the J 26549-E in order to remove the expansion (orifice) tube (1).
5. Remove the restricted or plugged expansion tube:
^
Remove as much of the impacted residue as possible.
^
Carefully apply heat with a heat gun, or hair dryer 7 mm (0.25 inch) from the dimples on the inlet pipe.
DO NOT overheat the pipe.
^
While applying heat, use the J 26549-E in order to grip the expansion tube. Use a turning motion along with a push-pull motion to loosen the
impacted expansion tube and remove.
INSTALLATION PROCEDURE
IMPORTANT:
^
Install the shorter screen end (3) first into the evaporator.
^
Coat the O-ring seal (2) with 525 viscosity refrigerant oil.
Use the J 26549-E in order to install the expansion tube.
NOTE: Refer to Fastener Notice in Service Precautions.