Express 1/2 Ton Van V8-5.7L VIN R (1999)

Housing Assembly HVAC: Service and Repair
REMOVAL PROCEDURE
1. Remove the battery from the vehicle.
2. Recover the refrigerant. See: Refrigerant/Service and Repair
3. Drain the engine coolant. Refer to Draining and Filling Cooling System in Engine Cooling.
4. Remove the coolant recovery reservoir or surge tank.
5. Remove the electrical connectors.
6. Remove the accumulator.
7. Remove the evaporator tube from the evaporator.
8. Remove the insulator cover.
9. Remove the evaporator front cover.
10. Separate the case halves.
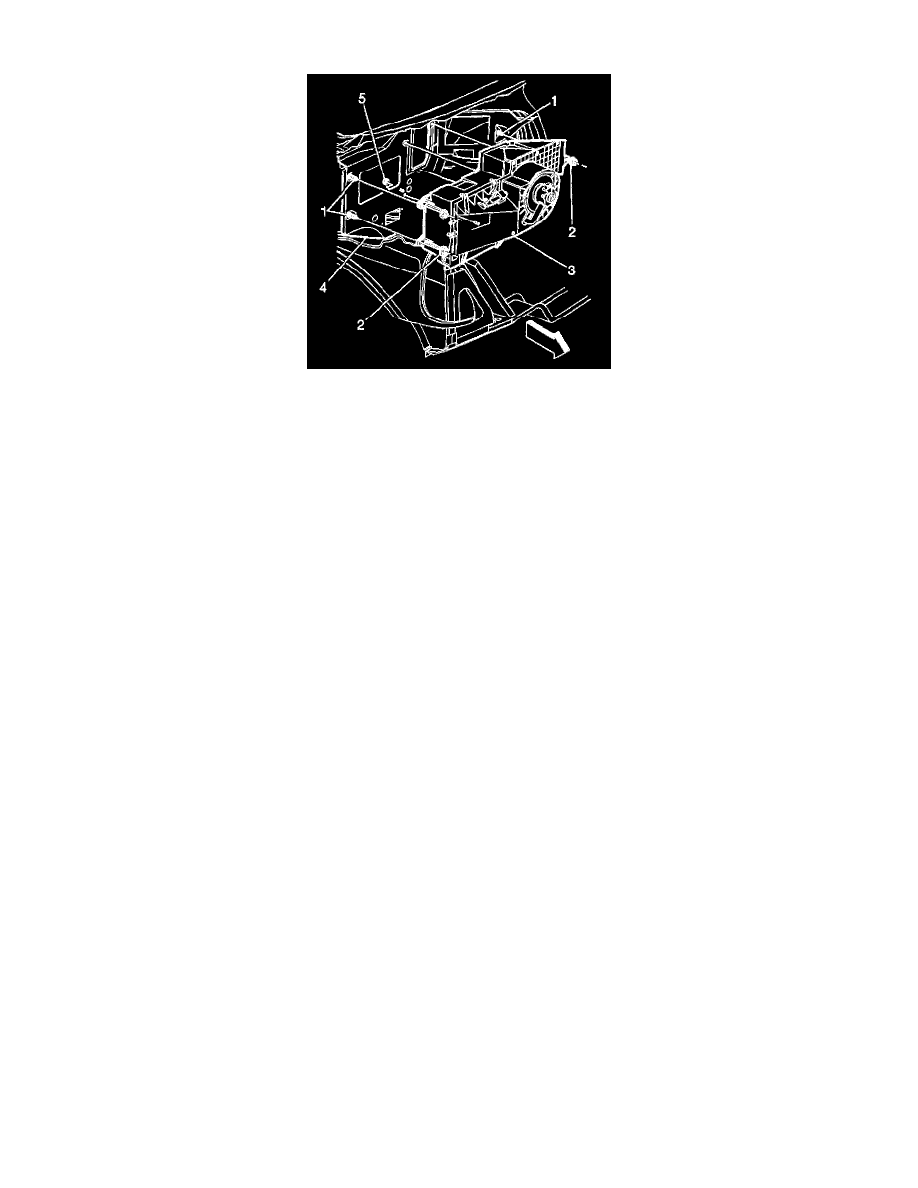
11. Remove the nuts (2) retaining the evaporator case.
12. Remove the evaporator case from the vehicle.
INSTALLATION PROCEDURE
1. Install the evaporator case to the vehicle.
NOTE: Refer to Fastener Notice in Service Precautions.
2. Install the nuts (2) retaining the evaporator case.
Tighten
Tighten the evaporator case retaining nuts to 6 N.m (53 lb in).
3. Install the evaporator front cover.
4. Install the insulator cover.
5. Install the evaporator tube to the evaporator.
6. Install the accumulator.
8. Install the coolant recovery reservoir or surge tank.
9. Fill the engine coolant. Refer to Draining and Filling Cooling System in Engine Cooling.
10. Recharge the refrigerant, if equipped. Refer to Refrigerant Recovery and Recharging.
11. Install the battery to the vehicle.
