
Express 1/2 Ton Van V8-5.7L VIN R (1999)
Important:
^
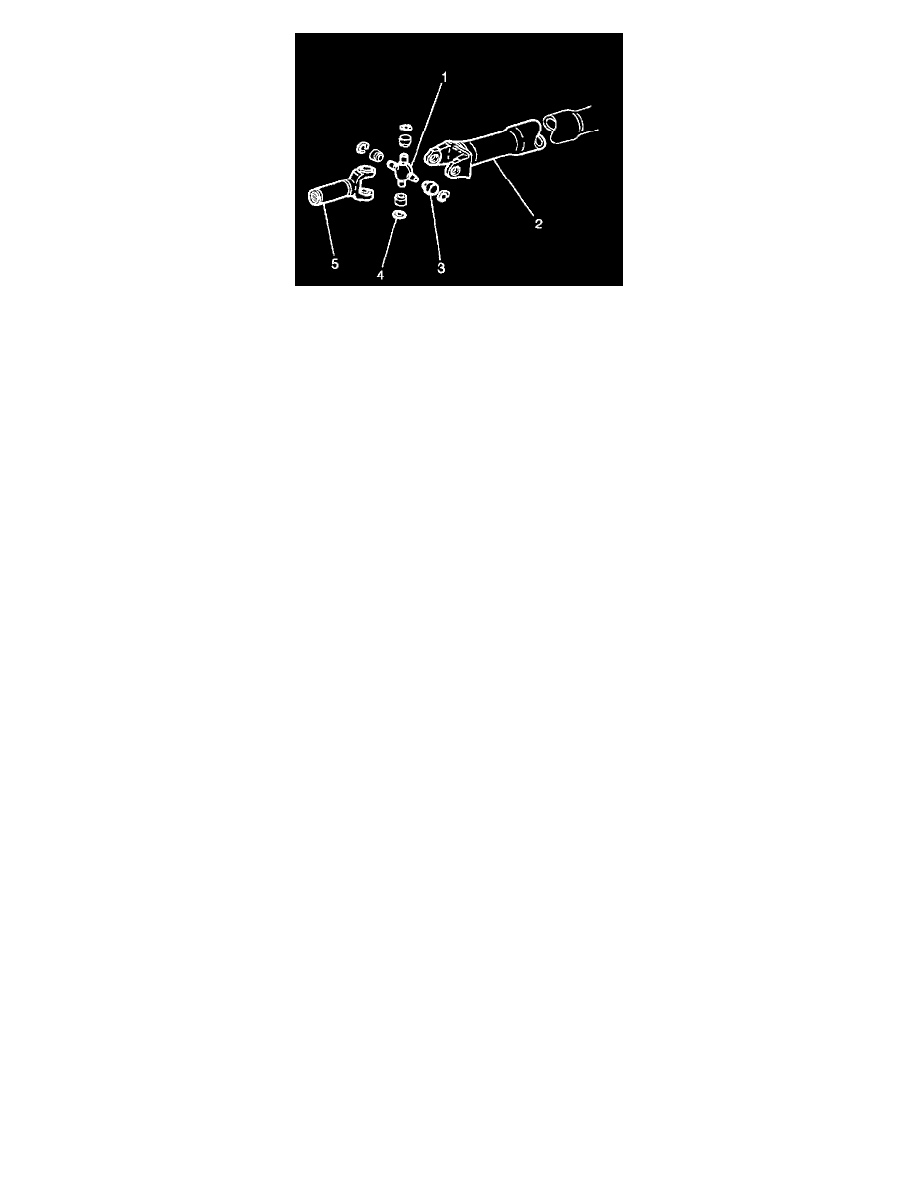
Do not re-use the universal joint bearing cups (3) that are pressed out of the propeller shaft (2) or slip yoke (5).
^
If a hang-up or binding occurs, stop pressing and inspect the needle bearings for misalignment in the bearing cup.
^
When pressing the bearing cups into the yoke ears, take care to avoid damaging the grease seals. Hold the work securely and squarely so that you
do not damage the cups during installation.
^
If installing the slip yoke onto the propeller shaft, insure proper phasing installation. Refer to Propeller Shaft Description.
1. Install the bearing cup into the yoke ear or the propeller shaft.
^
Start the cup seal first into the outer side of the yoke ear.
^
Place the bunion into position, and press the cup inward until enough clearance exists so that you can insert the retaining ring into the groove.
^
Place the opposite bearing cup into the yoke ear or the propeller shaft.
^
Place the bunion into position, and press the cup inward.
^
While pressing the bearing cup inward, carefully ensure proper fit of the universal joint into the opposite bearing cup previously installed.
^
Press the bearing cup inward until enough clearance exists so that you can insert the retaining ring into the groove.
2. In order to complete the build of the propeller shaft, repeat step 1 as necessary.
3. Install the propeller shaft. Refer to Propeller Shaft Replacement-One Piece or Propeller Shaft Replacement-Two Piece.
4. Remove the safety stands.
5. Lower the vehicle.