
Express 1500 RWD V6-4.3L VIN X (2005)
4. Install the fuel pipe retainer and the attaching nuts.
5. Install the retaining bolt to the rear fuel pipe bracket.
NOTE: Refer to Fastener Notice in Service Precautions.
1. Tighten the bracket bolt to 6 N.m (53 lb in).
2. Tighten the retainer nuts to 3 N.m (27 lb in).
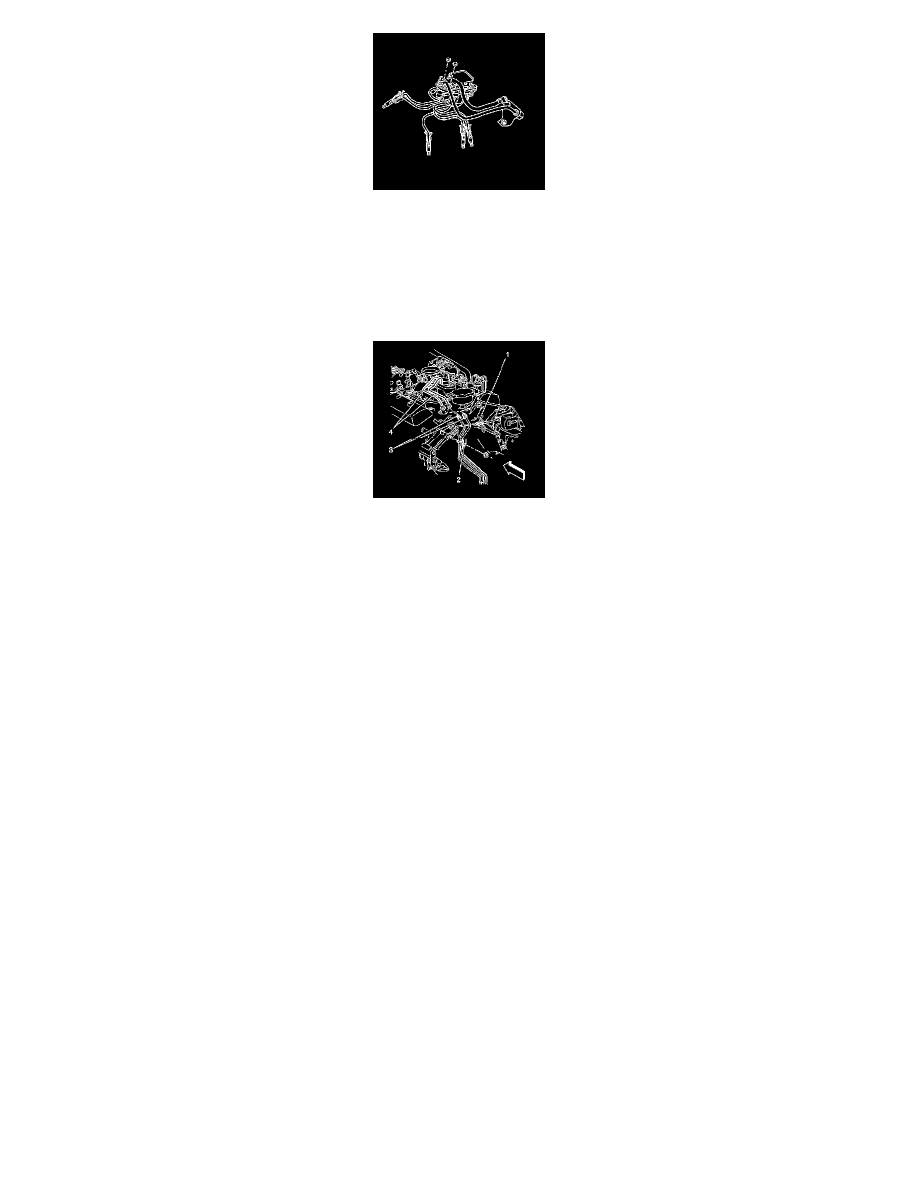
6. Install the new O-ring seals on the engine fuel feed and the return pipes.
7. Install the chassis fuel feed and return pipes (3) to the engine compartment fuel feed and return pipes (4).
Tighten the fuel pipe nuts to 27 N.m (20 lb ft).
8. Install the retainer nut to the fuel and EVAP pipe.
Tighten the retainer nut to 28 N.m (21 lb ft).
9. Tighten the fuel filler cap.
10. Connect the negative battery cable.
11. Inspect for leaks:
1. Turn ON the ignition for 2 seconds.
2. Turn OFF the ignition for 10 seconds.
3. Turn ON the ignition.
4. Inspect for fuel leaks.
12. Install the air cleaner outlet duct.
Fuel Hose/Pipes Replacement - Chassis (Filter to Tank Cutaway Van Rear Tank)
FUEL HOSE/PIPES REPLACEMENT - CHASSIS (FILTER TO TANK CUTAWAY VAN REAR TANK)
REMOVAL PROCEDURE
1. Disconnect the negative battery cable.
CAUTION: Refer to Battery Disconnect Caution in Service Precautions.
2. Relieve the fuel system pressure. Refer to Fuel Pressure Relief Procedure.
3. Drain the fuel tank. Refer to Fuel Tank Draining Procedure.
4. Raise the vehicle. Refer to Vehicle Lifting.