
Express 2500 V8-6.6L DSL Turbo (2010)
4. Install the retainers at the ends of the side door opening weatherstrip to the holes in the door opening.
5. Install the hinge pillar upper garnish. Refer to Upper Pillar Garnish Molding Replacement (See: Interior Moulding / Trim/Trim Panel/Service and
Repair/Upper Pillar Garnish Molding Replacement).
6. Install the hinge pillar lower garnish molding. Refer to Lower Pillar Garnish Molding Replacement (See: Interior Moulding / Trim/Trim
Panel/Service and Repair/Lower Pillar Garnish Molding Replacement).
7. Install the passenger side front corner garnish molding. Refer to Center Pillar Upper Garnish Molding Replacement - Right Side (See: Interior
Moulding / Trim/Trim Panel/Service and Repair/Center Pillar Upper Garnish Molding Replacement - Right Side).
8. Install the passenger side body side trim panel. Refer to Body Side Trim Panel Replacement - Right Side (See: Interior Moulding / Trim/Trim
Panel/Service and Repair/Body Side Trim Panel Replacement - Right Side).
9. Install the side door step well mat. Refer to Front Side Door Step Mat Replacement (See: Interior Moulding / Trim/Scuff Plate/Service and
Repair).
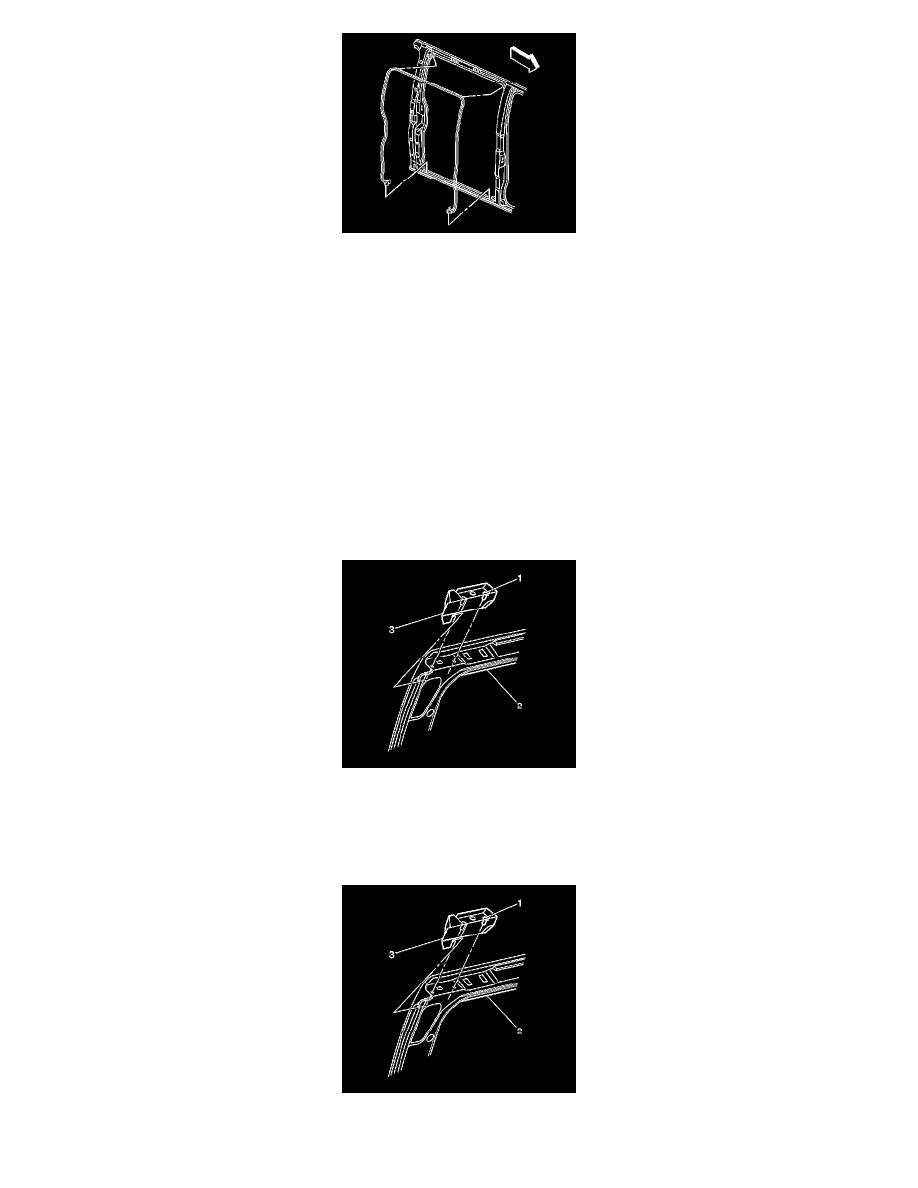
Rear Side Door Weatherstrip Replacement
Rear Side Door Weatherstrip Replacement
Removal Procedure
1. Remove the pins (1) that hold the weather-strip to the upper door.
2. Remove the weatherstrip (3) from the upper door.
3. Clean the surface of the door with approved cleaning solvent.
Installation Procedure
1. Remove peel-off liner from saturated foam.
2. Spray 85 percent alcohol 15 percent water mixture per GM 9981293 on saturated foam patch.