
Express 2500 V8-6.6L DSL Turbo (2010)
Hood Latch: Service and Repair
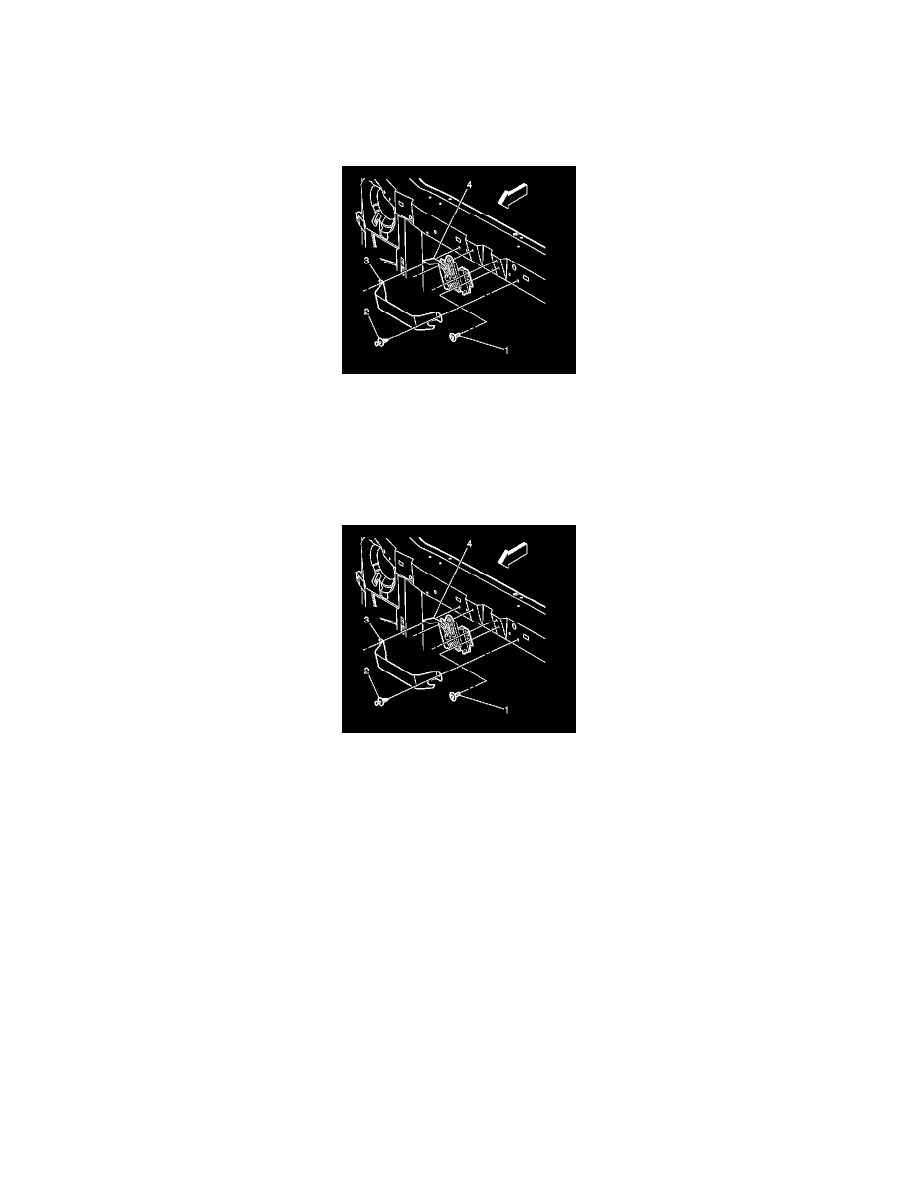
Hood Primary and Secondary Latch Replacement
Hood Primary and Secondary Latch Replacement
Removal Procedure
1. Raise and support the hood.
2. Mark the location of the hood latch and the fasteners.
3. Remove the bolts retaining the hood latch to the radiator support (2).
4. Remove the hood latch from the radiator support.
5. Remove the hood release cable from the hood latch (4).
Installation Procedure
1. Install the hood release cable to the hood latch (4).
2. Install the hood latch to the radiator support (2).
3. Install the bolts retaining the hood latch to the radiator support.
Do not tighten the bolts.
4. Align the hood latch and the fasteners with the marks made prior to the removal.
5. Use the following procedure in order to adjust the hood latch:
1. Adjust the hood latch to the left or to the right until the striker in the hood easily engages the latch.
2. Adjust the hood latch height.
3. Adjust the front hood bumpers in order to ensure that the top of the hood is flush with the fenders.
Caution: Refer to Fastener Caution (See: Service Precautions/Vehicle Damage Warnings/Fastener Caution).
6. Tighten the bolts retaining the hood latch to the radiator support and tighten to 15 Nm (11 lb ft).
7. Close the hood.