
Express 2500 V8-6.6L DSL Turbo (2010)
Trim Panel: Service and Repair
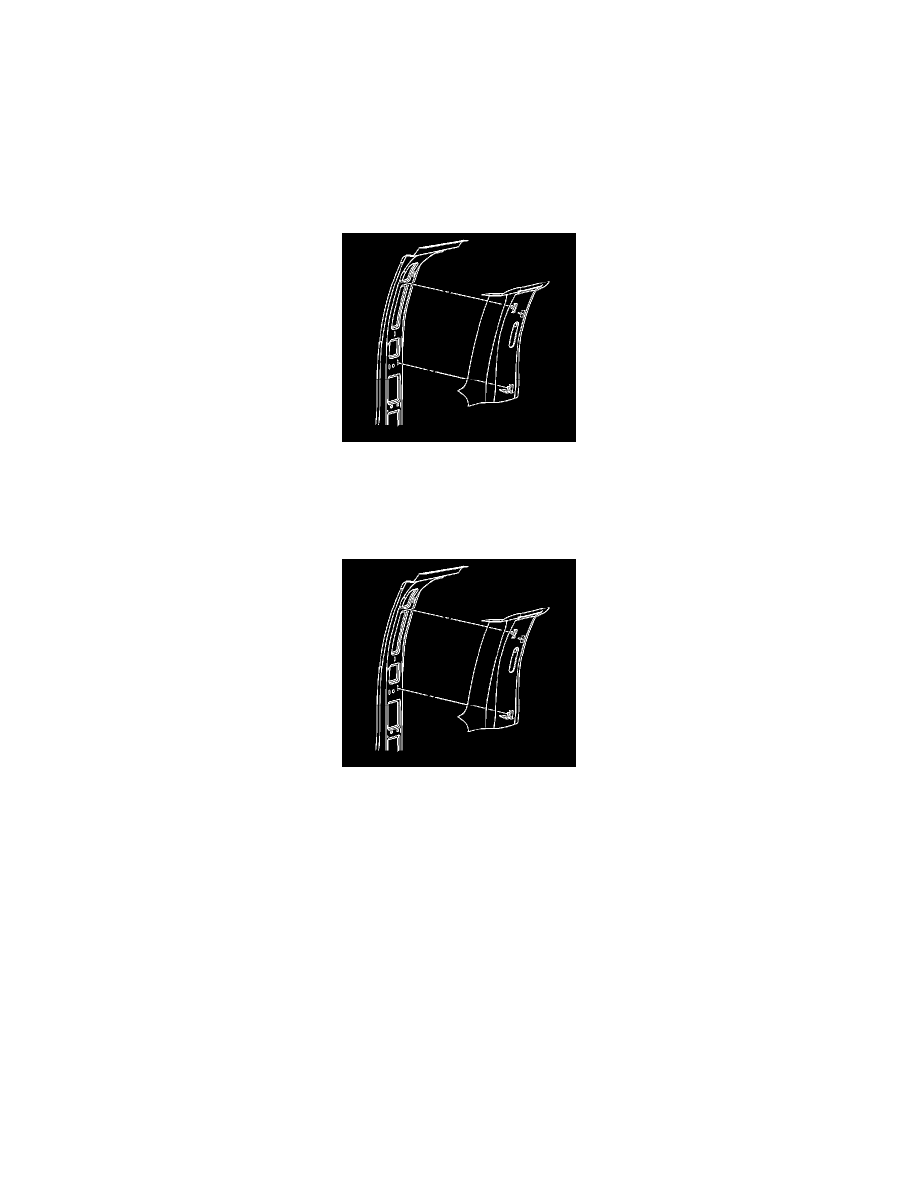
Center Pillar Upper Garnish Molding Replacement - Right Side
Center Pillar Upper Garnish Molding Replacement - Right Side
Removal Procedure
1. Remove the front seat belt from the front seat belt height adjuster. Refer to Driver or Passenger Seat Belt Retractor Replacement (See: Restraint
Systems/Seat Belt Systems/Seat Belt Retractor/Service and Repair/Driver or Passenger Seat Belt Retractor Replacement).
2. Open the access door and remove the screw, if equipped.
3. Grasp and gently pull the center pillar upper garnish molding in order to release the retaining clips.
4. Remove the center pillar upper pillar garnish molding from the vehicle.
5. Inspect the center pillar upper pillar garnish molding for broken or missing retaining clips.
Installation Procedure
1. Install the center pillar upper pillar garnish molding to the vehicle.
2. Align the retainers to the body and press the center pillar garnish molding in order to engage the retaining.
Caution: Refer to Fastener Caution (See: Service Precautions/Vehicle Damage Warnings/Fastener Caution).
3. Install the screw and tighten to 2 Nm (18 lb in).
4. Install the front seat belt to the front seat belt height adjuster. Refer to Driver or Passenger Seat Belt Retractor Replacement (See: Restraint
Systems/Seat Belt Systems/Seat Belt Retractor/Service and Repair/Driver or Passenger Seat Belt Retractor Replacement).