
Express 2500 V8-6.6L DSL Turbo (2010)
11. Loosen the valve adjusting screws.
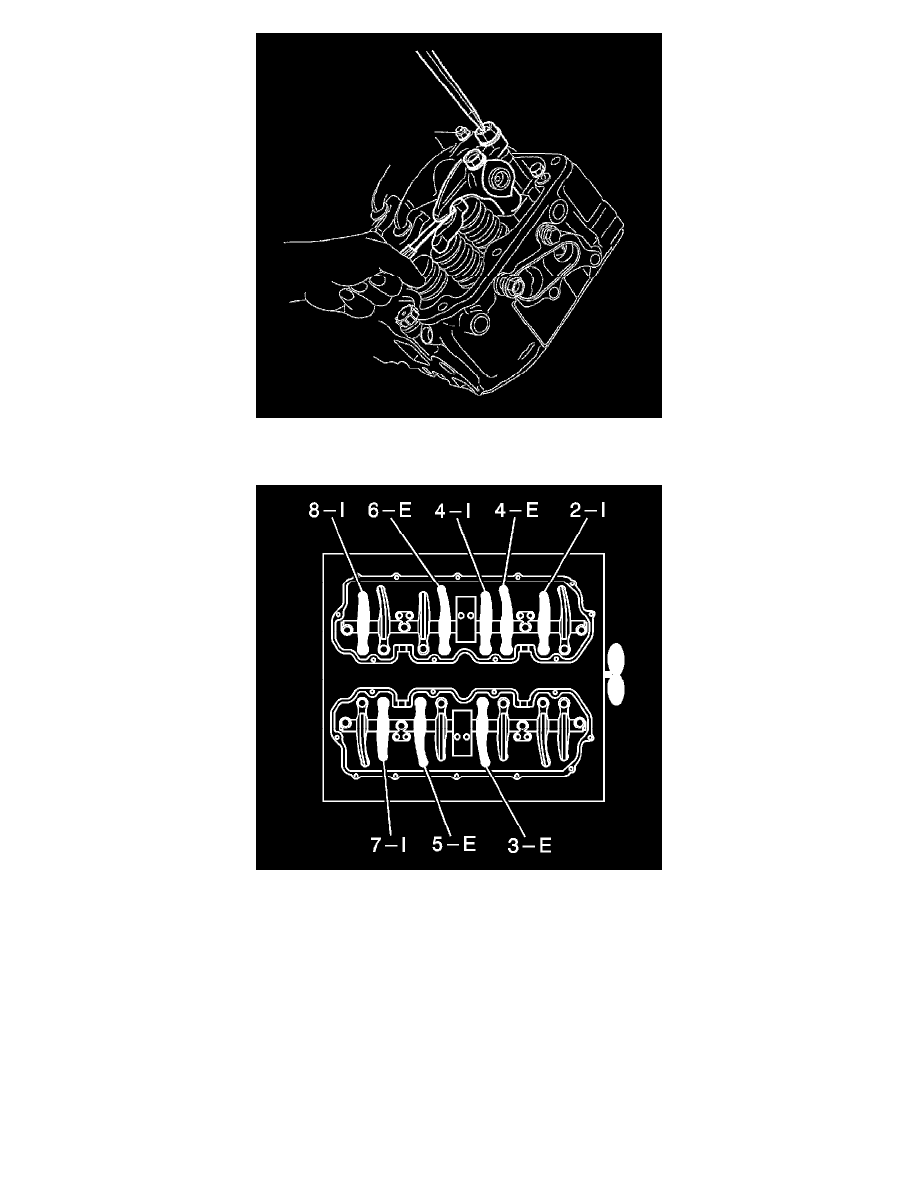
12. Insert a feeler gauge between the tip of the rocker arm and the valve bridge.
13. Adjust the valve clearance to 0.3 mm (0.0112 in). Refer to Valve Clearance Adjustment Specifications (See: ) to determine which valves can be
adjusted when the engine is at TDC.
14. Tighten the lock nut to 22 Nm (16 lb ft).
15. Install the upper valve rocker arm covers. Refer to Valve Rocker Arm Upper Cover Replacement - Left Side (See: Valve Cover/Service and
Repair/Valve Rocker Arm Upper Cover Replacement - Left Side) and Valve Rocker Arm Upper Cover Replacement - Right Side (LMM) (See:
Valve Cover/Service and Repair/Valve Rocker Arm Upper Cover Replacement - Right Side).
16. Install the fan clutch. Refer to Fan Clutch Replacement (See: Cooling System/Radiator Cooling Fan/Fan Clutch/Service and Repair).
17. Install the upper fan shroud. Refer to Engine Coolant Fan Upper Shroud Replacement (4.3L, 4.8L, 5.3L, 6.0L, 6.2L, 7.0L) (See: Cooling
System/Fan Shroud/Service and Repair/Engine Coolant Fan Upper Shroud Replacement) Engine Coolant Fan Upper Shroud Replacement (Diesel)
(See: Cooling System/Fan Shroud/Service and Repair/Engine Coolant Fan Upper Shroud Replacement).
18. Install the engine cover. Refer to Engine Cover Replacement (See: Access Cover/Service and Repair).