
Express 2500 V8-6.6L DSL Turbo (2010)
19. Connect the engine harness electrical connectors to the fuel injectors.
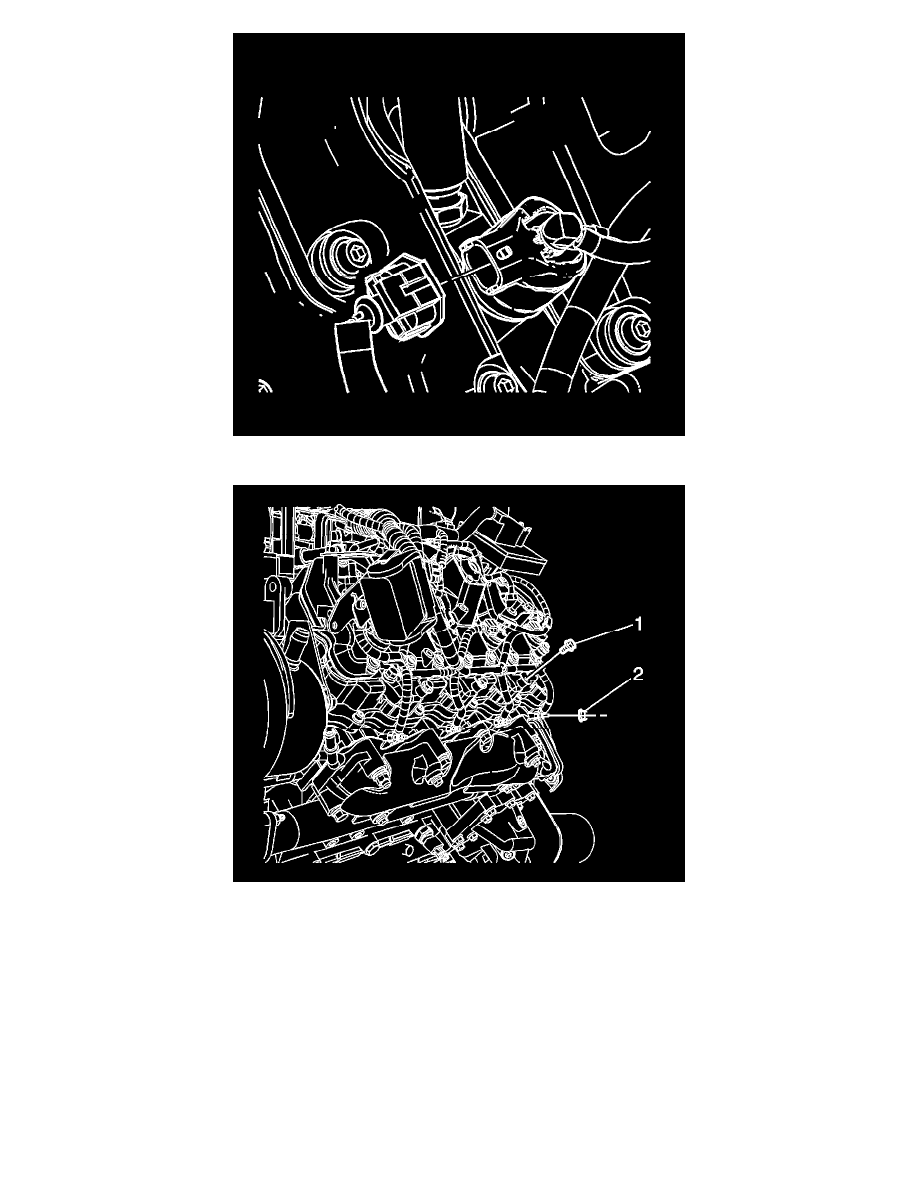
20. Install the glow plug module bracket and bolts (1) and tighten to 10 Nm (89 lb in).
21. Install the glow plug control module. Refer to Glow Plug Control Module Replacement (See: Powertrain Management/Glow Plug System/Glow
Plug Control Module/Service and Repair/Glow Plug Control Module Replacement).
22. Install the auxiliary generator, if equipped. Refer to Auxiliary Generator Replacement (KD9) (See: Starting and Charging/Charging
System/Alternator/Service and Repair/Auxiliary Generator Replacement (KD9)).
23. Connect the negative battery cables. Refer to Battery Negative Cable Disconnection and Connection (See: Starting and Charging/Battery/Battery
Cable/Negative/Service and Repair/Battery Negative Cable Disconnection and Connection).
24. Install the PCV hose/pipe. Refer to Positive Crankcase Ventilation Hose/Pipe/Tube Replacement (See: Powertrain Management/Emission
Control Systems/Positive Crankcase Ventilation/PCV Valve Hose/Service and Repair/Positive Crankcase Ventilation Hose/Pipe/Tube
Replacement).