
Express 2500 V8-6.6L DSL Turbo (2010)
Heater Core Case: Service and Repair
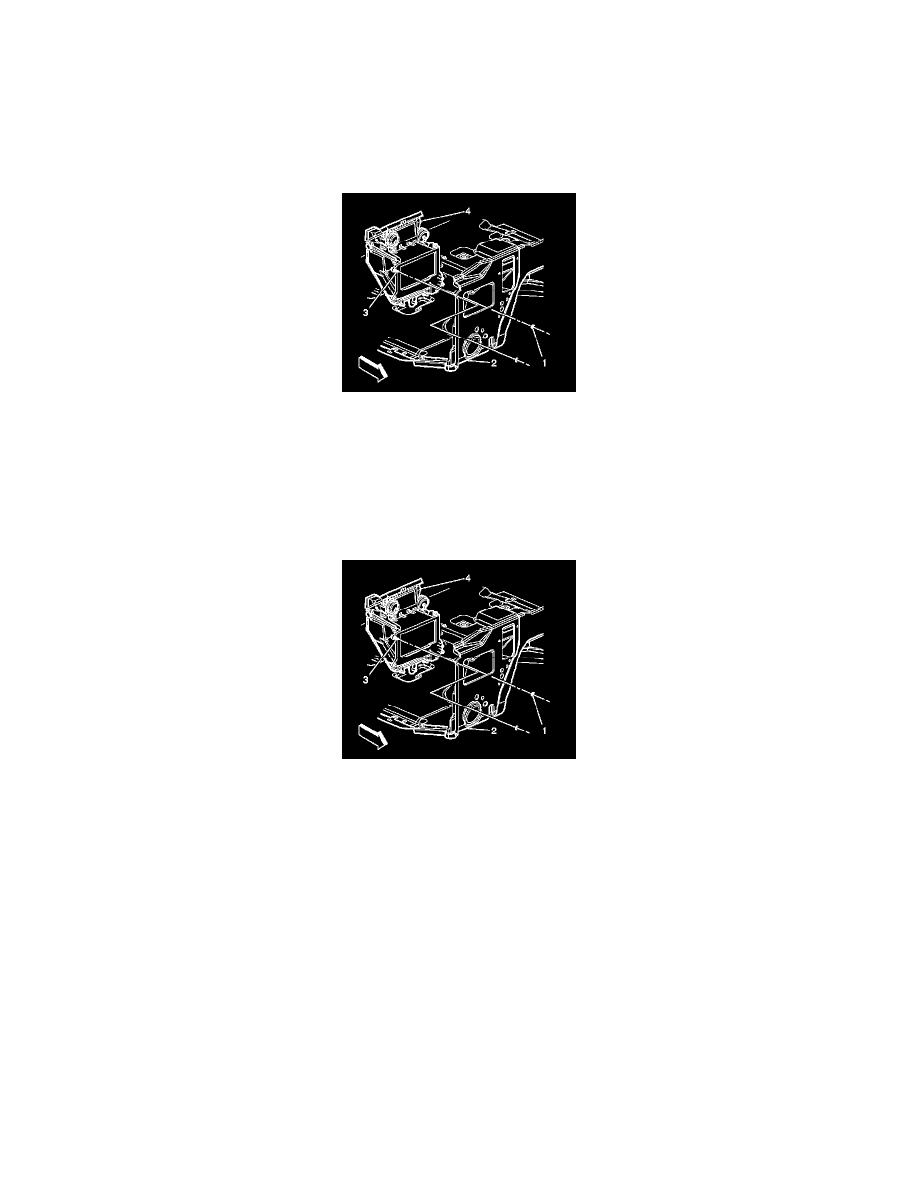
Heater Assembly Replacement
Removal Procedure
1. Remove the evaporator and blower module assembly. Refer to Air Conditioning (A/C) Evaporator and Blower Module Assembly Replacement (
See: Housing Assembly HVAC/Service and Repair/Air Conditioning (A/C) Evaporator and Blower Module Assembly Replacement).
2. Remove the heater assembly retaining nuts (1) from the engine compartment.
3. Remove the I/P carrier. Refer to Instrument Panel Carrier Replacement (See: Body and Frame/Interior Moulding / Trim/Dashboard / Instrument
Panel/Service and Repair/Instrument Panel Carrier Replacement).
4. Disconnect the temperature actuator electrical connector.
5. Disconnect the vacuum lines from the actuators.
6. Remove the heater assembly.
Installation Procedure
1. Install the heater assembly.
2. Connect the vacuum lines to the actuators.
3. Connect the temperature actuator electrical connector.
4. Install the I/P carrier. Refer to Instrument Panel Carrier Replacement (See: Body and Frame/Interior Moulding / Trim/Dashboard / Instrument
Panel/Service and Repair/Instrument Panel Carrier Replacement).
Caution: Refer to Fastener Caution (See: Service Precautions/Vehicle Damage Warnings/Fastener Caution).
5. Install the heater assembly retaining nuts (2) to the engine compartment and tighten to 6 Nm (53 lb in).
6. Install the evaporator and blower module assembly. Refer to Air Conditioning (A/C) Evaporator and Blower Module Assembly Replacement (
See: Housing Assembly HVAC/Service and Repair/Air Conditioning (A/C) Evaporator and Blower Module Assembly Replacement).