
Express 2500 V8-6.6L DSL Turbo (2010)
injector line may damage the fuel injector fitting. An improperly sealed or damaged fuel injector line or fuel injector fitting will cause a fuel leak.
Caution: Refer to Fastener Caution (See: Service Precautions/Vehicle Damage Warnings/Fastener Caution).
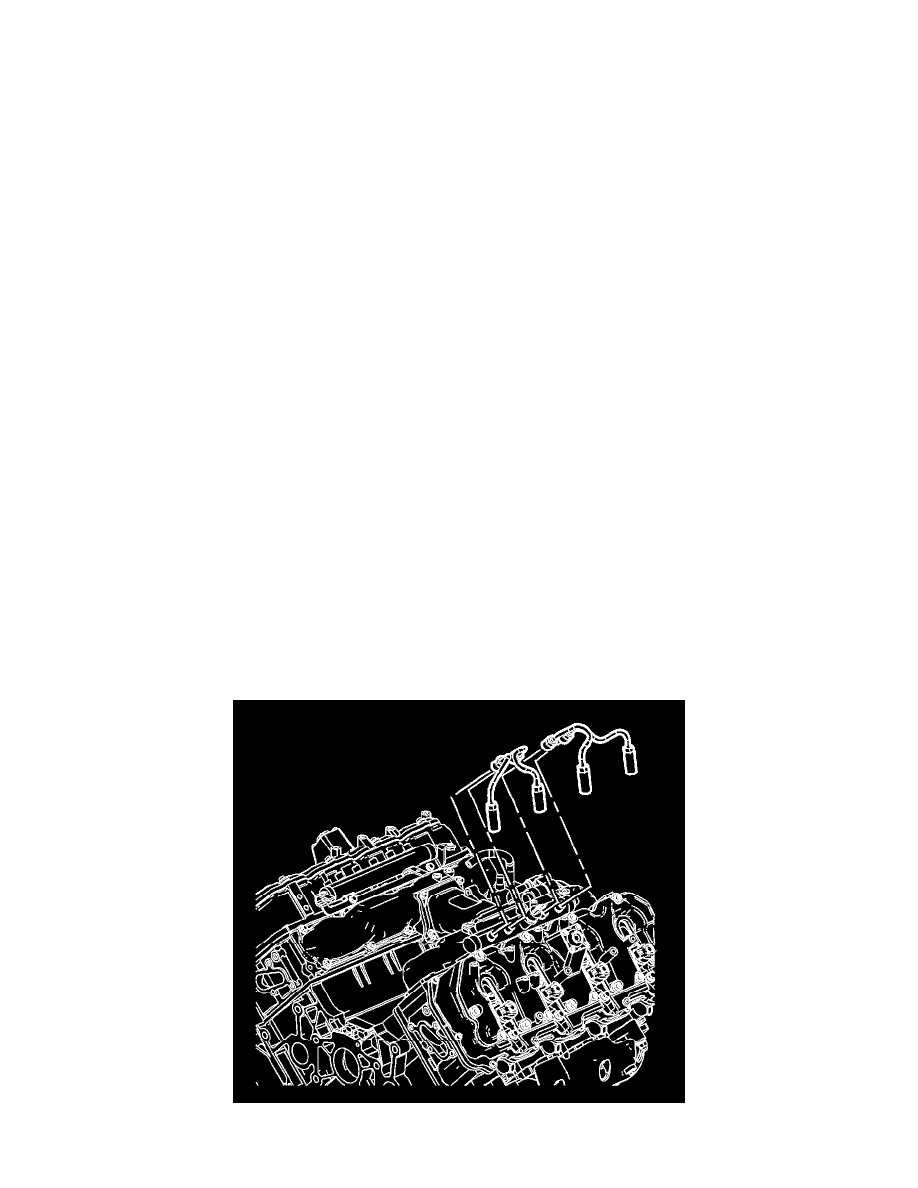
1. Install the fuel injector pipes (2). Tighten the fittings to 30 Nm (22 lb ft).
2. After installing the fuel injector pipes, clean the injector pipes and apply sealant GM P/N 97720043, at the fittings to prevent moisture and debris
from collecting between the line and fitting.
3. Install the fuel pipe bracket fasteners (1) and tighten to 10 Nm (89 lb in).
4. Install the generator. Refer to Generator Replacement (V6) (See: Starting and Charging/Charging System/Alternator/Service and
Repair/Generator Replacement)Generator Replacement (V8) (See: Starting and Charging/Charging System/Alternator/Service and
Repair/Generator Replacement)Generator Replacement (LMM) (See: Starting and Charging/Charging System/Alternator/Service and
Repair/Generator Replacement)Generator Replacement (LGH) (See: Starting and Charging/Charging System/Alternator/Service and
Repair/Generator Replacement).
5. Install the upper fan shroud. Refer to Engine Coolant Fan Upper Shroud Replacement (4.3L, 4.8L, 5.3L, 6.0L, 6.2L, 7.0L) (See: Engine, Cooling
and Exhaust/Cooling System/Fan Shroud/Service and Repair/Engine Coolant Fan Upper Shroud Replacement) Engine Coolant Fan Upper Shroud
Replacement (Diesel) (See: Engine, Cooling and Exhaust/Cooling System/Fan Shroud/Service and Repair/Engine Coolant Fan Upper Shroud
Replacement).
6. Prime the fuel system. Refer to Fuel System Priming (See: Service and Repair/Fuel System Priming).
7. Start the engine.
If the engine stalls, repeat the above step.
8. Inspect the fuel system for fuel leaks.
VIN 6
Fuel Injection Fuel Feed Pipe Replacement - Right Side
Removal Procedure
1. Remove the engine cover. Refer to Engine Cover Replacement (See: Body and Frame/Access Cover/Service and Repair).
2. Remove the upper fan shroud. Refer to Engine Coolant Fan Upper Shroud Replacement (4.3L, 4.8L, 5.3L, 6.0L, 6.2L, 7.0L) (See: Engine,
Cooling and Exhaust/Cooling System/Fan Shroud/Service and Repair/Engine Coolant Fan Upper Shroud Replacement) Engine Coolant Fan Upper
Shroud Replacement (Diesel) (See: Engine, Cooling and Exhaust/Cooling System/Fan Shroud/Service and Repair/Engine Coolant Fan Upper
Shroud Replacement).
3. Remove the generator. Refer to Generator Replacement (V6) (See: Starting and Charging/Charging System/Alternator/Service and
Repair/Generator Replacement)Generator Replacement (V8) (See: Starting and Charging/Charging System/Alternator/Service and
Repair/Generator Replacement)Generator Replacement (LMM) (See: Starting and Charging/Charging System/Alternator/Service and
Repair/Generator Replacement)Generator Replacement (LGH) (See: Starting and Charging/Charging System/Alternator/Service and
Repair/Generator Replacement).
4. Prior to removing the fuel injector pipes, use compressed air to blow any debris from between the injector line and fittings. Wipe the fittings clean