
Express 2500 V8-6.6L DSL Turbo (2010)
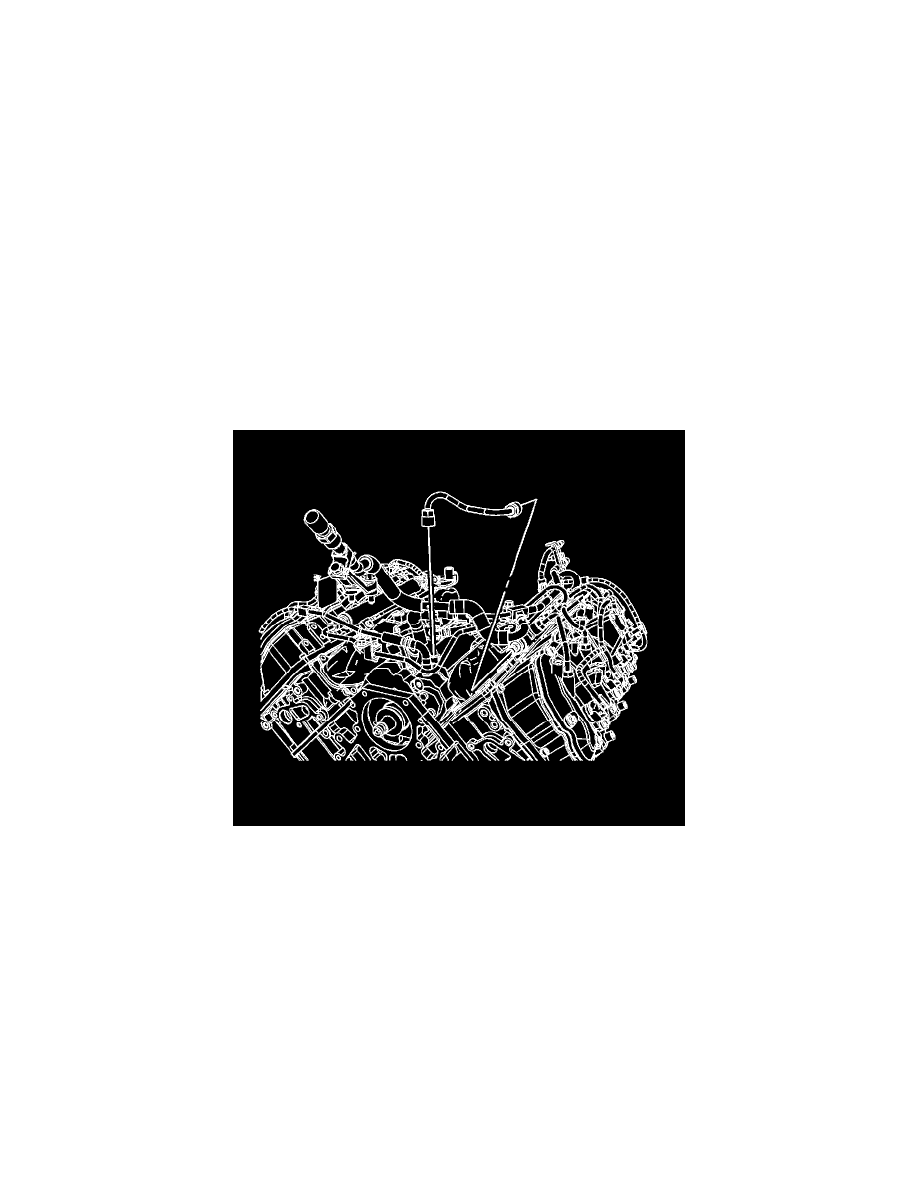
8. Install the EGR bracket at the front of engine.
9. Install the EGR valve. Refer to Exhaust Gas Recirculation Valve Replacement (See: Emission Control Systems/Exhaust Gas Recirculation/EGR
Valve/Service and Repair/Exhaust Gas Recirculation Valve Replacement).
10. Install the charge air cooler inlet pipe. Refer to Charge Air Cooler Inlet and Outlet Duct Replacement (Inlet) (See:
Turbocharger/Intercooler/Intercooler Duct/Service and Repair/Charge Air Cooler Inlet and Outlet Duct Replacement (Inlet)) Charge Air Cooler
Inlet and Outlet Duct Replacement (Outlet) (See: Turbocharger/Intercooler/Intercooler Duct/Service and Repair/Charge Air Cooler Inlet and
Outlet Duct Replacement (Outlet)).
11. Prime the fuel system. Refer to Fuel System Priming (See: Service and Repair/Fuel System Priming).
12. Start the engine.
If the engine does not start, repeat the above step.
13. Inspect the fuel system for fuel leaks.
14. Install the engine cover. Refer to Engine Cover Replacement (See: Body and Frame/Access Cover/Service and Repair).
Fuel Injection Fuel Feed Front Pipe Replacement - Left Side
Fuel Injection Fuel Feed Front Pipe Replacement - Left Side
Removal Procedure
1. Remove the air conditioning (A/C) compressor.
2. If equipped, remove the auxiliary generator. Refer to Auxiliary Generator Replacement (KD9) (See: Starting and Charging/Charging
System/Alternator/Service and Repair/Auxiliary Generator Replacement (KD9)).
3. Disconnect the fuel feed pipe fitting from the fuel injector pump.
4. Disconnect the fuel feed pipe fitting from the left fuel rail.
5. Remove the left fuel feed pipe.
Installation Procedure