
Express 2500 V8-6.6L DSL Turbo (2010)
Control Arm: Service and Repair
Lower Control Arm Replacement
Lower Control Arm Replacement (RWD)
Special Tools
*
J 43631 Ball Joint Remover
*
J 45851 Ball Joint Separator Protector Adapters
Removal Procedure
1. Raise and support the vehicle. Refer to Lifting and Jacking the Vehicle (See: Wheels and Tires/Vehicle Lifting/Service and Repair).
2. Remove the tire and wheel. Refer to Tire and Wheel Removal and Installation (See: Wheels and Tires/Service and Repair).
3. Remove the front coil spring. Refer to Front Spring Replacement (See: Suspension Spring ( Coil / Leaf )/Service and Repair).
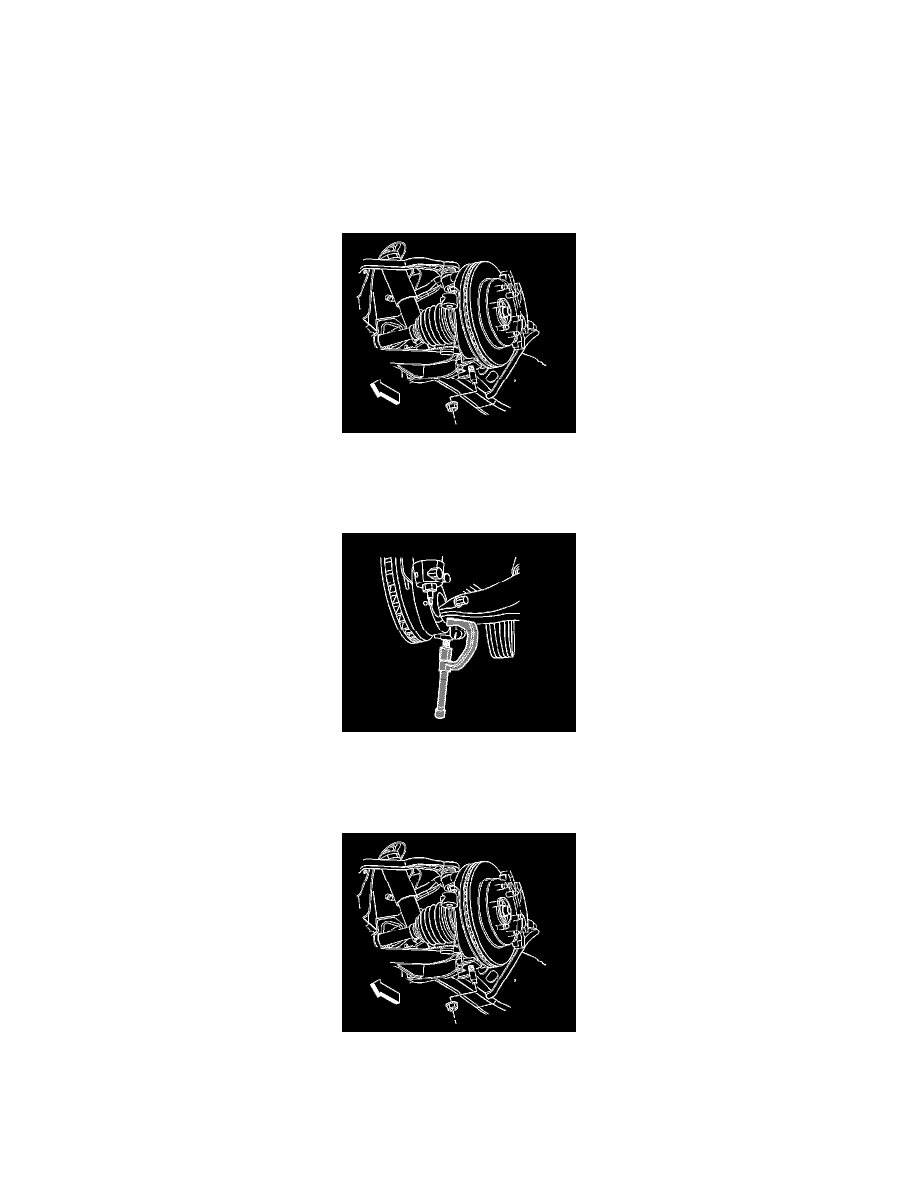
4. Remove and discard the lower ball joint retaining nut.
5. Disconnect the lower ball joint from the steering knuckle using J 43631 and J 45851.
6. Remove the lower control arm.
Installation Procedure
1. Install the lower control arm.
2. Connect the lower ball joint to the steering knuckle.
Caution: Refer to Fastener Caution (See: Service Precautions/Vehicle Damage Warnings/Fastener Caution).
3. Install the new lower ball joint retaining nut and tighten to 100 Nm (74 lb ft).