
Express 2500 V8-6.6L DSL Turbo (2010)
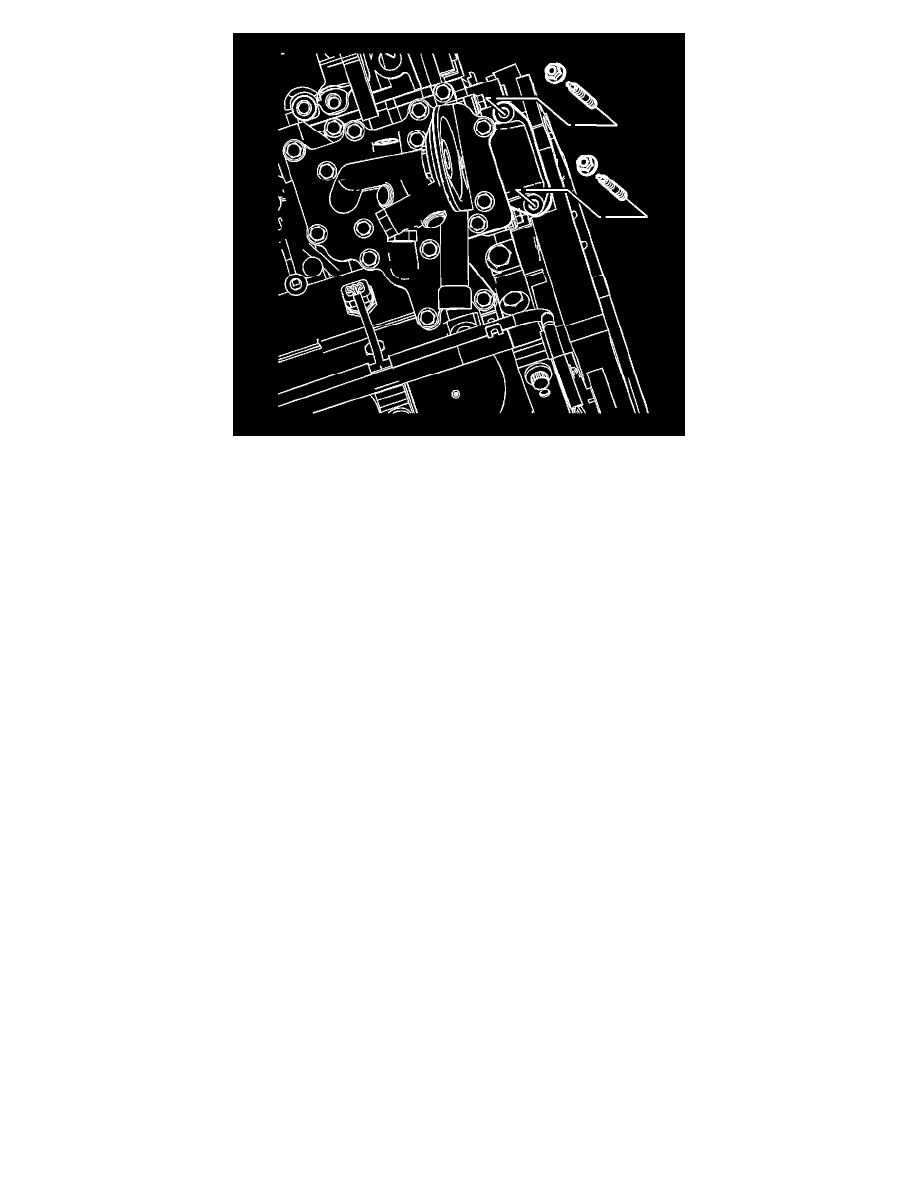
8. Install the oil cooler adapter studs to the flywheel housing, if necessary. Tighten the studs to 10 Nm (89 lb in).
9. Install the EGR cooling pipe. Refer to Exhaust Gas Recirculation Valve Cooler Replacement (See: Powertrain Management/Emission Control
Systems/Exhaust Gas Recirculation/EGR Cooler/Service and Repair/Exhaust Gas Recirculation Valve Cooler Replacement).
10. Install the oil cooler adapter nuts to the side of the flywheel housing and tighten to 25 Nm (18 lb ft).
11. Install the turbocharger oil return pipe studs, if necessary. Tighten the studs to 10 Nm (89 lb in).
12. Install the turbocharger oil return pipe nuts and tighten to 25 Nm (18 lb ft).
13. Install the upper oil pan. Refer to Upper Oil Pan Replacement (See: Engine, Cooling and Exhaust/Engine/Engine Lubrication/Oil Pan/Service
and Repair/Upper Oil Pan Replacement).
14. Install the left and right exhaust pipes. Refer to Exhaust Pipe Replacement - Left Side (6.6L (LMM)) (See: Engine, Cooling and Exhaust/Exhaust
System/Exhaust Pipe/Service and Repair/Exhaust Pipe Replacement - Left Side) and Exhaust Pipe Replacement - Right Side (6.6L (LMM)) (See:
Engine, Cooling and Exhaust/Exhaust System/Exhaust Pipe/Service and Repair/Exhaust Pipe Replacement - Right Side).
15. Install the engine cover. Refer to Engine Cover Replacement (See: Body and Frame/Access Cover/Service and Repair).