
Express 2500 V8-6.6L DSL Turbo (2010)
Transmission Fluid Auxiliary Cooler Kit Replacement
Removal Procedure
1. Remove the grille assembly. Refer to Grille Replacement (Uplevel) (See: Body and Frame/Grille/Service and Repair/Grille Replacement
(Uplevel))Grille Replacement (Base) (See: Body and Frame/Grille/Service and Repair/Grille Replacement (Base)).
2. If equipped with an ambient temperature sensor, remove it from the bracket. Refer to Ambient Air Temperature Gauge Sensor Replacement (See:
Instrument Panel, Gauges and Warning Indicators/Outside Temperature Display/Outside Temperature Display Sensor/Service and Repair)
3. Place a drain pan under the vehicle.
4. Disconnect the transmission oil cooler line from the cooler kit. Refer to Transmission Fluid Cooler Hose/Pipe Quick-Connect Fitting
Disconnection and Connection (See: Fluid Line/Hose/Service and Repair/4L60-E/4L65-E/4L70-E - Automatic Transmission/Transmission Fluid
Cooler Hose/Pipe Quick-Connect Fitting Disconnection and Connection)
5. Remove the transmission oil cooler line from from the cooler kit.
6. Disconnect the cooler kit line from the auxiliary transmission oil cooler. Refer to Transmission Fluid Cooler Hose/Pipe Quick-Connect Fitting
Disconnection and Connection (See: Fluid Line/Hose/Service and Repair/4L60-E/4L65-E/4L70-E - Automatic Transmission/Transmission Fluid
Cooler Hose/Pipe Quick-Connect Fitting Disconnection and Connection)
7. Remove the cooler kit line from the auxiliary oil cooler.
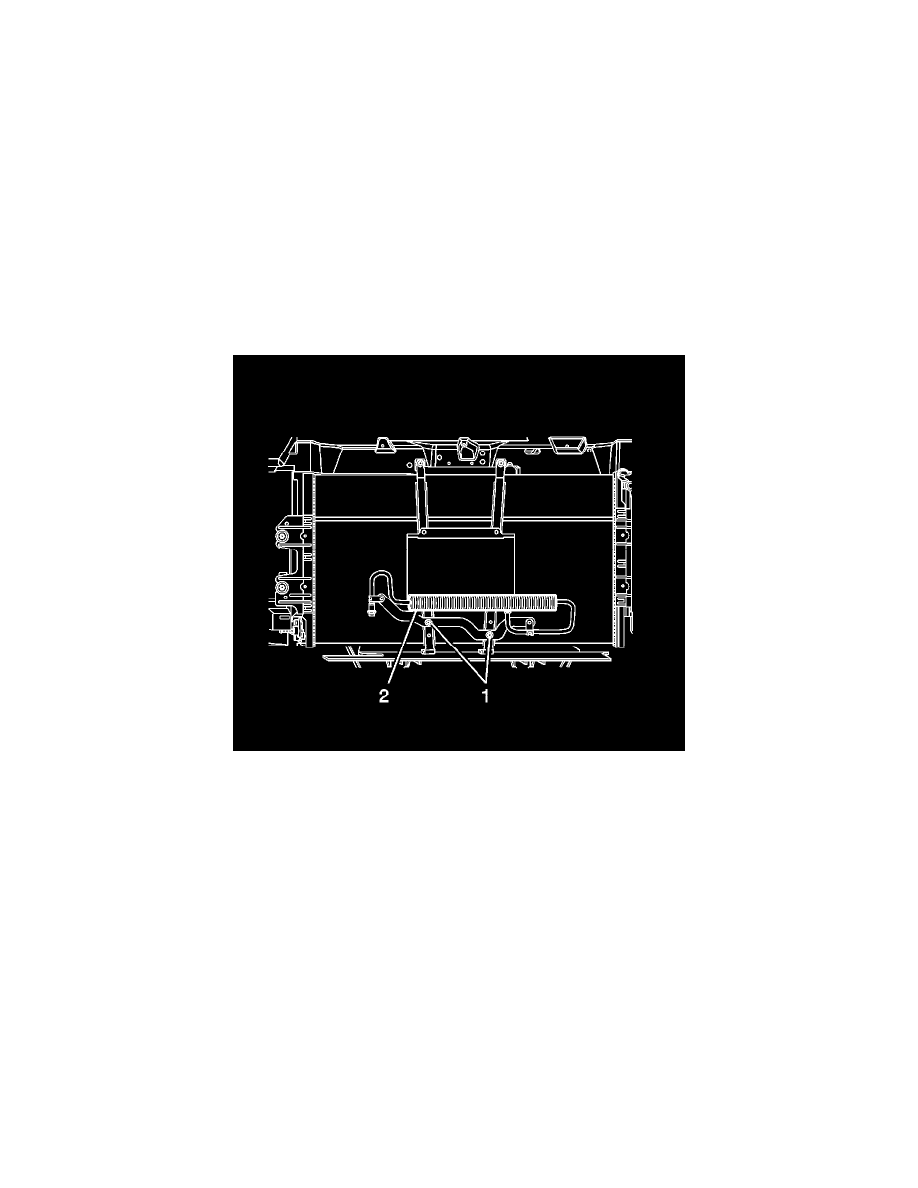
8. Remove the 2 bolts securing the cooler kit to the auxiliary oil cooler bracket.
9. Remove the cooler kit.
Installation Procedure