
Express 2500 2WD V8-4.8L VIN V (2004)
Install the shift cable to the vehicle.
2. Raise the vehicle.
3. Remove the black shipping tab from the transmission end of the shift cable and discard the tab.
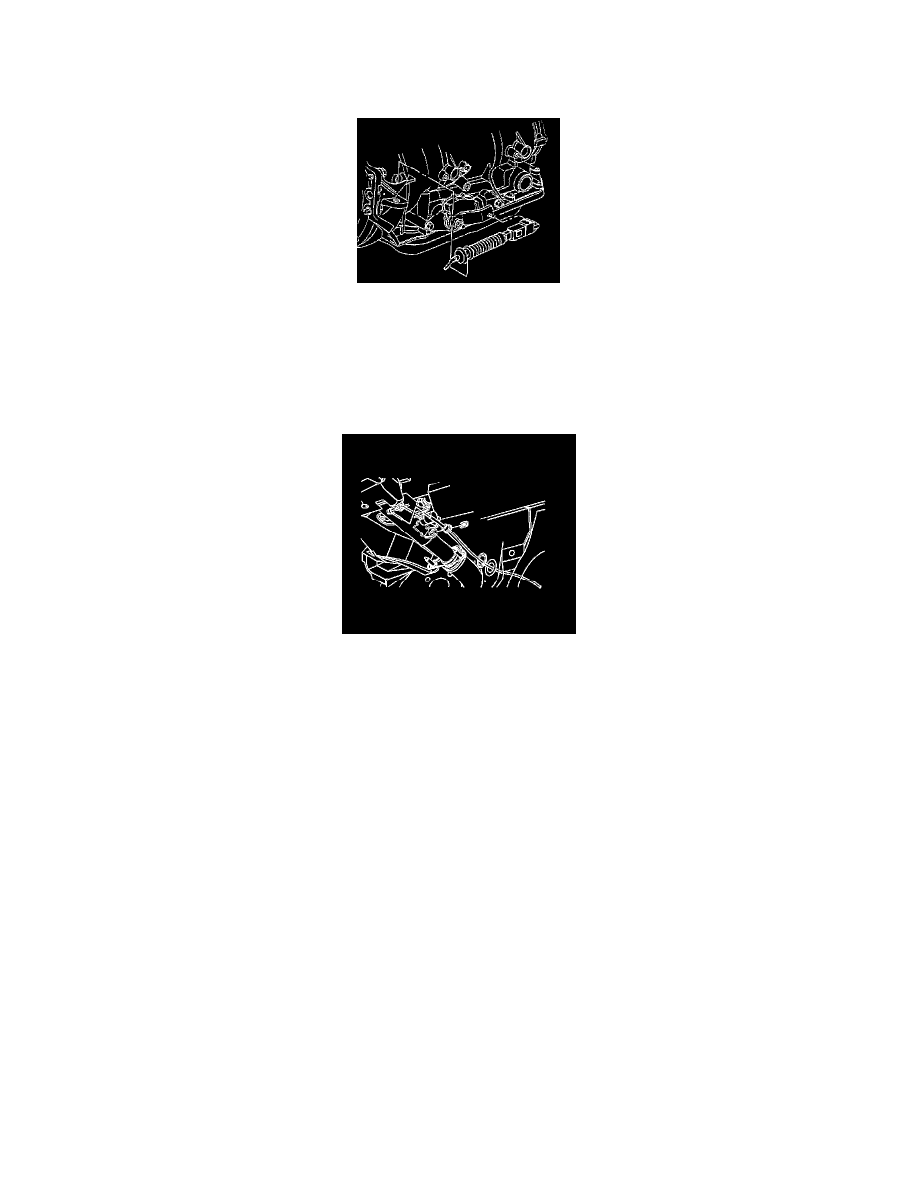
4. Install the shift cable to the transmission bracket.
5. Install the cable clip.
6. Install the shift cable end to the transmission shift control lever by pushing the cable end onto the transmission shift control lever stud ball.
7. Lock the primary lock.
8. Lock the secondary lock.
9. Attach the shift cable to the fuel line and body clips.
10. Lower the vehicle.
11. Install the rubber grommet to the floor panel.
12. Important: Ensure the shift lever is in the Park position.
Install the shift cable to the steering column shift control.
13. Install the clip securing the shift cable to the steering column bracket.
14. Install the cable to the shift lever ball stud.
15. Adjust the shift cable.
16. Install the knee bolster bracket.
17. Install the knee bolster trim panel.