
Express 3/4 Ton Van V8-5.7L VIN R (1998)
Backing Plate: Service and Repair
REMOVAL PROCEDURE
CAUTION: Avoid taking the following actions when you service wheel brake parts:
-
Do not grind brake linings.
-
Do not sand brake linings.
-
Do not clean wheel brake parts with a dry brush or with compressed air.
Many earlier model or aftermarket brake parts may contain asbestos fibers which can become airborne in dust. Breathing dust with asbestos
fibers may cause serious bodily harm. Use a water-dampened cloth In order to remove any dust on brake parts. Equipment is available
commercially in order to perform this washing function. These wet methods prevent fibers from becoming airborne.
1. Raise the vehicle and support the vehicle with safety stands.
2. Remove the tire and the wheel. Refer to Wheel Removal (Excessively Tight Wheels) in Tires and Wheels.
3. Install the pin into the park brake lever. Refer to Enabling the Park Brake Automatic Adjuster in Parking Brakes.
4. Remove the rear brake drum. Refer to Brake Drum Replacement.
5. Remove the rear brake shoes. Refer to Brake Shoe Replacement.
6. Remove the rear brake cylinder. Refer to Wheel Cylinder Overhaul.
7. Remove the rear brake anchor pin.
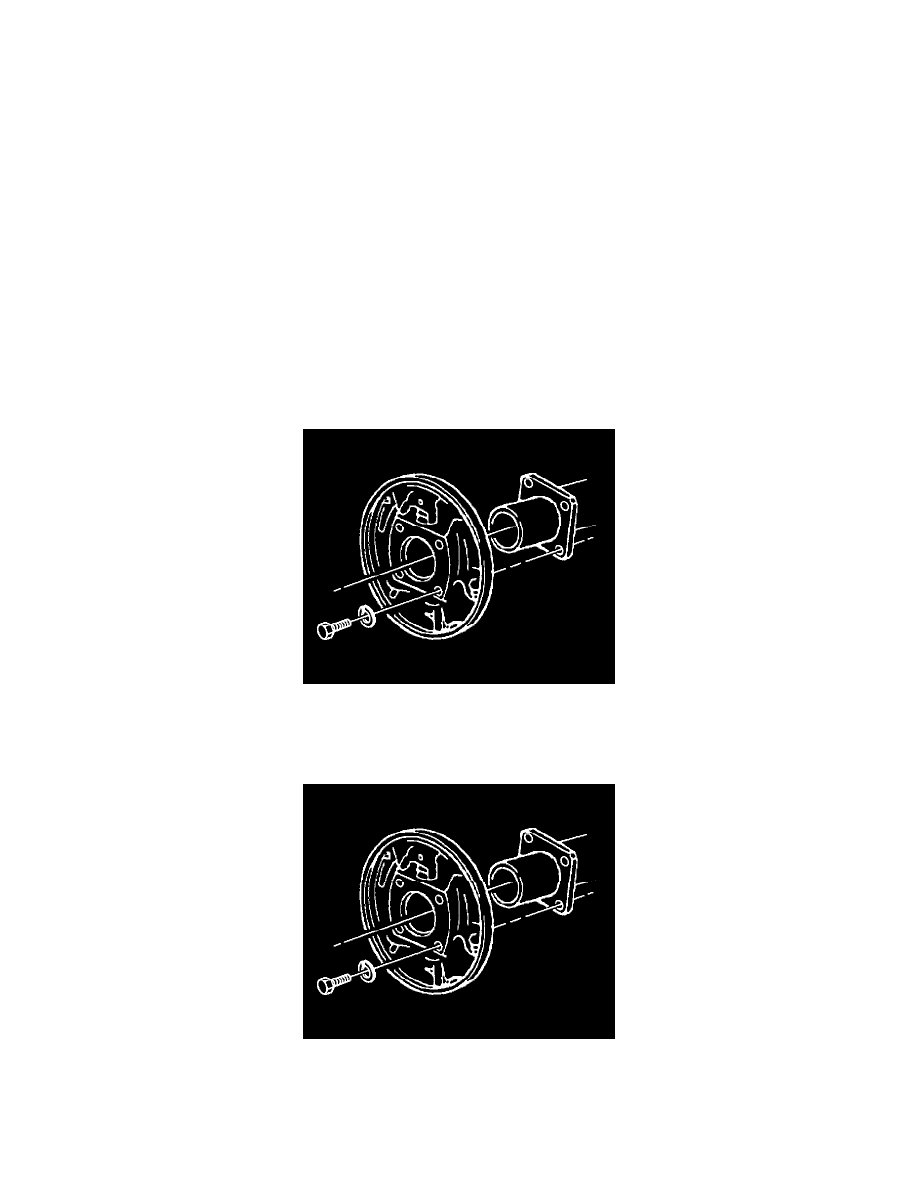
8. Remove the rear brake backing plate retaining bolts and washers.
9. Remove the rear brake backing plate from the vehicle.
INSTALLATION PROCEDURE
1. Install the rear brake backing plate.
2. Install the rear brake backing plate retaining bolts and washers.
-
Tighten the rear brake backing plate retaining bolts to 140 Nm (104 ft. lbs.).
NOTICE: Refer to Fastener Notice in Service Precautions.