
Express 3/4 Ton Van V8-5.7L VIN R (1998)
control arm.
9. Place a block under the upper control arm in order to keep the control arm and the knuckle out of the way.
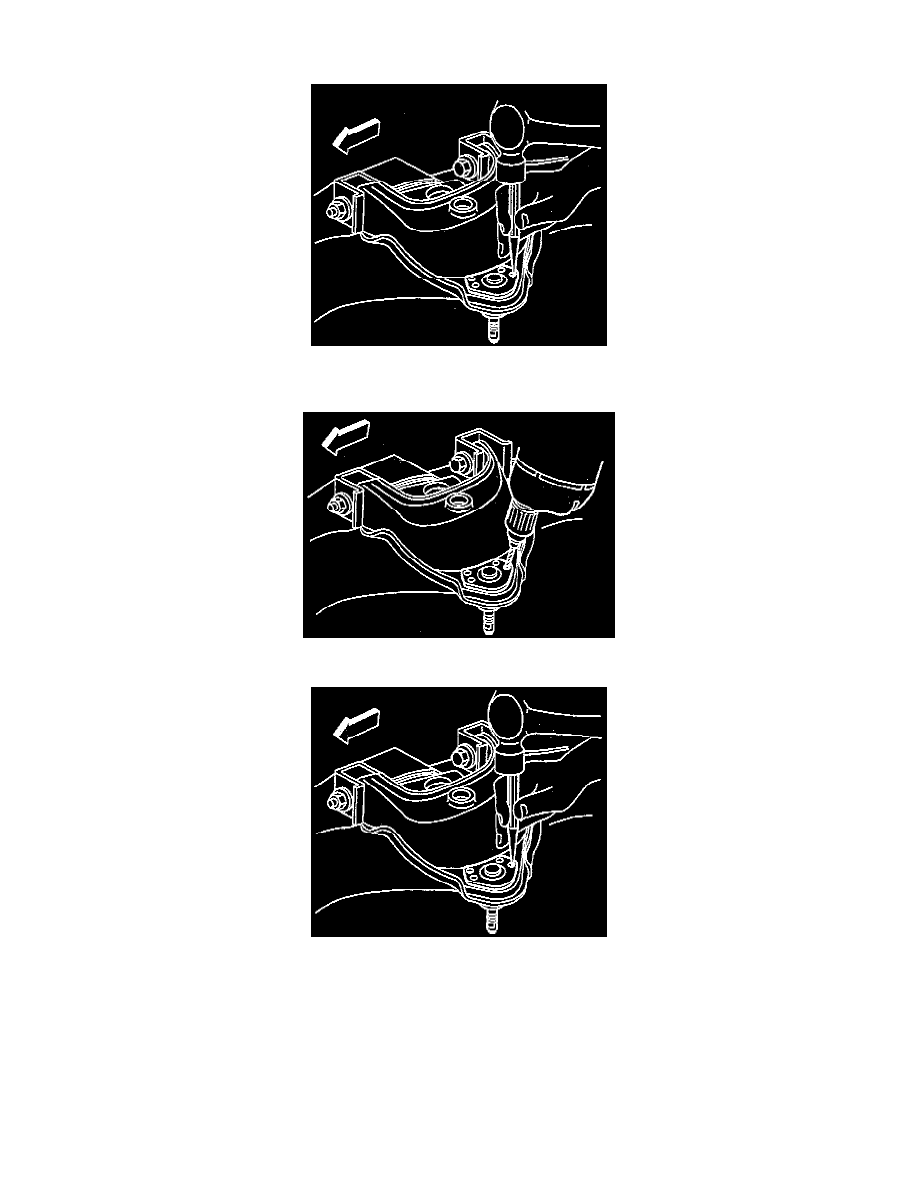
10. Remove the rivets from the upper ball joint.
11. Use a 3.175 mm (1/8 in) drill in order to cut a 6.35 mm (1/4 in) deep hole in the center of each rivet.
12. Drill away the rivet heads. Use a 12.7 mm (1/2 in) drill.
13. Punch the rivets out. Use a small pin punch.
14. Remove the ball joint.
INSTALLATION PROCEDURE
1. Install a new upper ball joint to the upper control arm and position the wheel speed sensor harness, if equipped.