
Express 3500 V8-6.0L (2010)
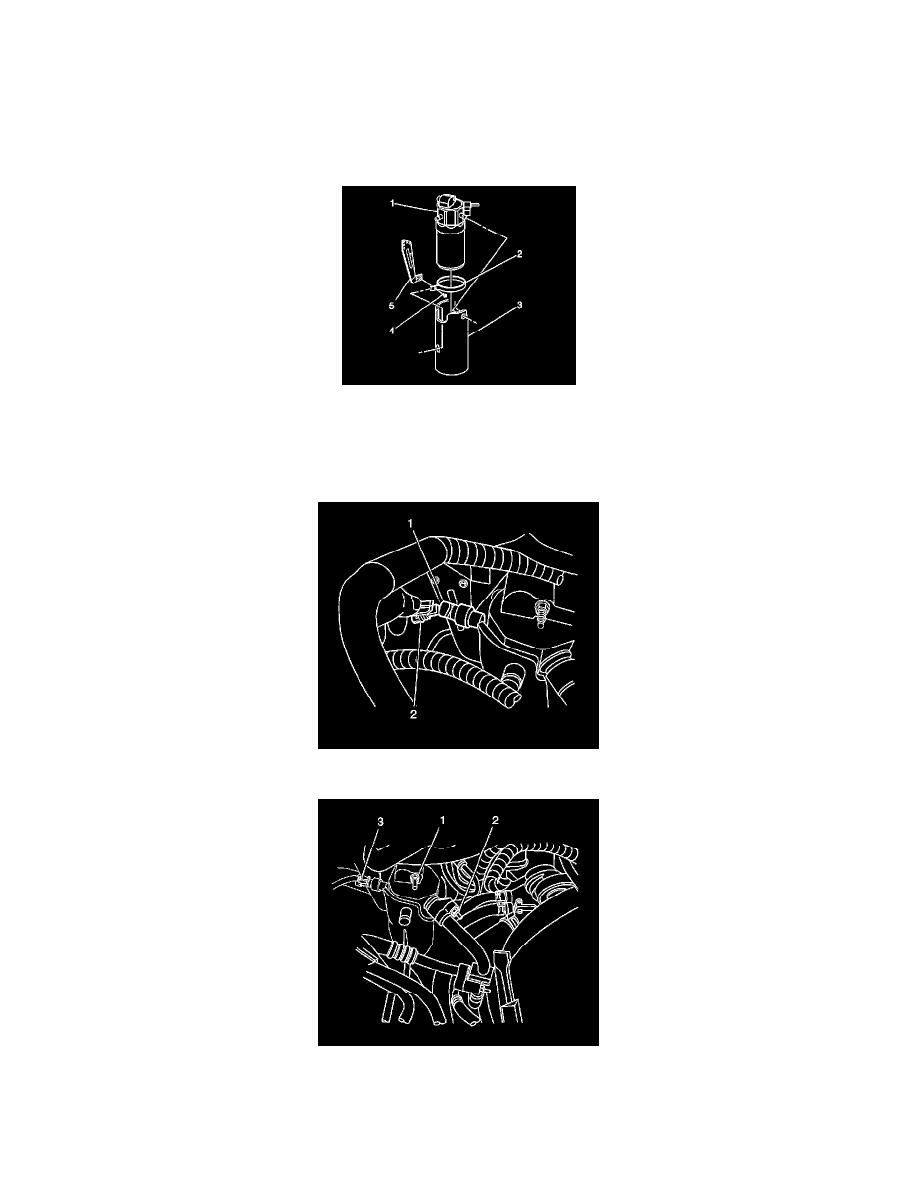
7. Remove the retaining screw (4) from the accumulator retaining bracket (2).
8. Remove the accumulator (1).
9. Remove the sealing washers.
Installation Procedure
1. If replacing the accumulator, add the specified amount of PAG oil directly into the accumulator. Refer to Refrigerant System Specifications (See:
Specifications/Capacity Specifications).
2. Install the accumulator (1).
Caution: Refer to Fastener Caution (See: Service Precautions/Vehicle Damage Warnings/Fastener Caution).
3. Install the screw (4) to the accumulator retaining bracket (2) and tighten to 9 Nm (80 lb in).
4. Connect the low pressure sensor electrical connector (1).
5. Install new sealing washers. Refer to Air Conditioning System Seal Replacement (See: Coupler HVAC/A/C Coupler O-ring/Service and
Repair/Air Conditioning System Seal Replacement).
6. Install the evaporator outlet pipe.
7. Install the evaporator outlet pipe retaining nut (1) to the accumulator and tighten to 16 Nm (12 lb ft).
8. Install the compressor suction hose.