
Express 4500 V8-6.0L (2010)
1. Remove the brake caliper from the vehicle. Refer to Rear Brake Caliper Replacement (JH5, JH6) (See: Removal and Replacement/Rear Brake
Caliper Replacement (JH5, JH6))Rear Brake Caliper Replacement (JH9) (See: Removal and Replacement/Rear Brake Caliper Replacement
(JH9)).
Warning
Do not place fingers in front of the caliper piston(s) in an attempt to catch or protect it when applying compressed air. The piston(s) can fly out with
force and could result in serious bodily injury.
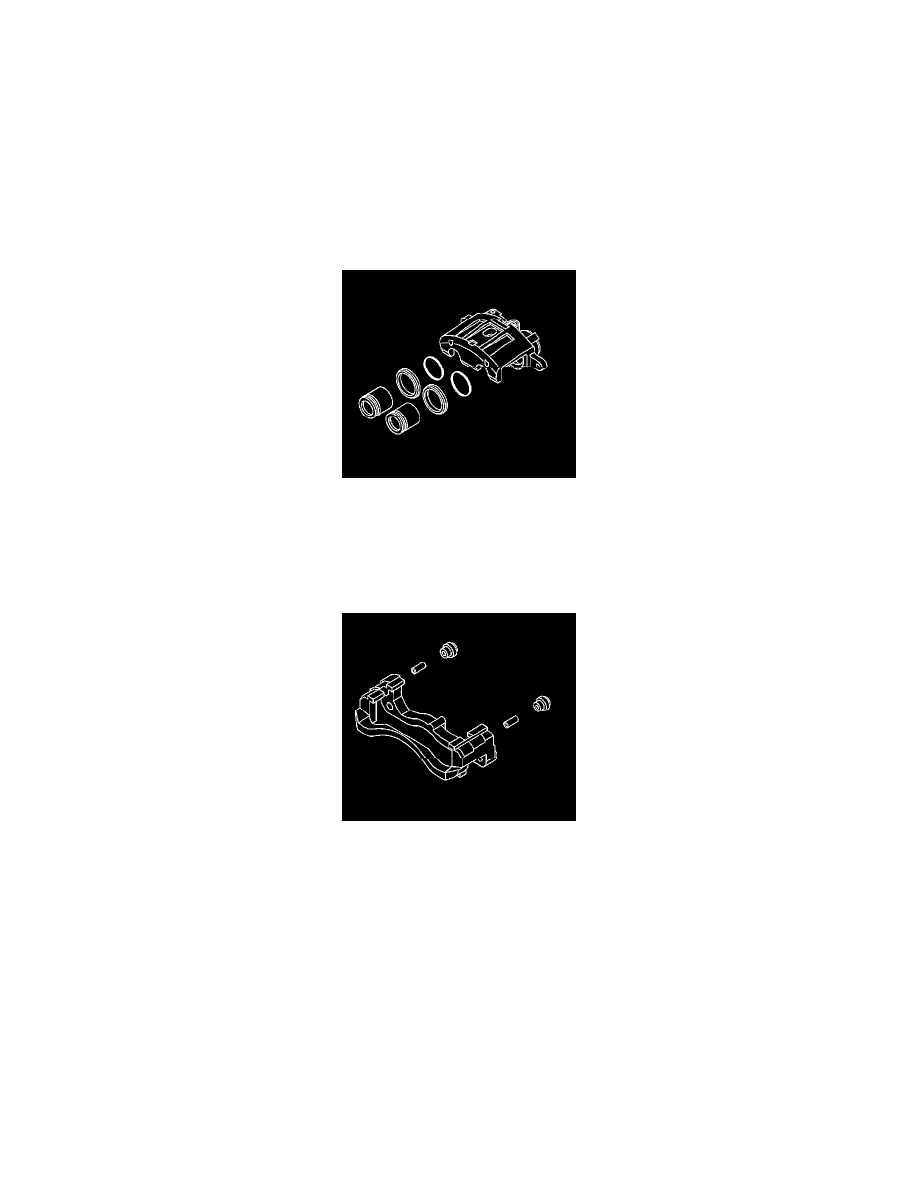
2. Place a thin piece wood in front of the pistons in order to prevent damage. Remove the pistons by directing compressed air into the brake hose
inlet fitting port of the brake caliper housing.
3. Remove the 2 pistons.
4. Remove the 2 piston boots.
5. Remove the 2 piston seals.
6. Remove the brake caliper bleed screw cap.
7. Remove the brake caliper bleed screw.
8. Inspect the brake caliper bores and the piston seal grooves for scoring and corrosion. If you find excessive scoring or corrosion around the 2 piston
seal areas replace the brake caliper housing.
9. Inspect the brake caliper mounting bracket guide surfaces for corrosion and wear. Remove and replace the brake caliper mounting bracket if
needed.
10. Clean all the residue from the brake pad guiding surfaces on the brake caliper housing and the brake caliper mounting bracket.
11. Clean all the parts not included in the repair kit with denatured alcohol.
12. Dry all the parts with non lubricated filtered compressed air.
13. Blow out all passages in the brake caliper housing and the brake caliper bleeder valve.
Assembly Procedure