Express 4500 V8-6.0L (2010)

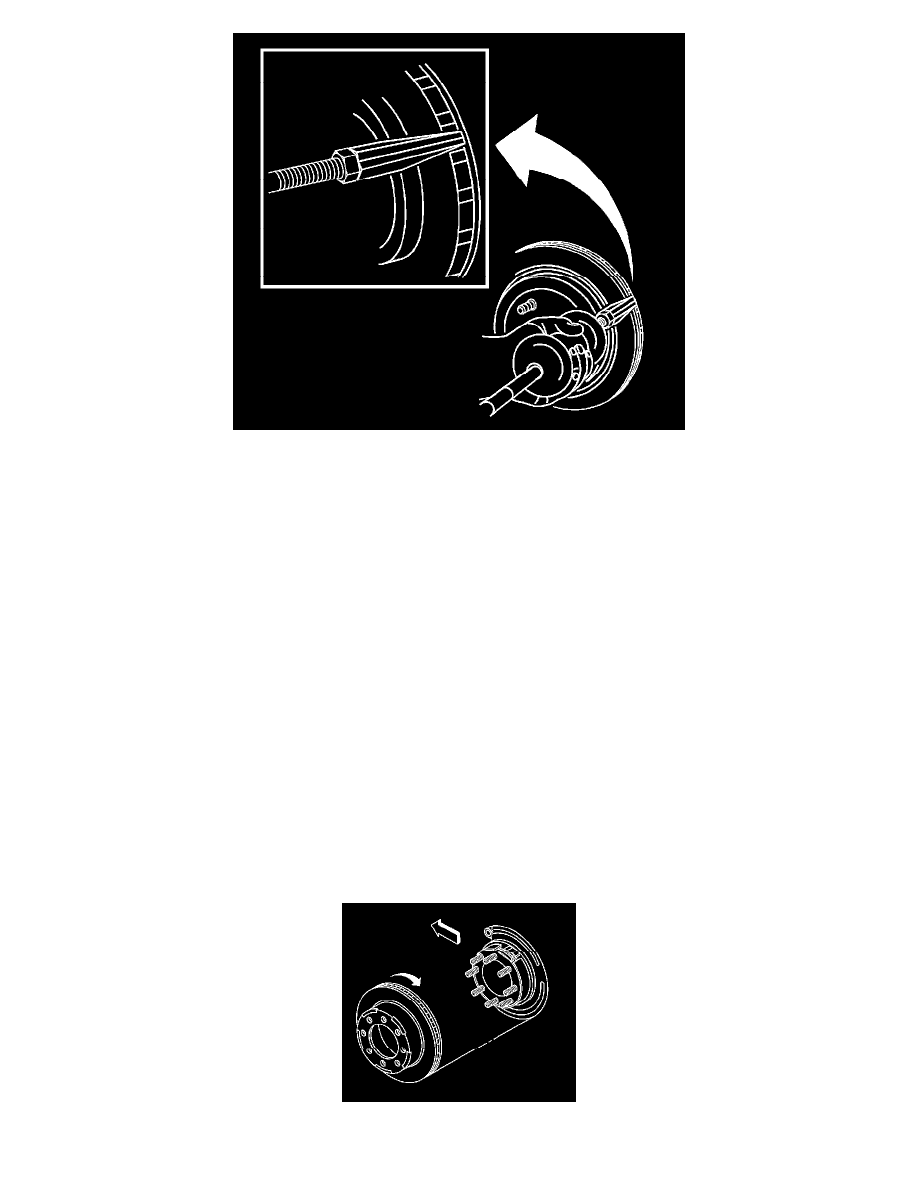
13. If the brake rotor cannot be removed, perform the following:
1. Assemble the J46277 - Rotor Removal Tool to the J-2619-01 - Slide Hammer with Adapter.
2. Insert the J46277 - Rotor Removal Tool between the rotor friction surfaces in the vent section of the rotor. DO NOT place the J46277 - Rotor
Removal Tool on the rotor friction surface.
3. Using the J46277 - Rotor Removal Tool and the J-2619-01 - Slide Hammer with Adapter, remove the rotor from the hub assembly.
4. Inspect the park brake components for the following conditions:
*
Bent or broken springs
*
Broken, cracked or worn brake shoe lining
*
Bent or damaged brake shoe
*
Worn, bent or damaged backing plate
5. Replace any damaged components.
Installation Procedure
Note: Whenever the brake rotor has been separated from the hub/axle flange, any rust or contaminants should be cleaned from the hub/axle flange
and the brake rotor mating surfaces. Failure to do this may result in excessive assembled lateral runout (LRO) of the brake rotor, which could lead
to brake pulsation.
1. Use the J-42450-A - Wheel Hub Resurfacing Kit to clean all rust and contaminants from the mating surface of the hub flange.
2. Use the J-41013 - Rotor Resurfacing Kit to clean all rust and contaminants from the inside diameter of the hat section of the brake rotor to prevent
any foreign material from getting between the brake rotor and the hub flange.
3. Inspect the mating surfaces of the hub/axle flange and the rotor to ensure that there are no foreign particles or debris remaining.
4. Align the rotor to its original position on the hub, if applicable, and install the rotor.
5. Install the rotor by slowly turning the rotor while pushing the rotor towards the axle.
