
Express 4500 V8-6.0L (2010)
1. Remove the left rear quarter trim panel. Refer to Body Side Trim Panel Replacement - Left Side (See: Body and Frame/Interior Moulding /
Trim/Trim Panel/Service and Repair/Body Side Trim Panel Replacement - Left Side).
2. Remove the left rear corner garnish molding. Refer to Body Rear Corner Garnish Molding Replacement (See: Body and Frame/Interior Moulding
/ Trim/Trim Panel/Service and Repair/Body Rear Corner Garnish Molding Replacement).
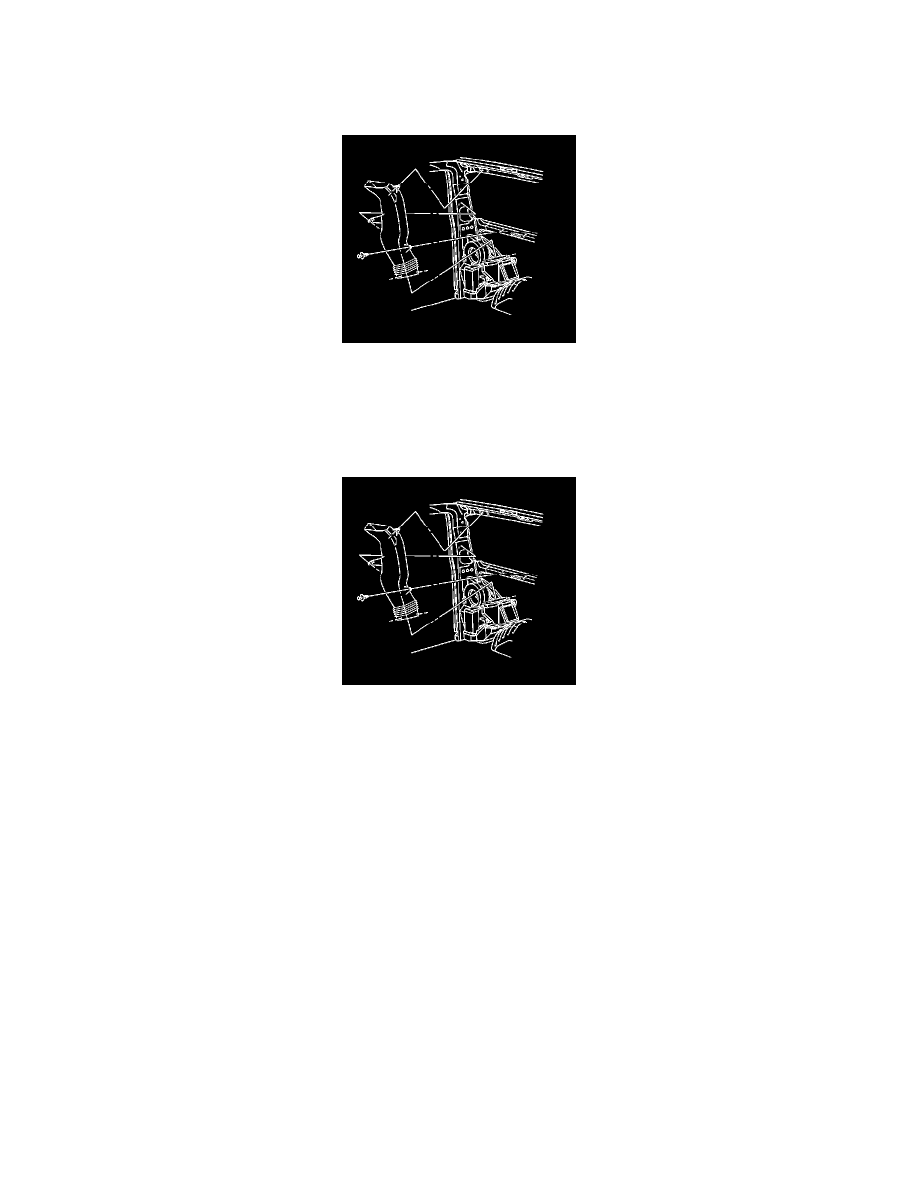
3. Remove the retainers from the air outlet duct.
4. Partially lower the rear headliner in order to remove the upper air outlet duct from the vent duct.
5. Disconnect the air outlet duct from the auxiliary heater.
6. Remove the air outlet duct from the vehicle.
Installation Procedure
1. Install the air outlet duct to the vehicle.
2. Connect the air outlet duct to the auxiliary heater.
3. Connect the air outlet duct to the upper headliner.
4. Install the headliner.
5. Install the retainers to the air outlet duct.
6. Install the left rear corner garnish molding. Refer to Body Side Trim Panel Replacement - Left Side (See: Body and Frame/Interior Moulding /
Trim/Trim Panel/Service and Repair/Body Side Trim Panel Replacement - Left Side).
7. Install the left rear quarter trim panel. Refer to Body Rear Corner Garnish Molding Replacement (See: Body and Frame/Interior Moulding /
Trim/Trim Panel/Service and Repair/Body Rear Corner Garnish Molding Replacement).
Auxiliary Air Conditioning Air Outlet Deflector Replacement
Auxiliary Air Conditioning Air Outlet Deflector Replacement
Removal Procedure