
Express 4500 V8-6.0L (2010)
Control Assembly: Service and Repair
Auxiliary Heater and Air Conditioning Control Replacement - Rear
Auxiliary Heater and Air Conditioning Control Replacement - Rear
Removal Procedure
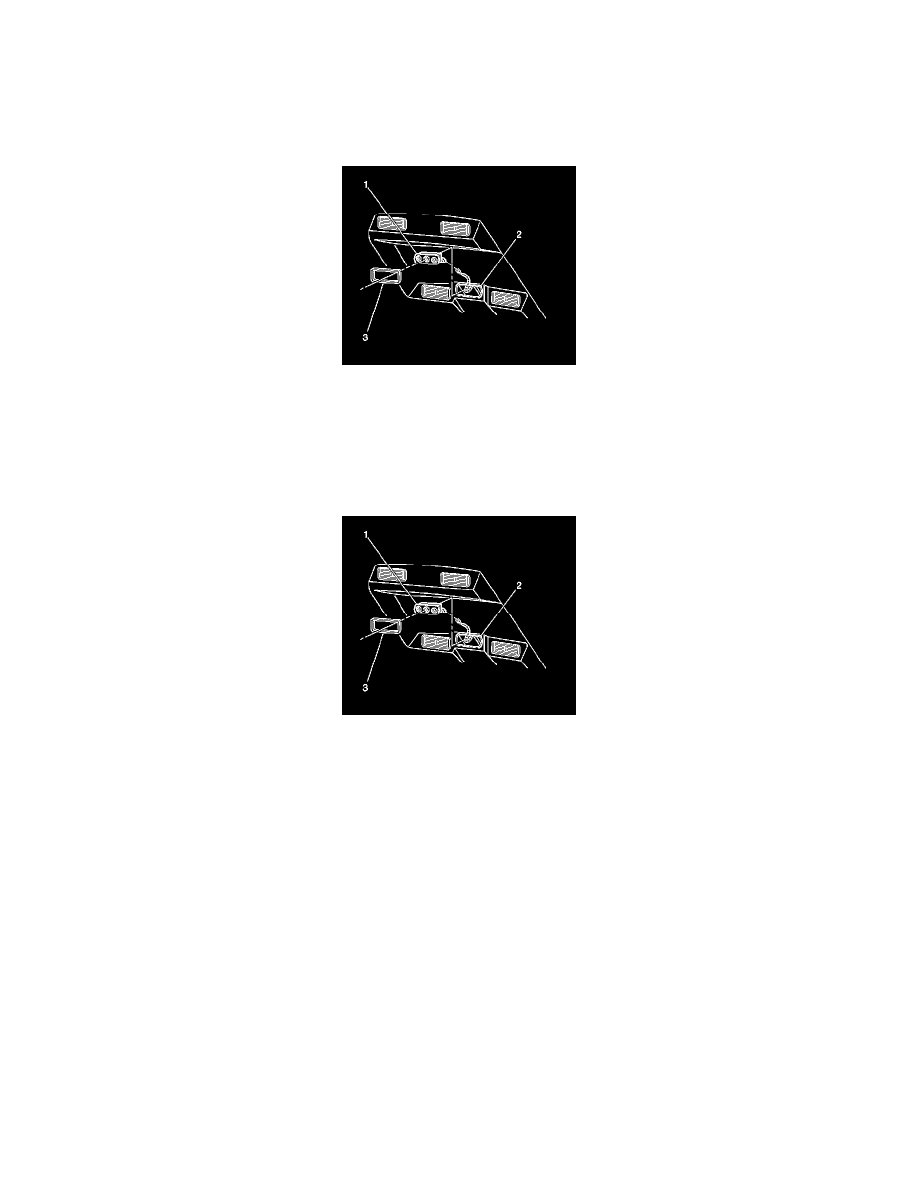
1. Remove the HVAC control assembly bezel (3) from the headliner (2).
2. Lower the front headliner to access the rear of the HVAC control assembly (1). Refer to Headlining Front Trim Panel Replacement (See: Body
and Frame/Interior Moulding / Trim/Headliner/Service and Repair/Headlining Front Trim Panel Replacement).
3. Disconnect the electrical connectors.
4. Remove the HVAC control assembly from the front headliner.
Installation Procedure
1. Install the HVAC control assembly (1) in the front headliner and attach the bezel (3).
2. Connect the electrical connectors.
3. Install the front headliner (2). Refer to Headlining Front Trim Panel Replacement (See: Body and Frame/Interior Moulding /
Trim/Headliner/Service and Repair/Headlining Front Trim Panel Replacement).