
Express 4500 V8-6.0L (2010)
Heater Core: Service and Repair
Heater Core Replacement
Heater Core Replacement
Special Tools
J 38185 Hose Clamp Pliers
Removal Procedure
1. Drain the engine coolant. Refer to Cooling System Draining and Filling (Static Fill) (See: Engine, Cooling and Exhaust/Cooling System/Service
and Repair/Procedures/Cooling System Draining and Filling (Static Fill)) Cooling System Draining and Filling (Vac N Fill) (See: Engine,
Cooling and Exhaust/Cooling System/Service and Repair/Procedures/Cooling System Draining and Filling (Vac N Fill)) Cooling System Draining
and Filling (Static Fill LGH) ().
2. Remove the A/C accumulator. Refer to Air Conditioning Accumulator Replacement (See: Accumulator HVAC/Service and Repair).
3. Remove the engine cover. Refer to Engine Cover Replacement (See: Body and Frame/Access Cover/Service and Repair).
4. Remove the right knee bolster bracket. Refer to Passenger Knee Bolster Bracket Replacement (See: Body and Frame/Interior Moulding /
Trim/Dashboard / Instrument Panel/Service and Repair/Passenger Knee Bolster Bracket Replacement).
5. Remove the cowl drain tube bolts.
6. Remove the cowl drain tube.
7. Remove the hose clamps using the J 38185.
8. Remove the inlet and outlet heater hoses from the heater core.
9. Remove right hinge pillar trim. Refer to Body Hinge Pillar Trim Panel Replacement (See: Body and Frame/Interior Moulding / Trim/Trim
Panel/Service and Repair/Body Hinge Pillar Trim Panel Replacement).
10. Remove the ground lead at the right hinge pillar.
11. Remove the harness connector and bracket in the right hinge pillar.
12. Disconnect the radio antenna lead-in cable at the right hinge pillar.
13. Remove the heater outlet duct at the left side of the heater case.
14. Reposition the wire harness at the hinge pillar and at the heater case.
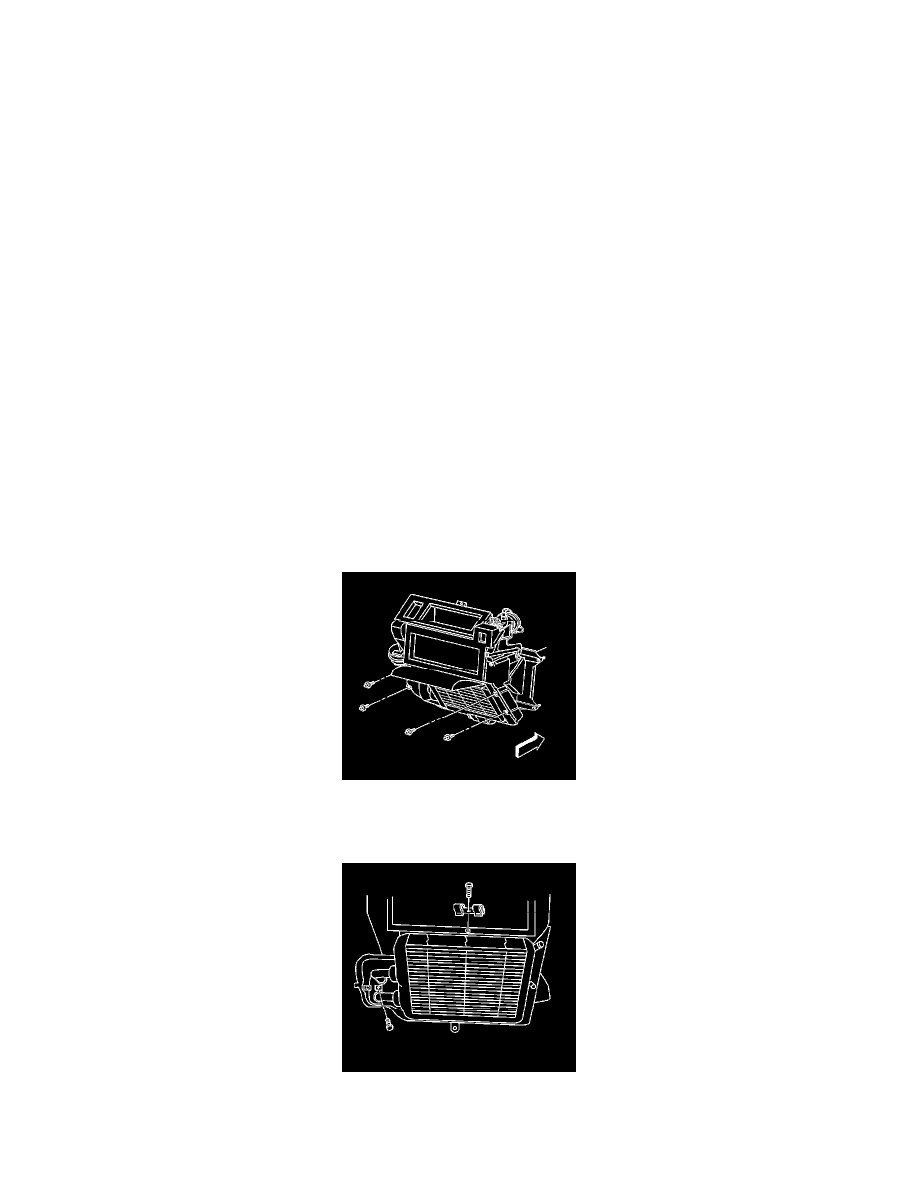
15. Remove the screws from the heater assembly.
16. CAREFULLY open the heater core access door in order to cut the heater core access door.
17. Cut the marked section of the heater core access door and remove the access door.
18. Remove the retainers from the heater core.
19. Remove the heater core.